This tutorial for our NEPP Hand Sewing Kits, but can work for any running stitch application.
*Note: I am self taught. I tend to over-do things with hand sewing because I want it to last. I am always learning – if I learn something new to make this process better, I will update as necessary!
To start, I use these tools:
Thimble – Dritz Soft Comfort Thimble size M – it’s inexpensive and works pretty well.
Needle – John James Sharps 12
Thread – Superior Kimono Silk Thread #100
Small Scissors
For our kits, I would recommend laying out all the pieces before sewing – it’s easier to check placement that way, but it’s not necessary.
Get ready for some photos and sorry for the few blurry ones…
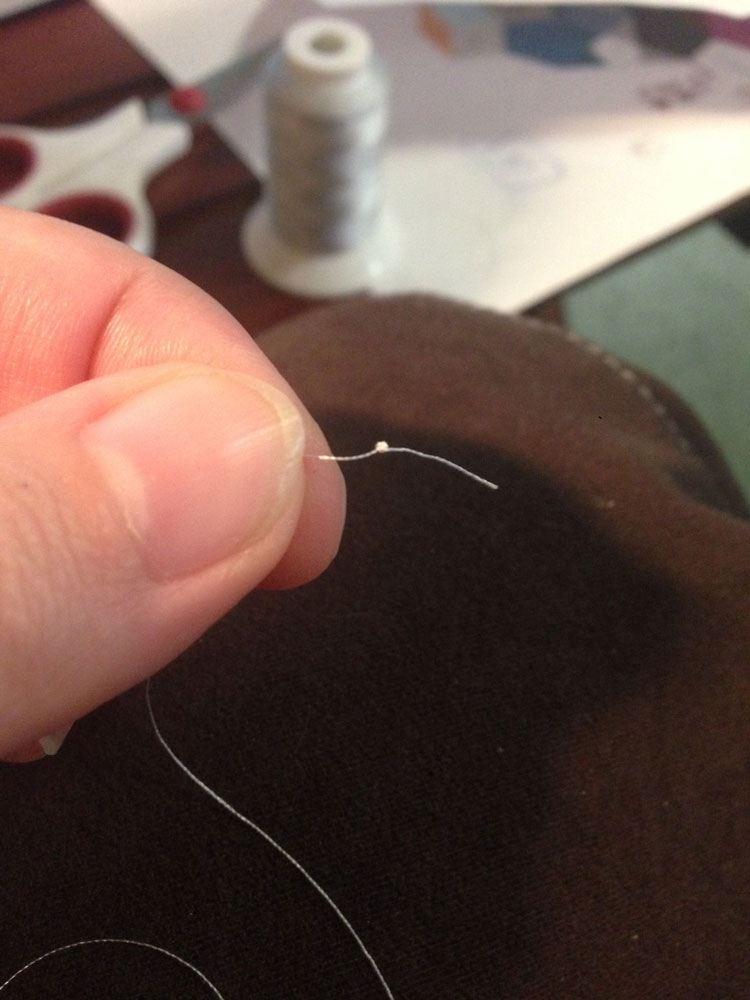
Start by taking some thread from the spool, and threading your needle – don’t cut the thread – making sure it’s the right end to use:
Now, pull about 12-18″ of thread from the needle to the spool and cut. You don’t want it too long, just enough to go from your hand to your elbow – to make a nice one-pull stitch. Make a quilters knot at the other end. There is a tutorial here by Amanda Lipscomb on how to do that. Since I’m using fine thread, I “wrap” the thread about 6 times instead of 2.
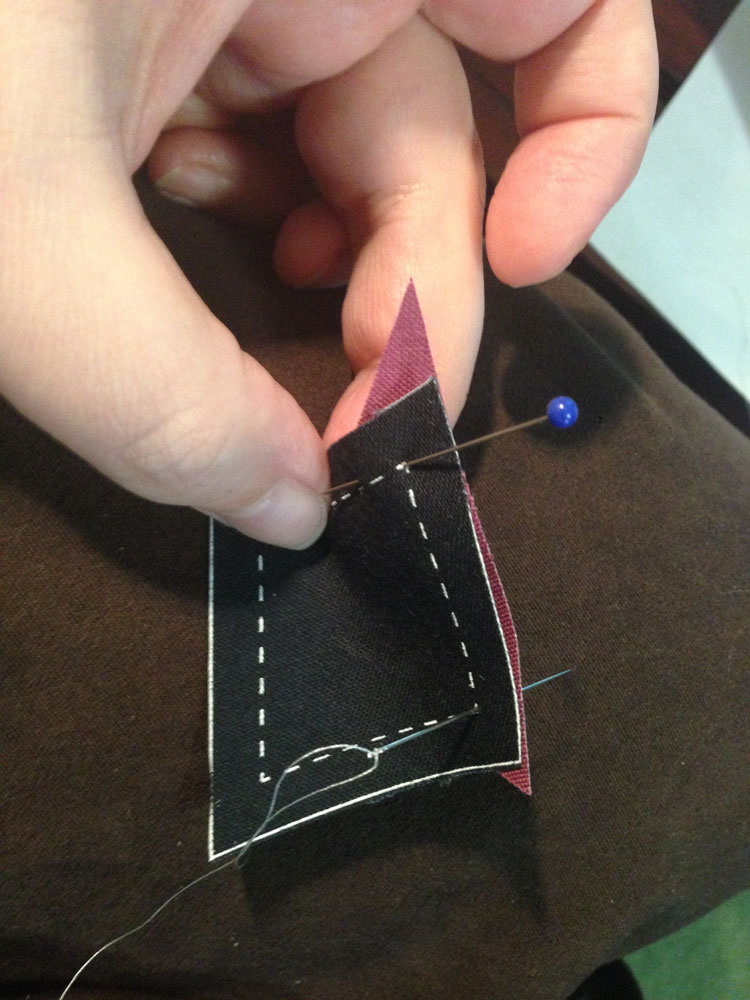
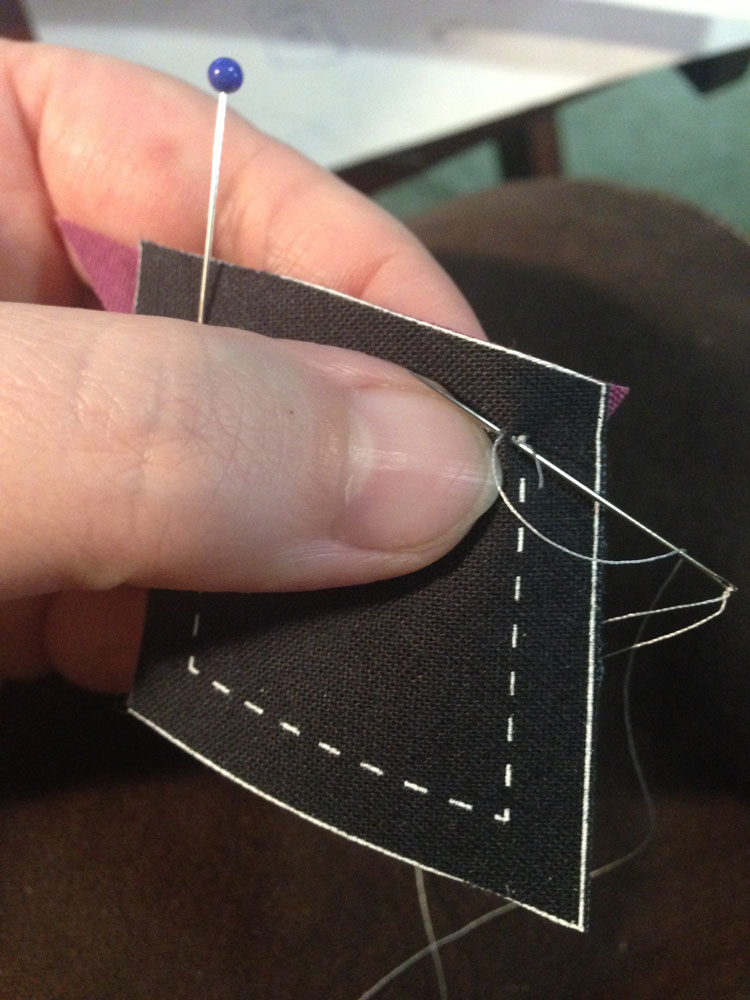
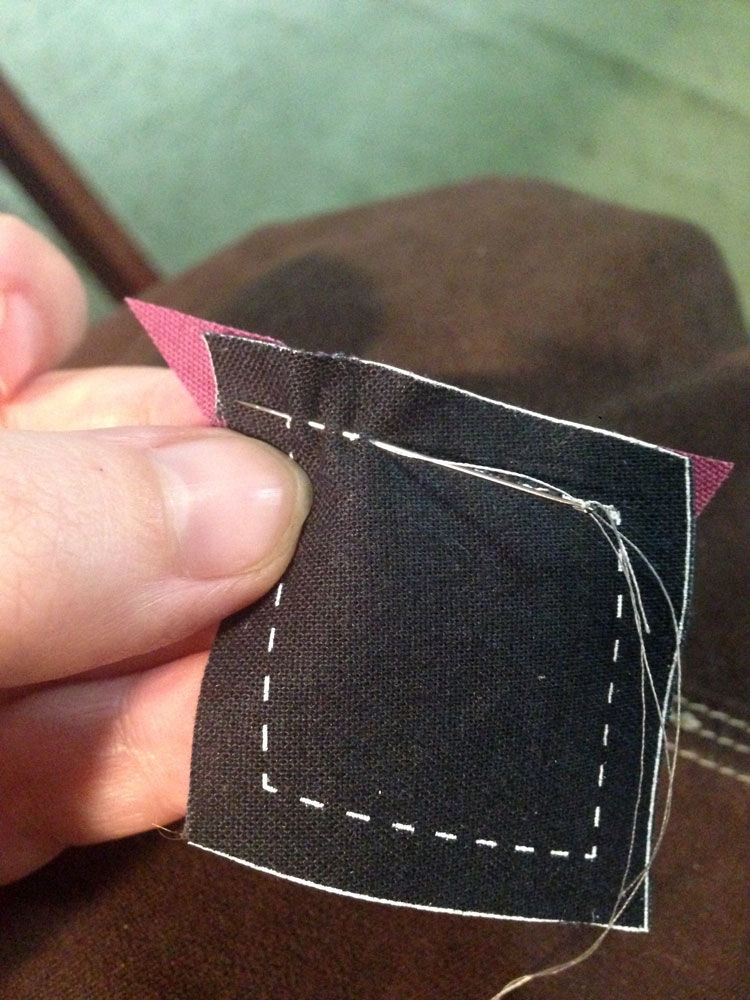
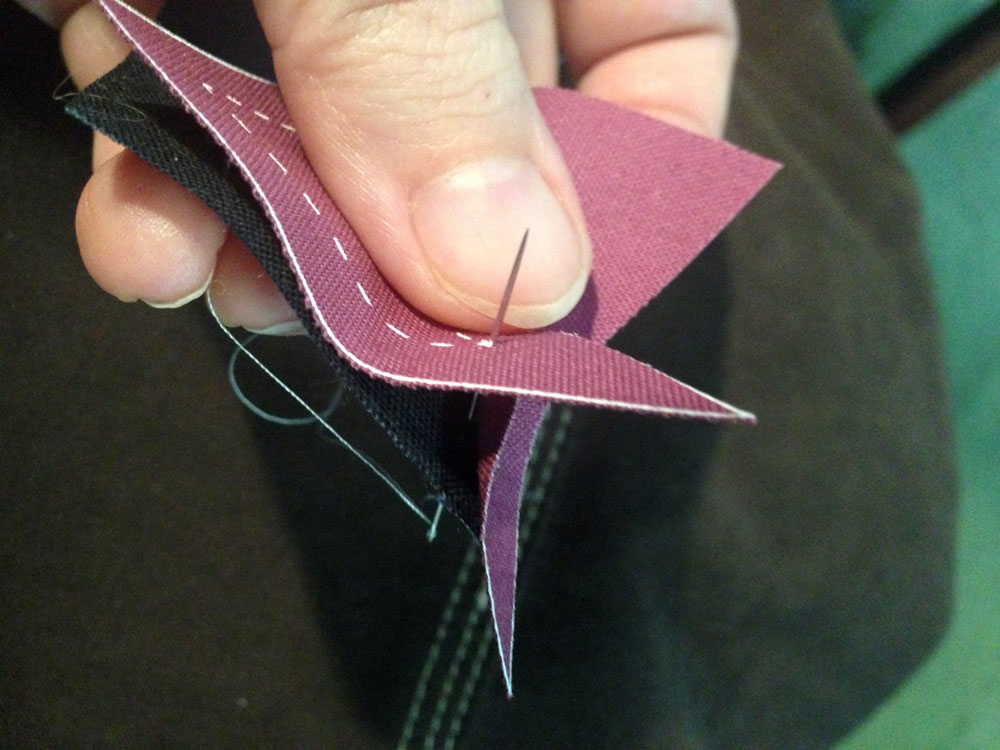
Pick the two pieces you want to sew together. Start at the center and flip one piece over another at your chosen seam, to make sure you are sewing the seam in the right direction. I’m right-handed, so I pin the left side, then stick my needle in the right side, connecting the two points on both fabrics:
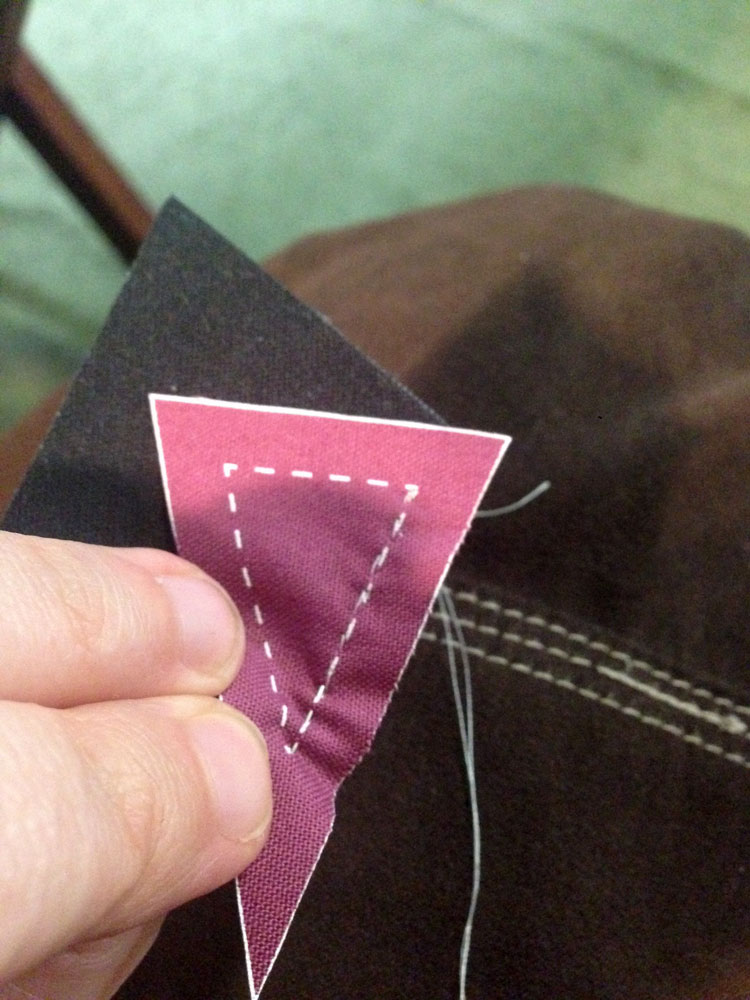
Check the back side to make sure your pins are going in at the points:
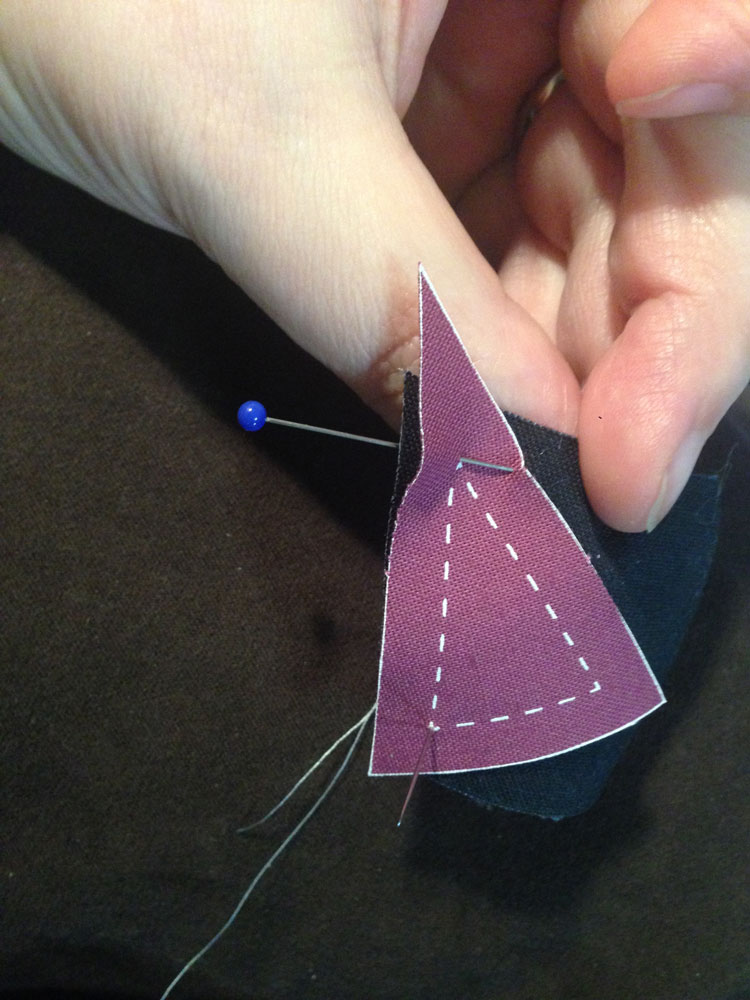
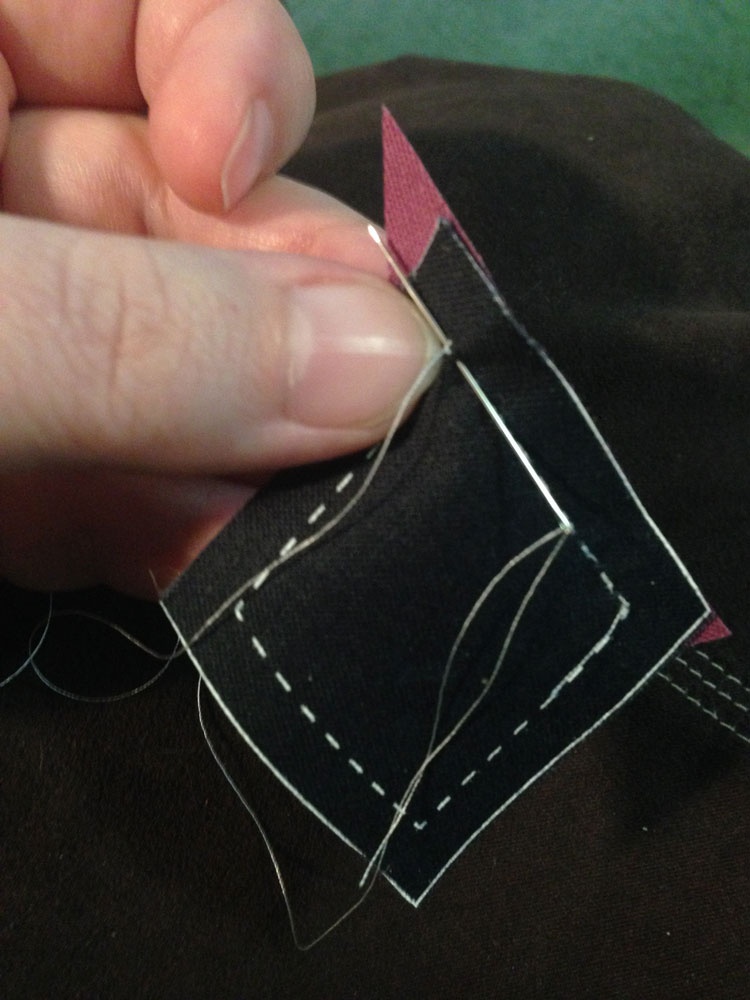
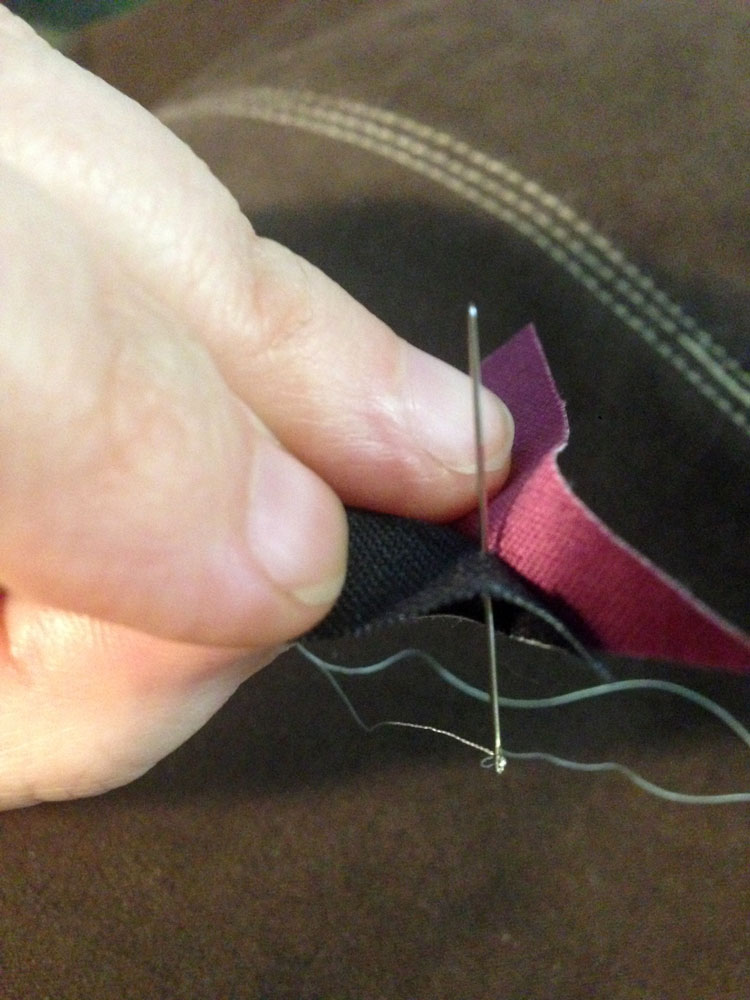
Pull the threaded needle through, and bring back close to starting point:
Knot here. I tie knots in at every corner. It helps keep the stitching tight.

Start Stitching
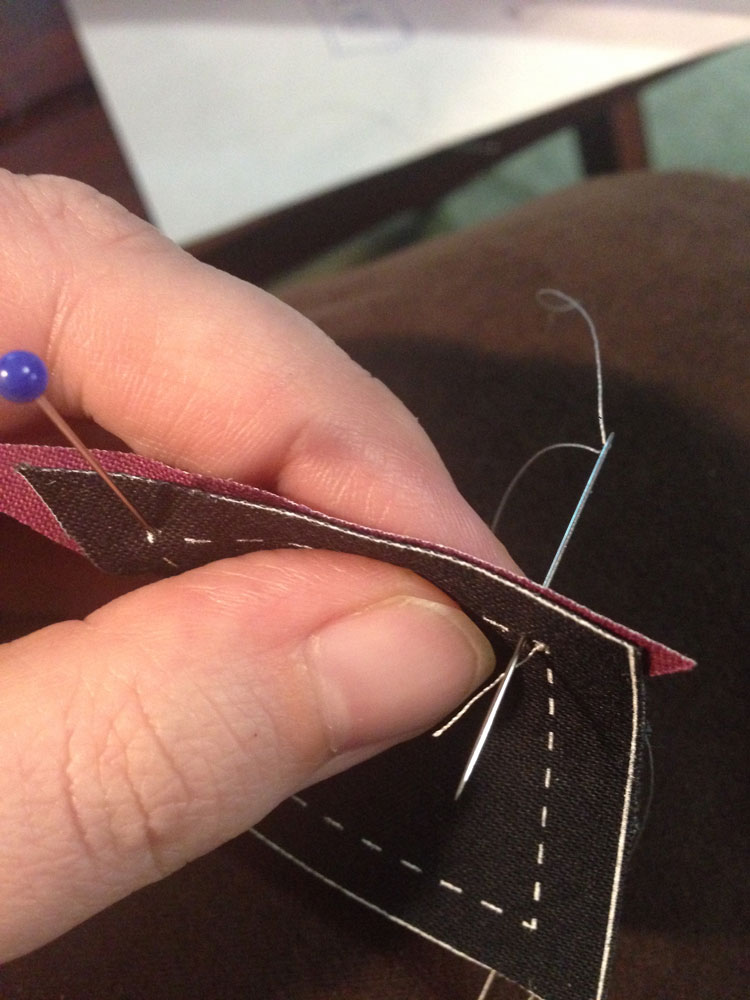
Now bring the needle to the starting point of stitching line:
And start your running stitch taking small stitches.
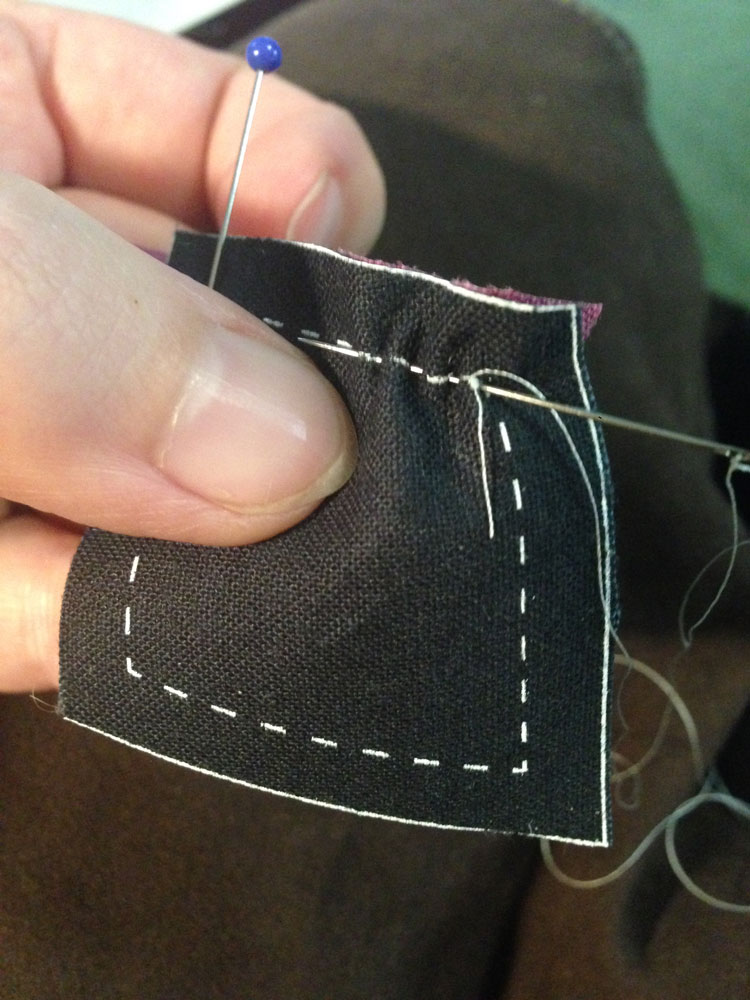
Check the back before pulling the needle through. Make sure your needle is hitting the stitch line:
After first running stitch, take a back stitch:
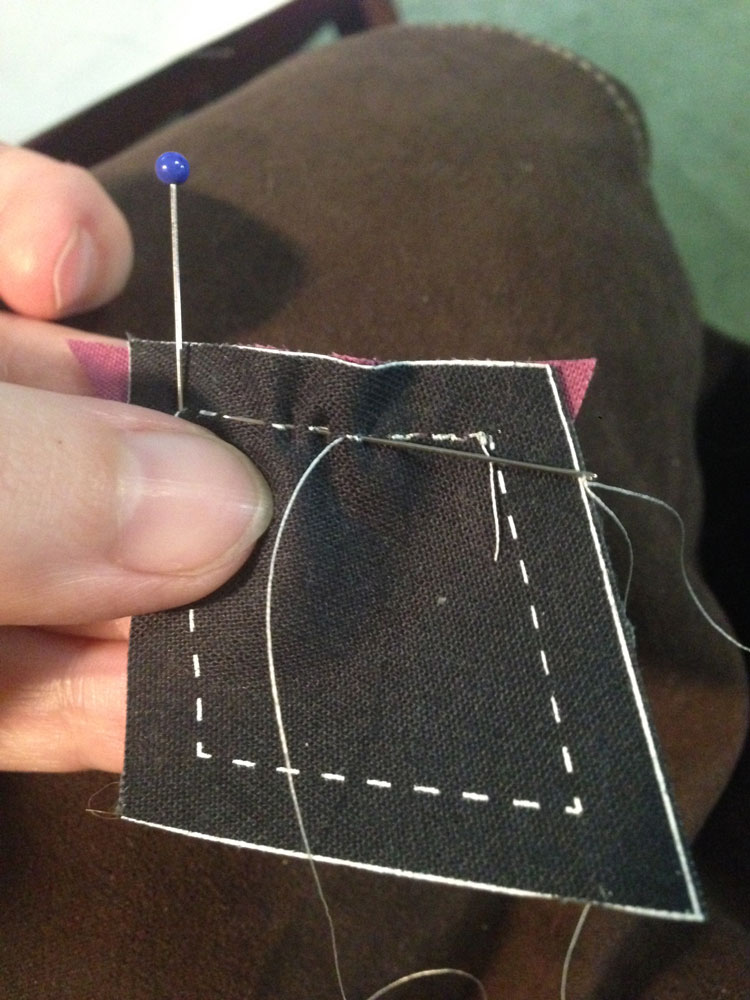
And continue to the end of the stitching line:
Again, make sure to check the back side before pulling the needle through:
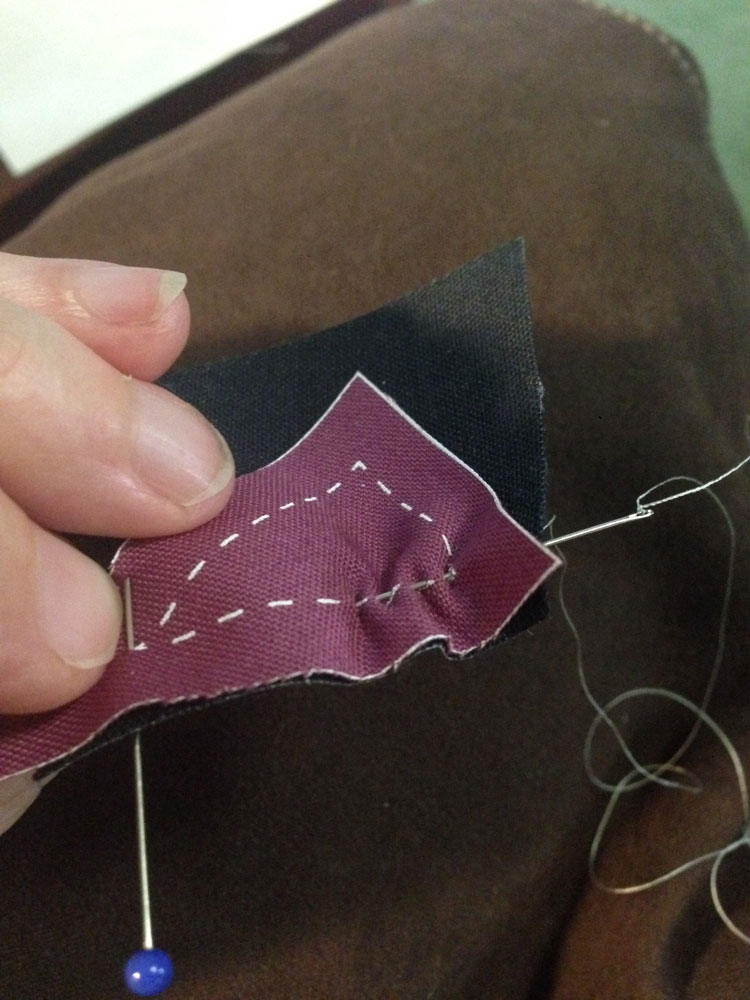
At the stitching end point, tie a knot:
You can see the knot is tied on the black fabric side in this example. So, to start your next seam, pull the needle up through the first fabric (black in this instance) right where the knot was tied:
Add Next Piece
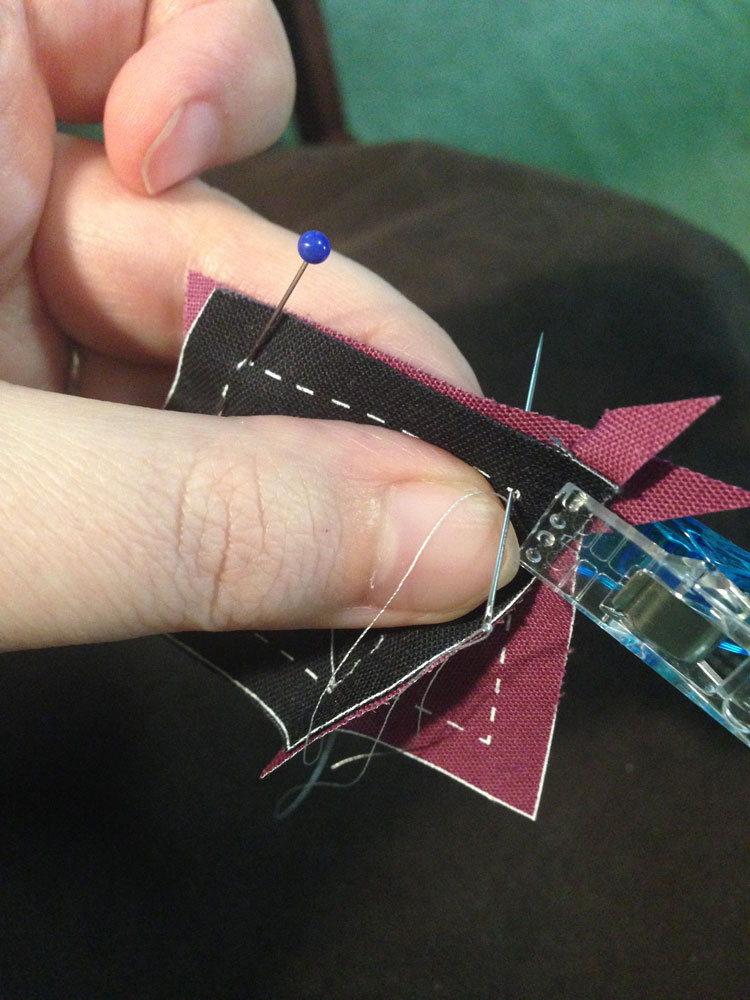
Now you are going to add your next fabric piece. After checking placement, stick the needle up through the start point of the fabric piece.
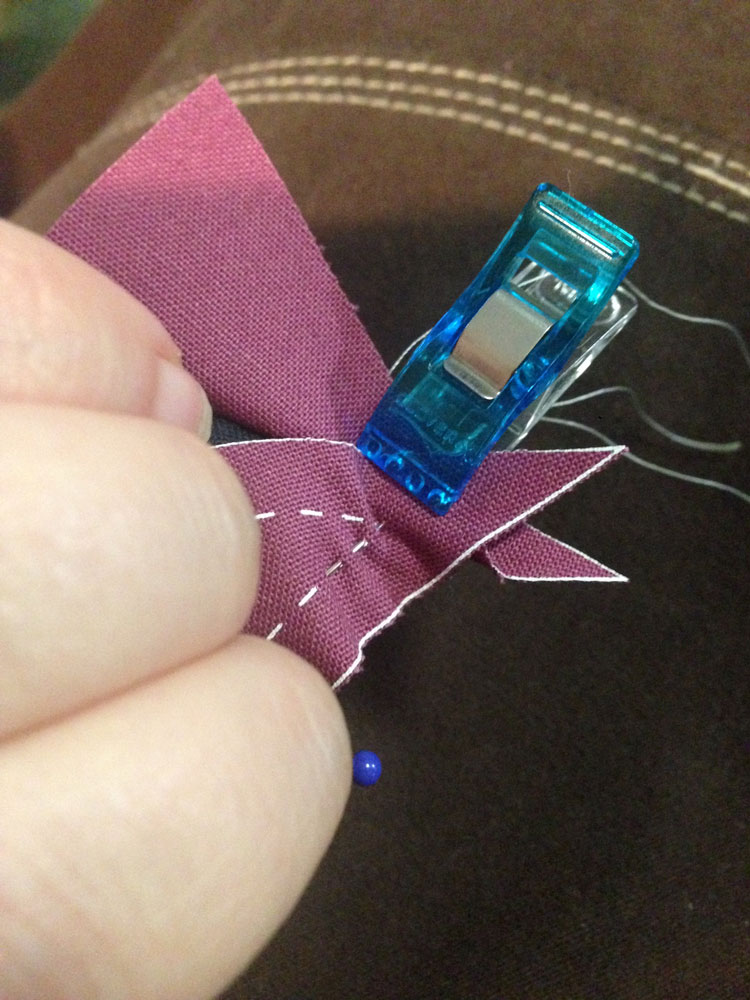
Pin the other side, matching end points. I use a Wonder Clip to hold the seam allowances from first seam out of the way:
Pull the needle back through both fabrics
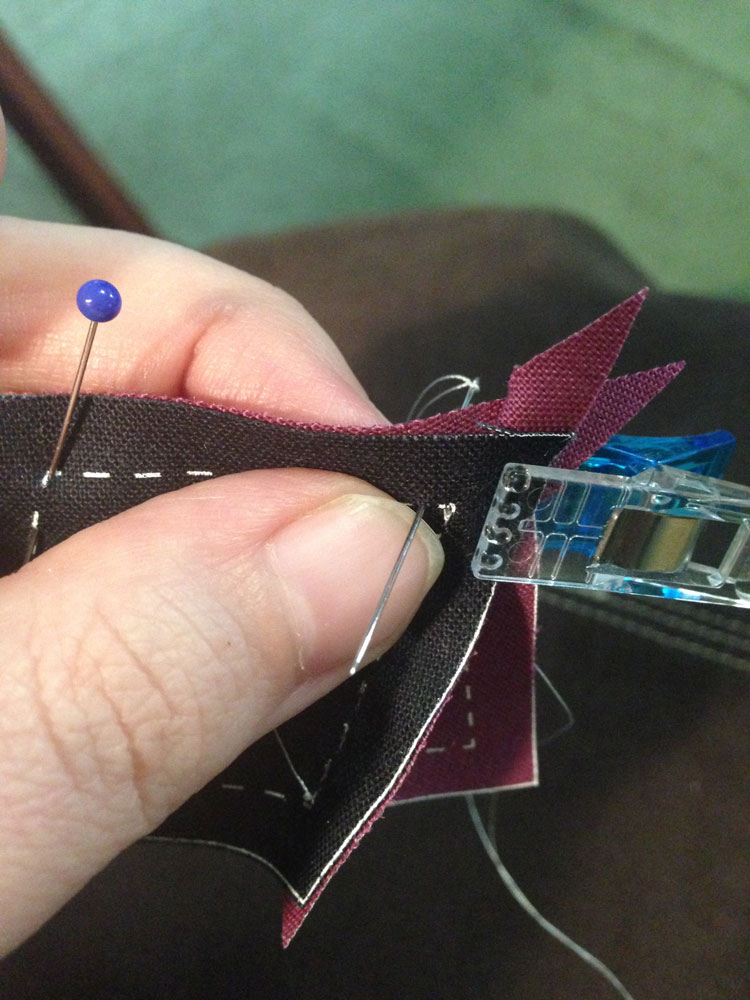
and tie a knot at the start point.
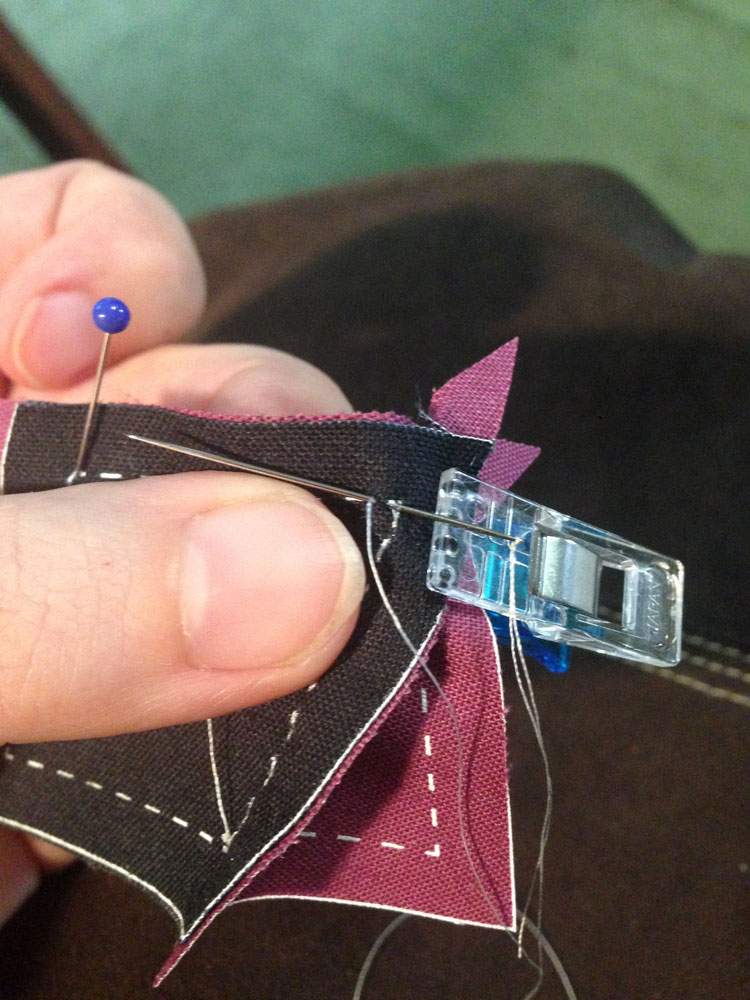
Check the back to make sure of placement!
Take a back stitch to the start point and start your running stitch. Continue on…

I really hope this is helpful in getting someone new to feel comfortable in starting a hand sewing project like this. Happy Sewing!
Very clear Gail! I don’t often handsew but I love it when I do.