That’s right! Gregg and I are putting some new designs together to create some limited edition hand-printed fabric… and I couldn’t be more excited!
This is something we’ve discussed ever since I started quilting, and I think I’m ready to give it a try. The part that has always held me back was the amount of labor and materials involved in screen printing which makes it a bit costly to produce. Our print studio is quite small… only one press and when we are busy printing t-shirts, it’s hard to schedule time on the press for fabric printing.
BUT..
we have come up with an idea that will alleviate the problem: setting up a separate 1-color press. So we decided to give it a trial run – and so for our first run, Gregg laid out some stars and ants randomly on the screen as a serigraph print.
What do all these words mean: serigraph, screen print, hand-pulled…?
The way we print at Phantom Chicken is old-school. We get film positives (or cut rubylith film) and use it to create a screen. If we trash the screen after printing, we cannot reproduce the same image in the future, so those prints would be very limited, or serigraph prints. The screen is used as a stencil and with a squeegee, ink is pushed through the holes in the screen and onto the t-shirt or fabric. When you pull the squeegee by hand, it’s called: hand-pulled. Most screen print shops used automated presses or digital print machines now to print on shirts, but we want to keep this craft alive.
How does it work exactly? I’ll show you! *get ready for a lot of photos*
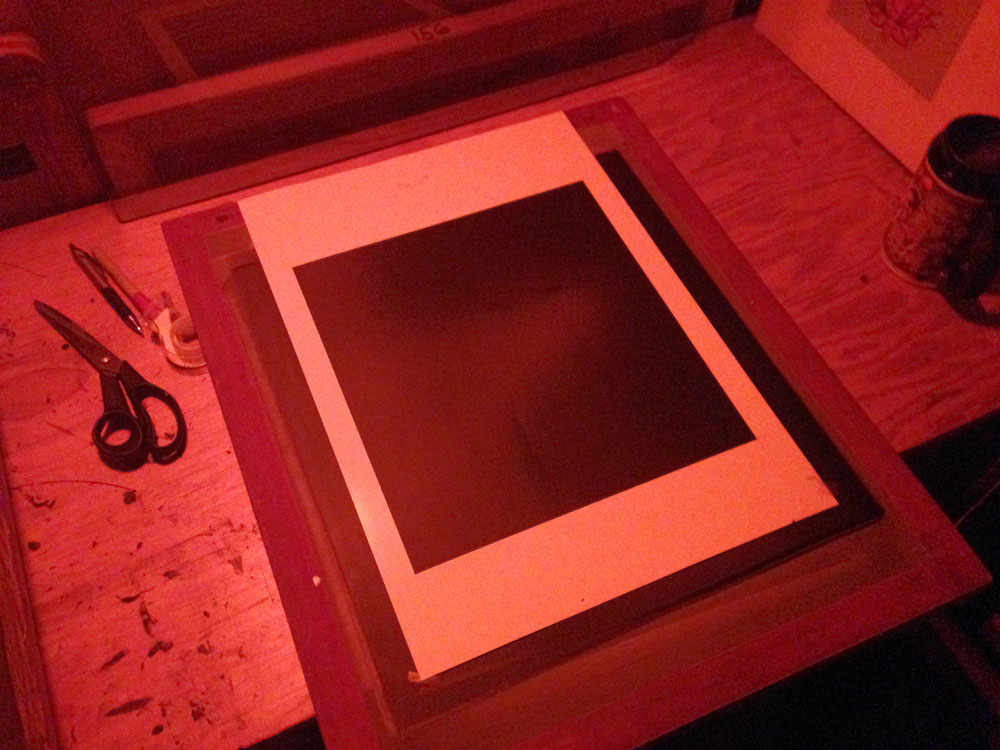
- 1. A screen is carefully coated with photosensitive emulsion in a darkroom and after it dries we can use it. Here you see a screen with a paper marker cut at 12″ x 14″ to mark image area.
- 2. Gregg carefully laid out some small pieces of film with stars and ants to create his print design. Film positives are used – the opposite of negatives used in photography.
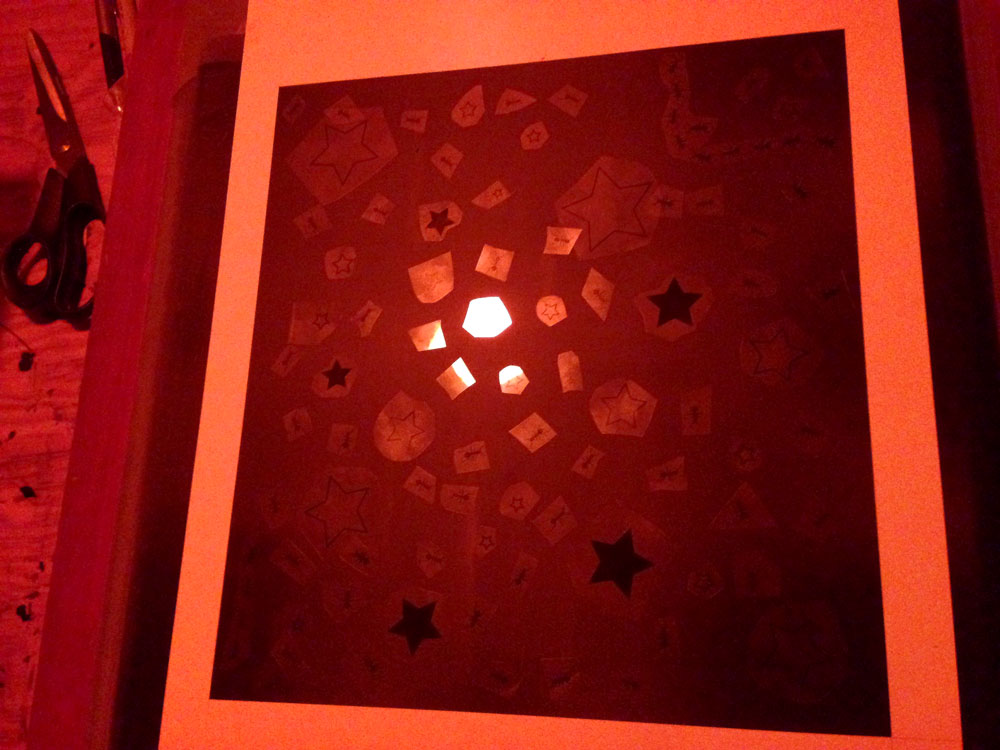
- 3. A strong light is turned on, and the screen gets ‘burned’. This means that all the exposed emulsion hardens, while the emulsion under the opaque black films stays soft.
- 4. After burning the screen, water is used to wash out the soft emulsion.
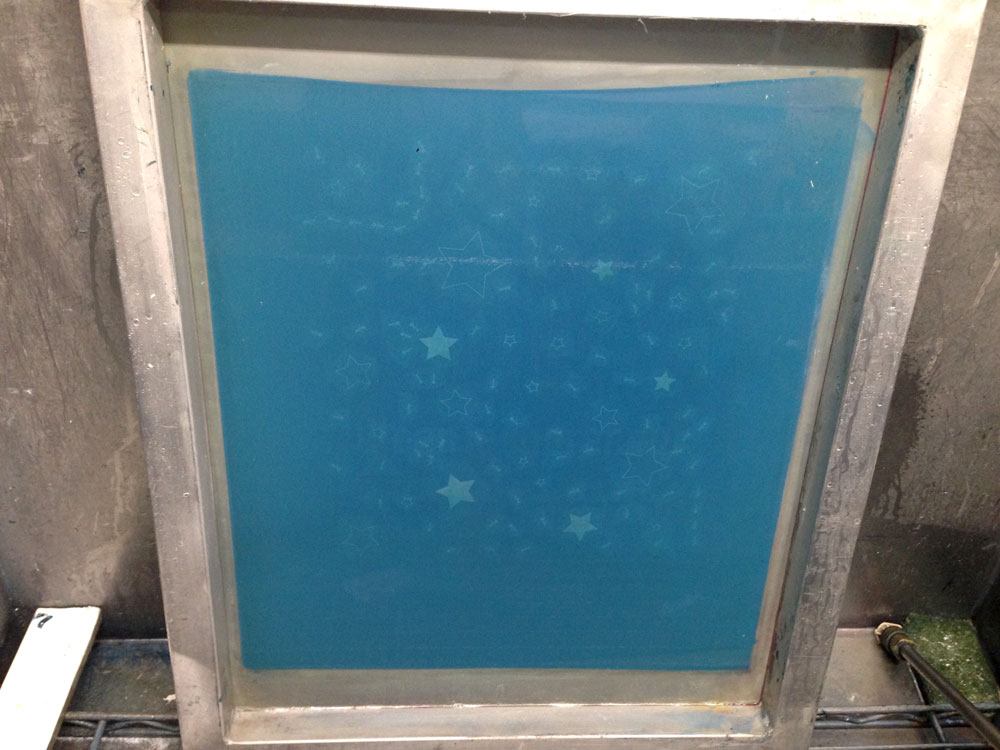
- 5. Then the screen needs to dry completely.
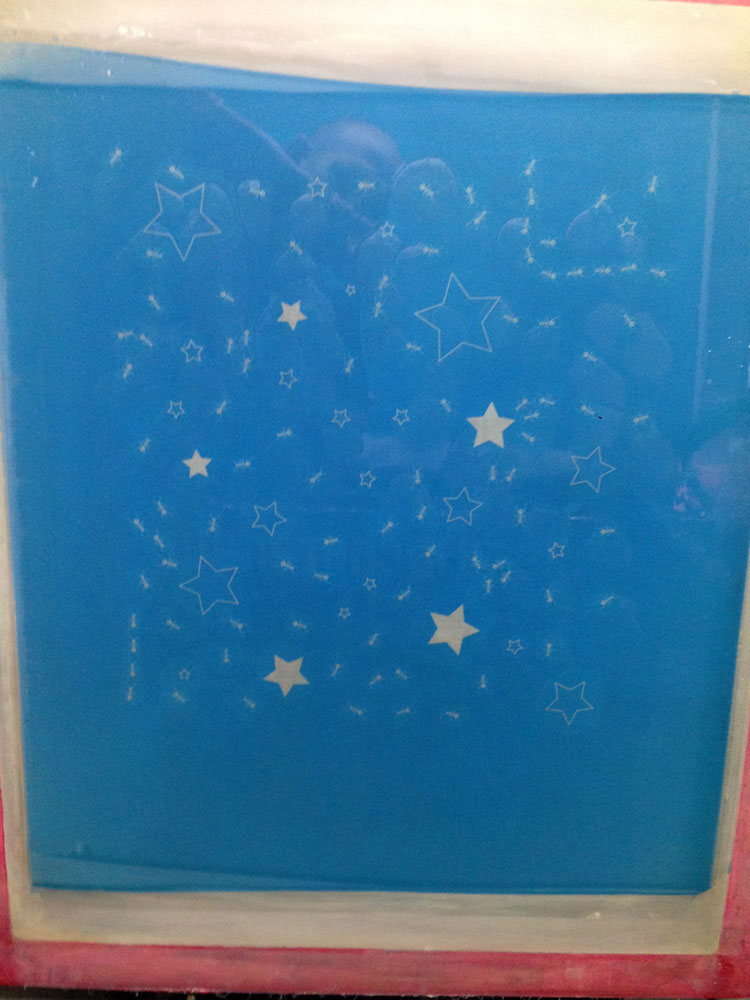
- 6. When it’s dry, small pinholes and edges are ‘blocked-out’ so they don’t print.
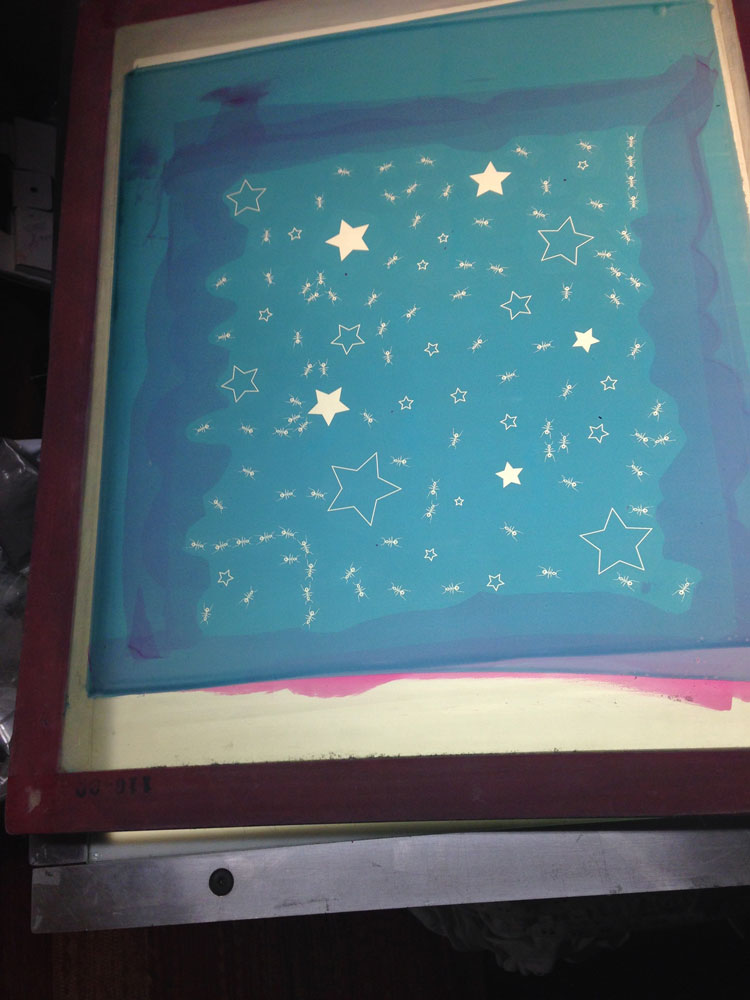
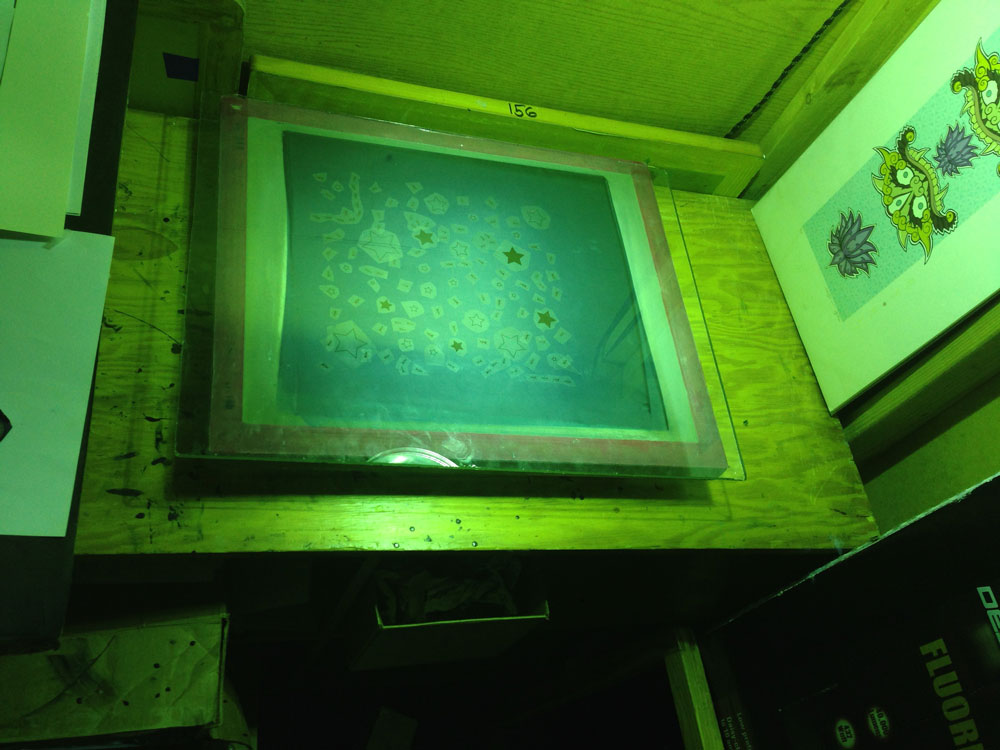
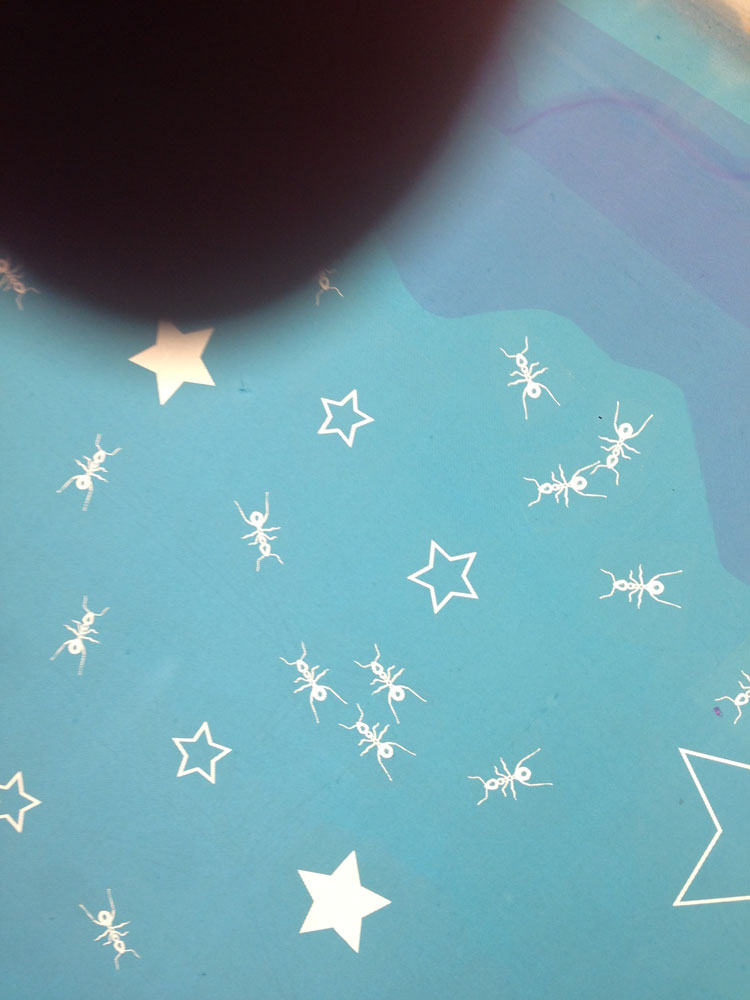
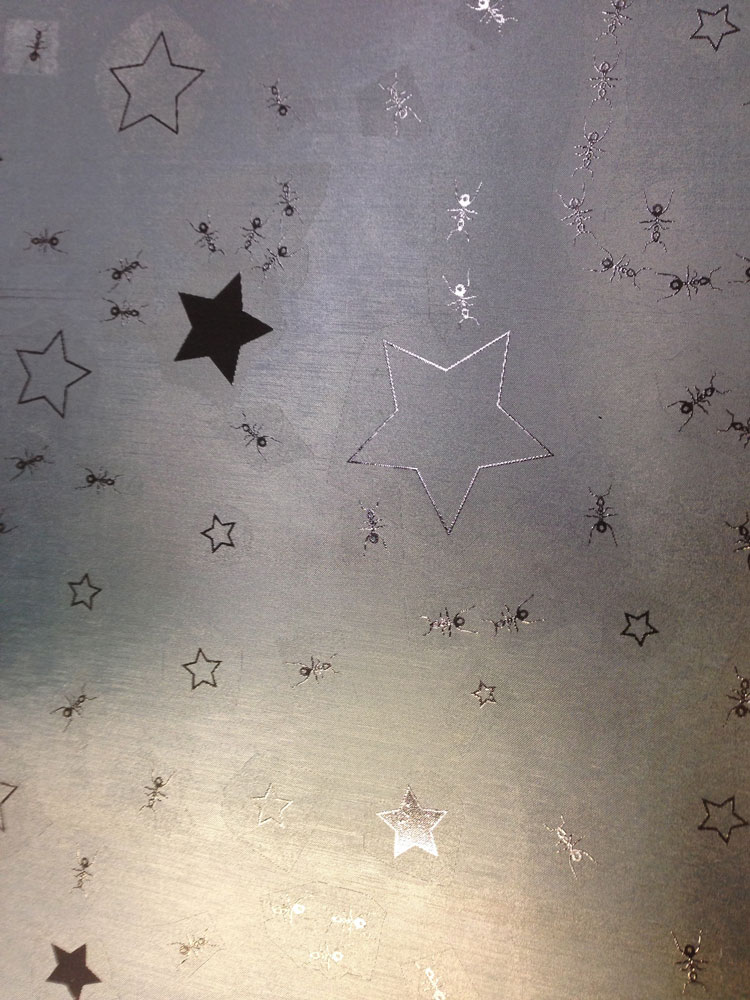
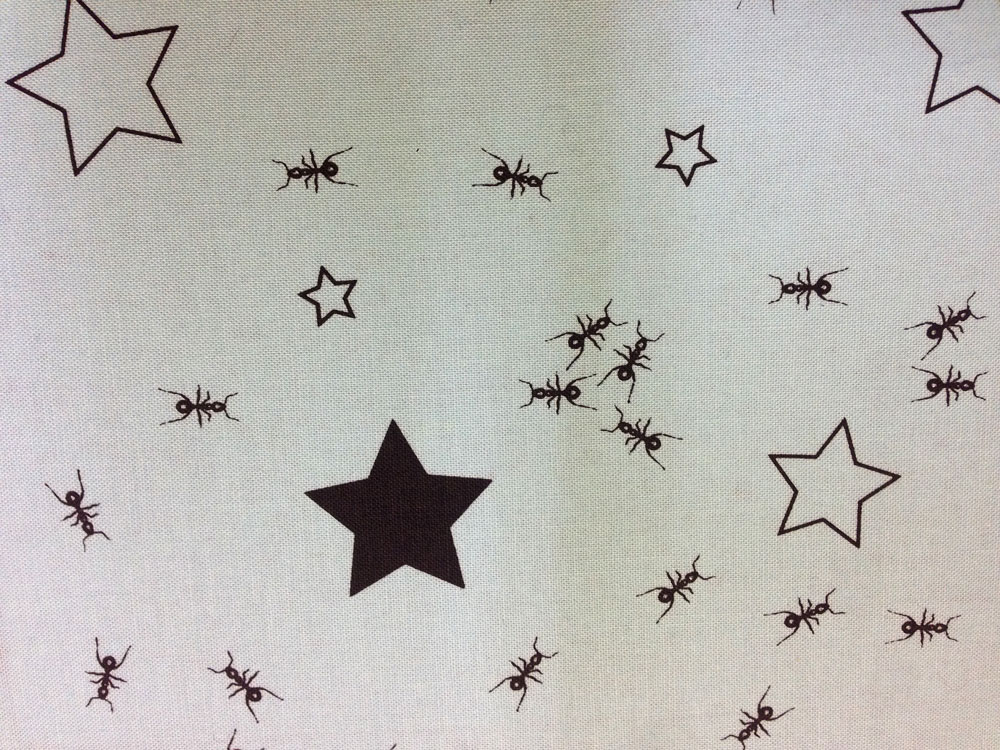
- 7. Now the screen is ready to use. FYI: screen printing set up is what takes the most time in printing, and why there is a set-up fee for print orders. Here is a close-up of the image:
- 8. Now we can put the screen on the press! (Yes, more set up!)
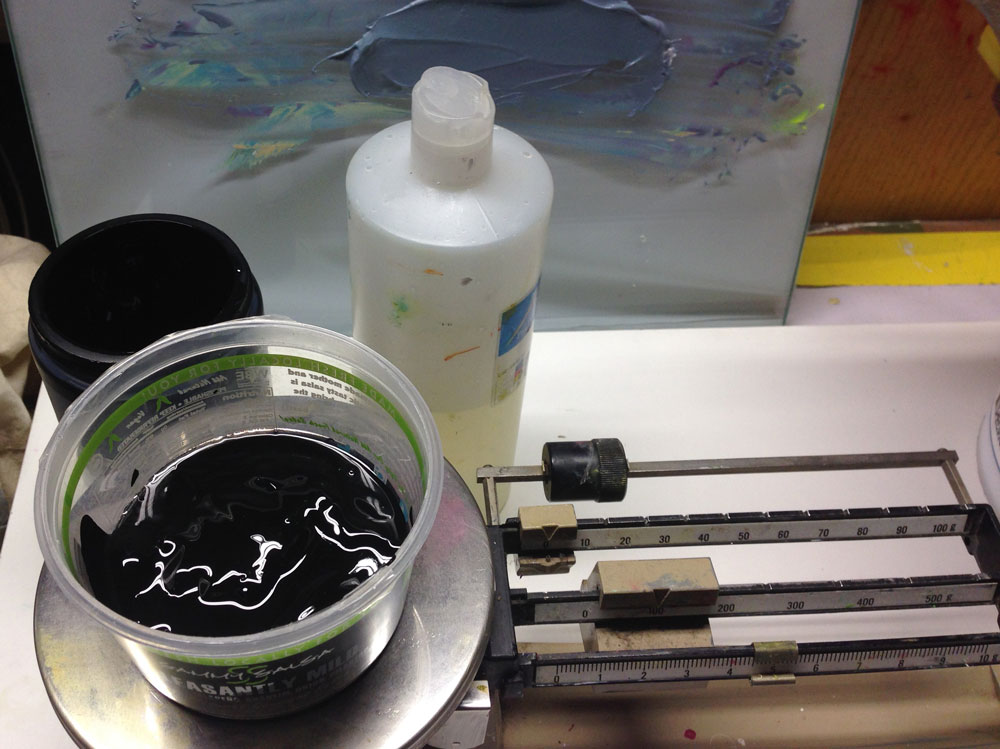
- 9. Since we are printing on fabric that people may want to iron, we want to use waterbase or discharge inks for printing. That way the end user can freely wash and iron the fabric. These inks need special mixing which requires exact measurements.
- 10. Ink is mixed and screen is on press, so now we can actually print! Time to put some ink on the screen.
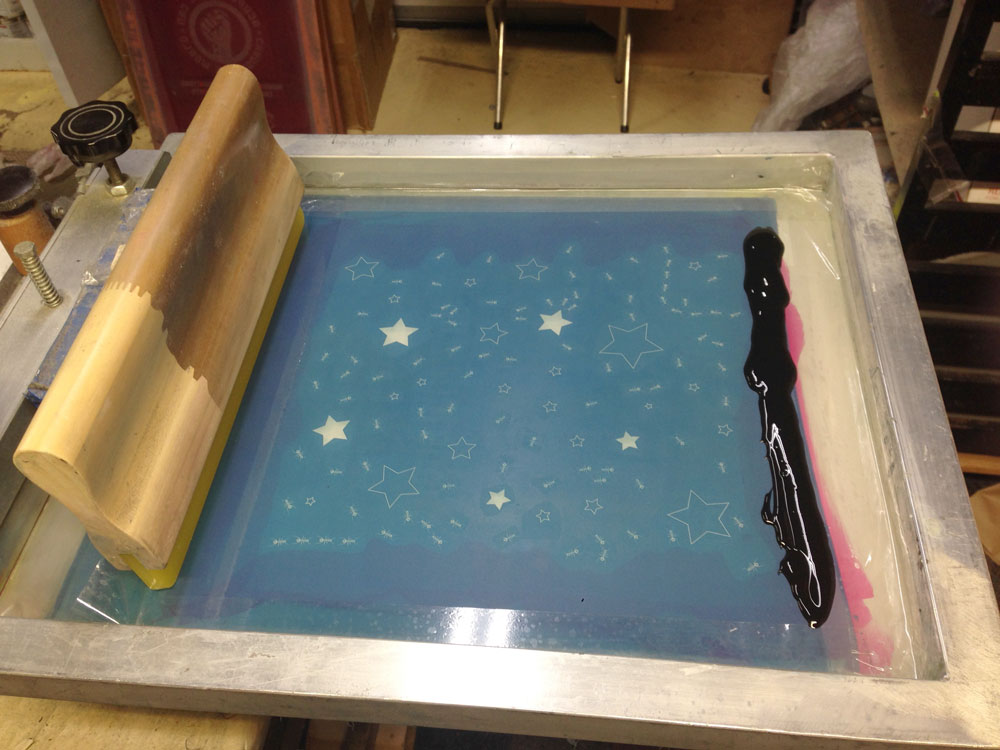
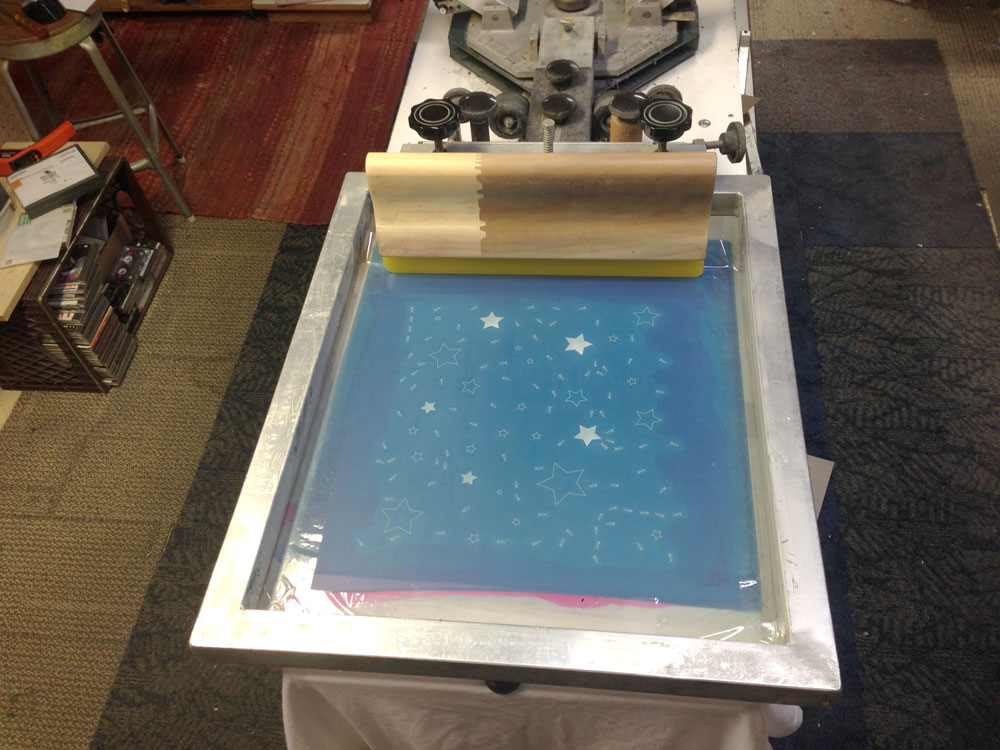
- 11. We charge the screen with ink by pushing the ink over the image area with the squeegee. Here is the screen full of ink, ready to print:
- 12. The screen is put directly onto the fabric or shirt and the squeegee is used to push the ink through the holes and onto the fabric.
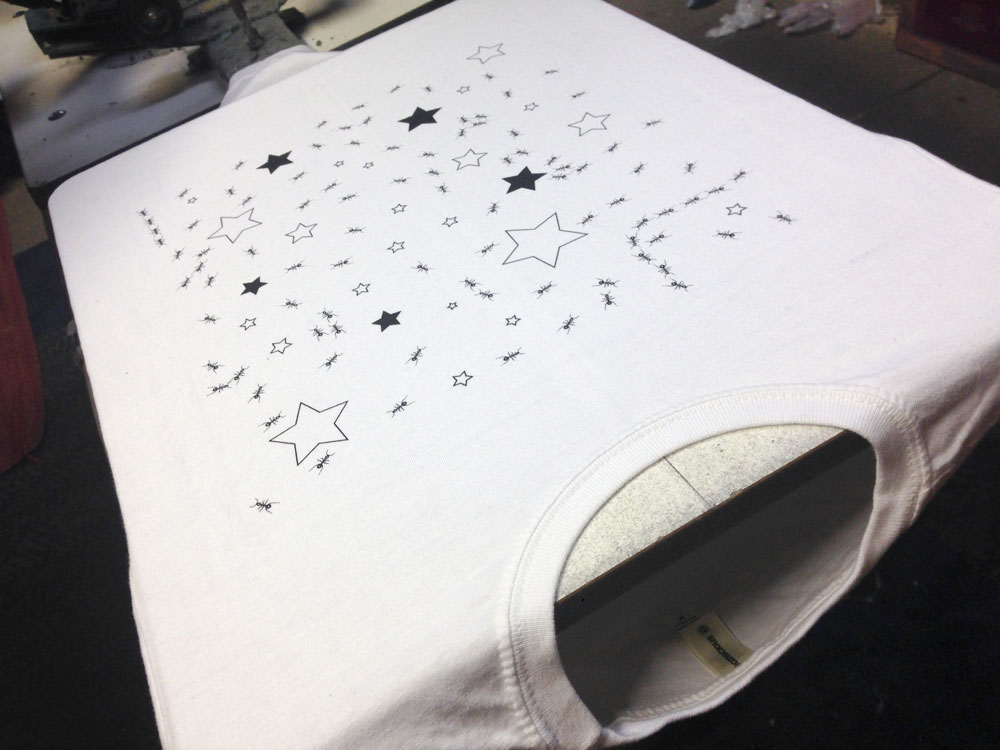
- 13. You can see the detail Gregg can hold – after 22 years of printing, his skills shine! I can print too, but I have a much harder time keeping the edges of the print image clean.
- 14. The tool he uses the most while printing is a tweezers:
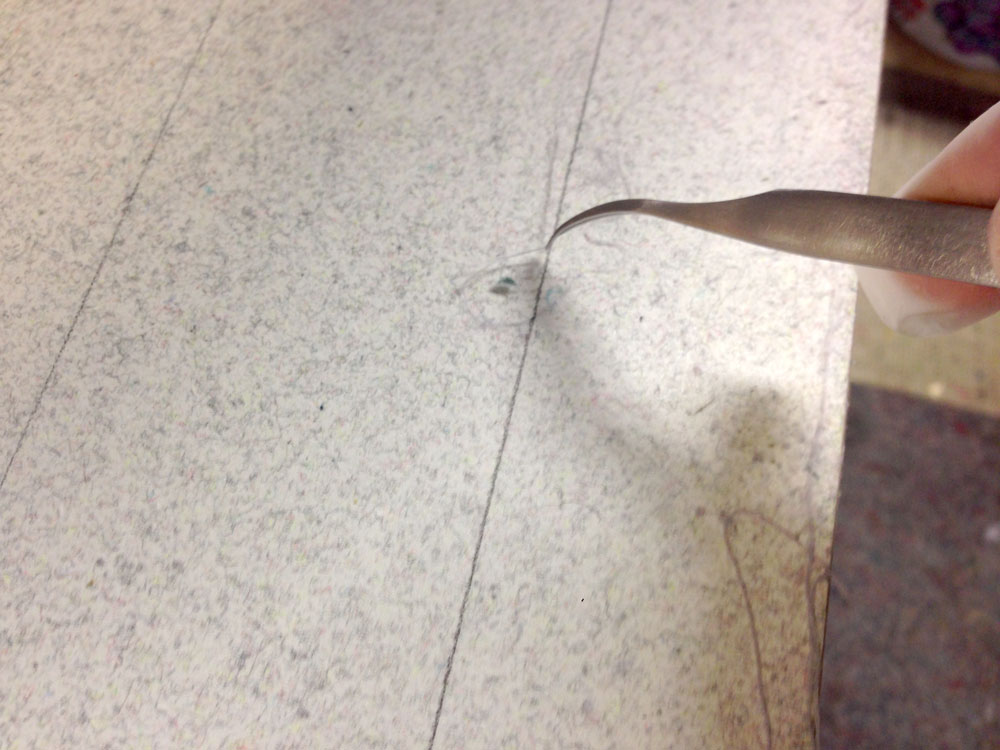
- 15. He has to keep the print board flat – threads can really affect a print. And fabric is full of threads!!The end result is totally worth the work!
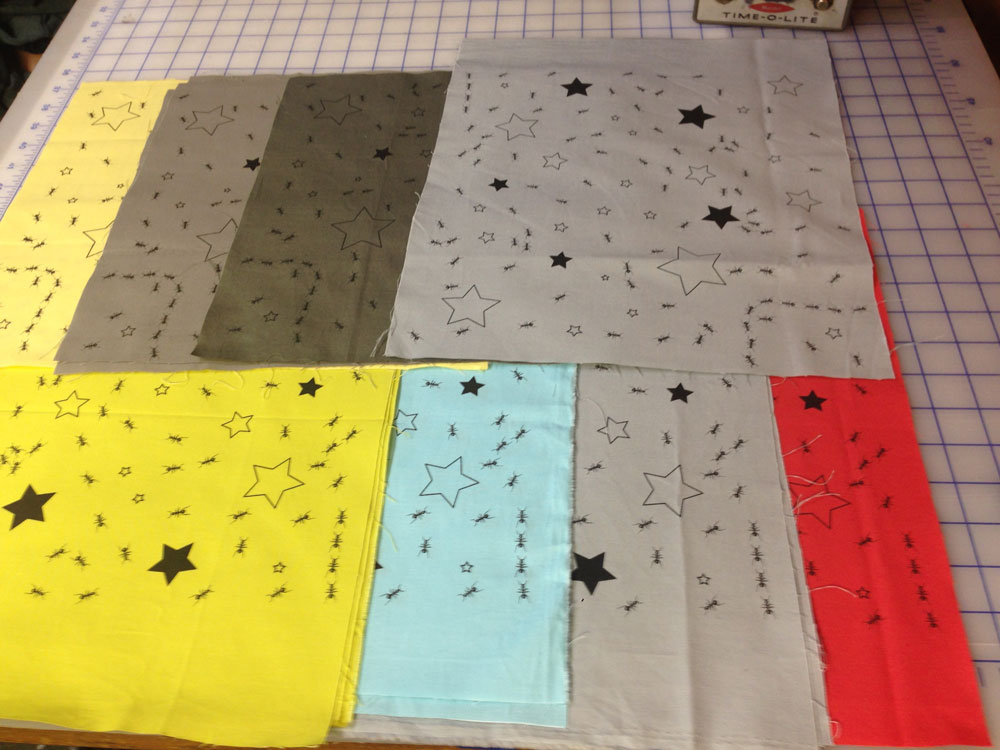
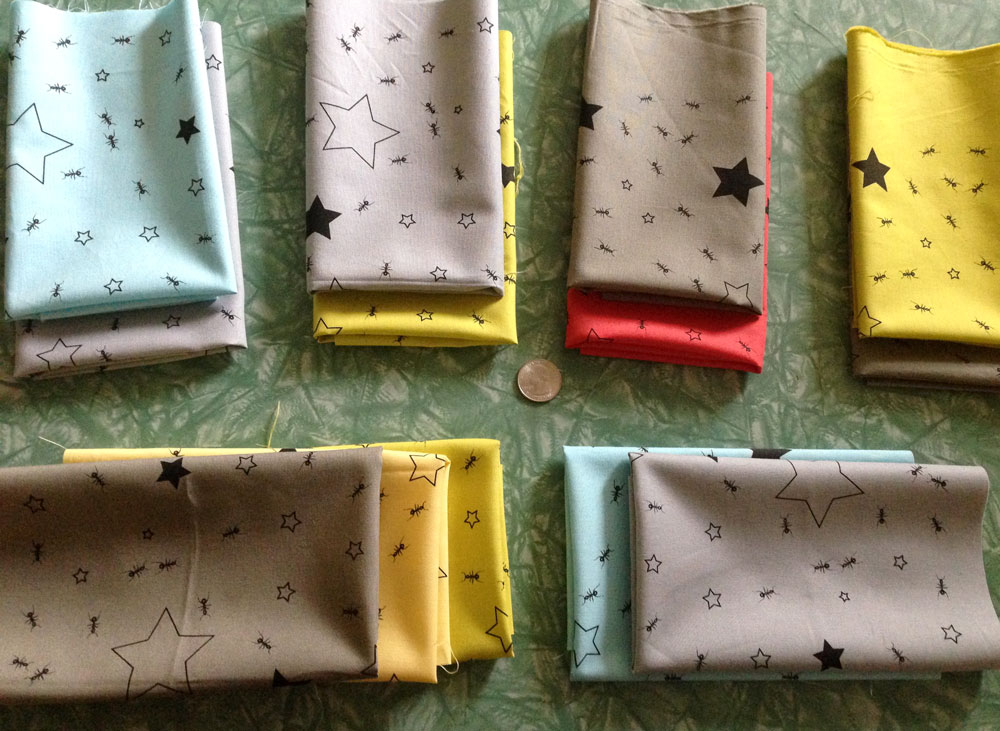
- These “Ants in the Stars” printed panels will be available for purchase soon! Gregg and I are working on a new business plan. We will have an online store opening in February 2018 where we will offer more serigraph print panels like this (12″ x 14″), and possibly: custom printed quilt labels.
We are still figuring cost and shipping and all that goes with retail sales, but I’m so excited – I wanted to share! Plus I’m going to fish for image ideas. What would you like to see on fabric that you can’t find anywhere else?
We finally set up an IG account for Phantom Chicken, so if you’d like to follow our printing adventures follow us. Our Instagram handle is: PhantomChickenStudio.
Great post (and explanation), Gail. Congratulations on this new venture! It’s a great idea.
Oh, thanks so much Marjorie! I’m looking forward to it 🙂