I’ve been on a mission to create a sewing tutorial. Making a tutorial became a project in its own right. I needed good lights, a place to film, and a good camera to work with. Then, I needed to create a place on YouTube to host these videos.
I’m working on how-to steps for English Paper Pieced (EPP) quilting, since that is my favorite way to make a quilt. My first video started with me pulling the thread through my stitch because I forgot to knot the end… so my first tutorial is:
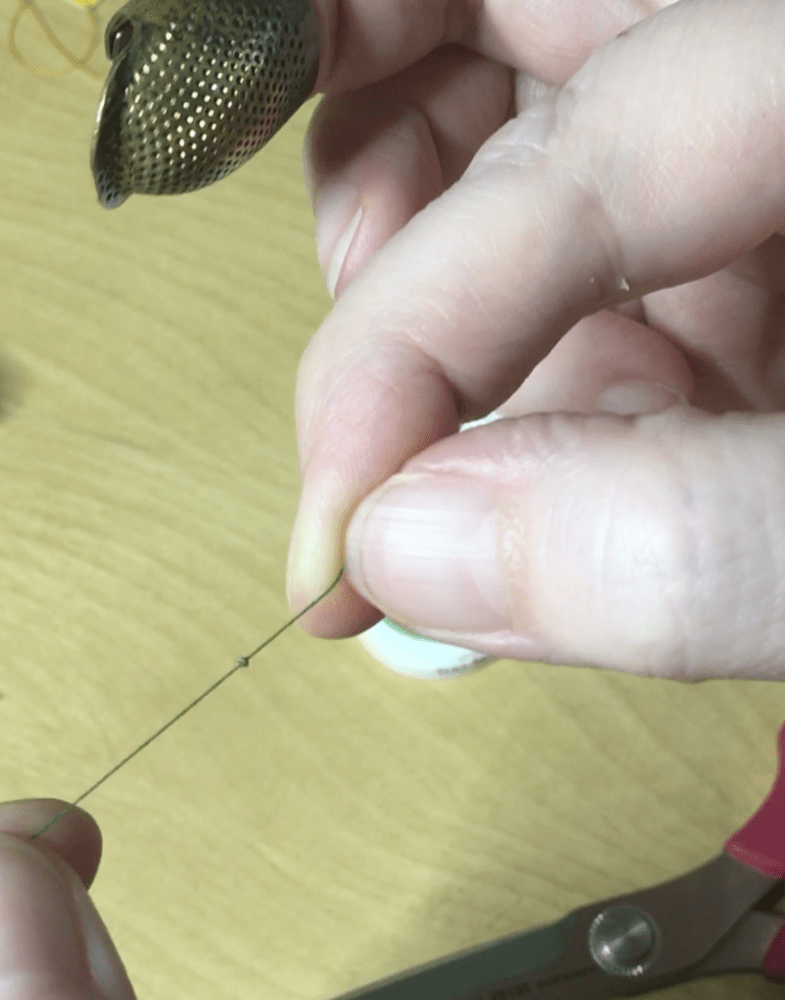
How To Make a Quilters Knot
My daughter gave me her not-so-old iPhone the other day, so now I have a great camera to work with. I even got a little microphone so you can hear me talk over the music playing in the background. I still feel like my voice sounds strange, but it helps to have the verbal aspect with the visual.
Lighting is important too. Luckily I have some nice bright LED lights to work with, but I’m still noticing unwanted shadows. I’m happy with how the auto focus was able to catch the details in the thread and needle.
The next task is to learn is: editing video. It would be great to make edits and play with speed, splicing, etc. I think learning via video is easier than reading instructions and seeing a lot of photos, which is how all my older tutorials have been made.
I’m quite content with how this first video turned out. I’m excited to do more sewing tutorials over the course of this month as I take part in the 31 Day Blog Writing Challenge. For now: Happy Quilting
I’m so impressed with your capabilities and creativity. You are on fire, woman!
Thank you!