
Hexies-A-Go-Go
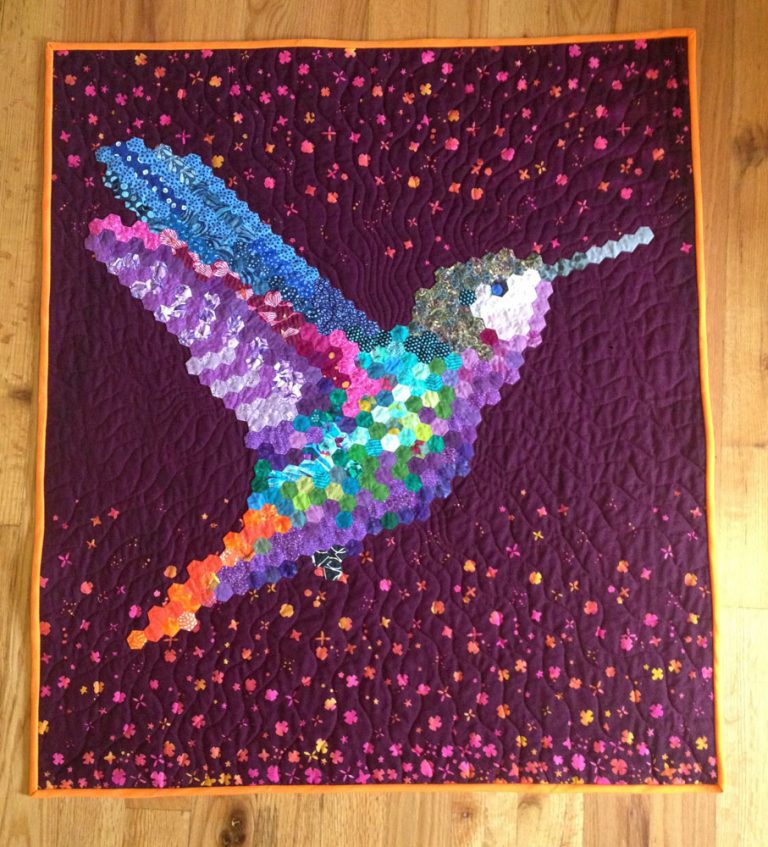
I’m just about ready to start stitching my new hexie hummingbird design, and I thought I’d share how I take my hexies to-go with me so I can work on piecing anywhere!
I physically layout my whole design before starting to stitch. That means you need to have a layout space large enough for your project. The hummingbird is on the smaller side, so it fits on card table. For other projects I’ve used a 4′ x 8′ piece of foam insulation covered in batting and rested it on a table top.

Once you have your layout exactly how you want it… you can take your piecing on the go with a handy little roll:
Here’s how (get ready for a few photos!)
You’ll need • a long strip of batting about an inch wider than your hexie pieces, • a strip of fabric same size as the batting strip, and • a scrap of practice quilting

The scrap of practice quilting should be the same width as the fabric and batting. Roll it up and secure it with paper clips.

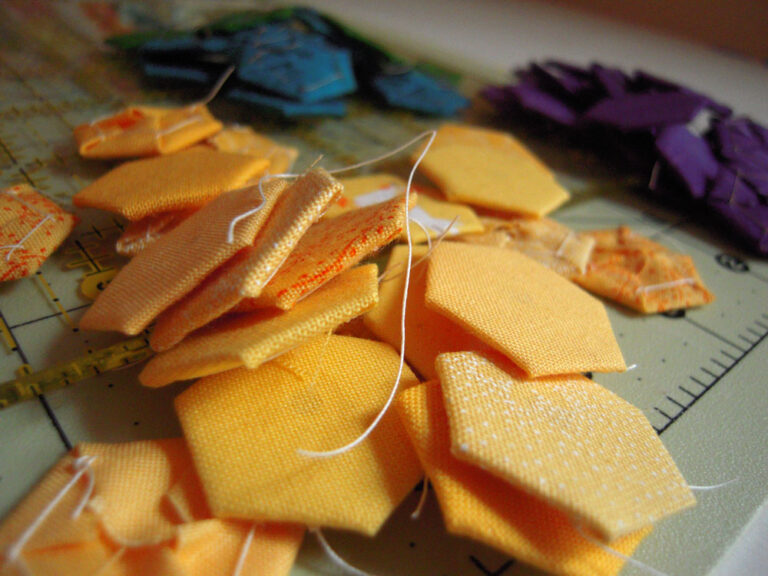
Next, start laying out a row of hexies – centered onto the piece of batting:

Continue lining up your hexies exactly as they are in the layout:


Leave a little space between separate rows, so you don’t accidentally sew them together.


When you run out of space, lay the strip of fabric over the hexies.

This piece of fabric will keep the hexies from sticking to the backside of the batting.
From here, take the pre-rolled quilted scrap and place it on the end where you just ended your layout. This piece will keep your hexies from getting bent in the roll.

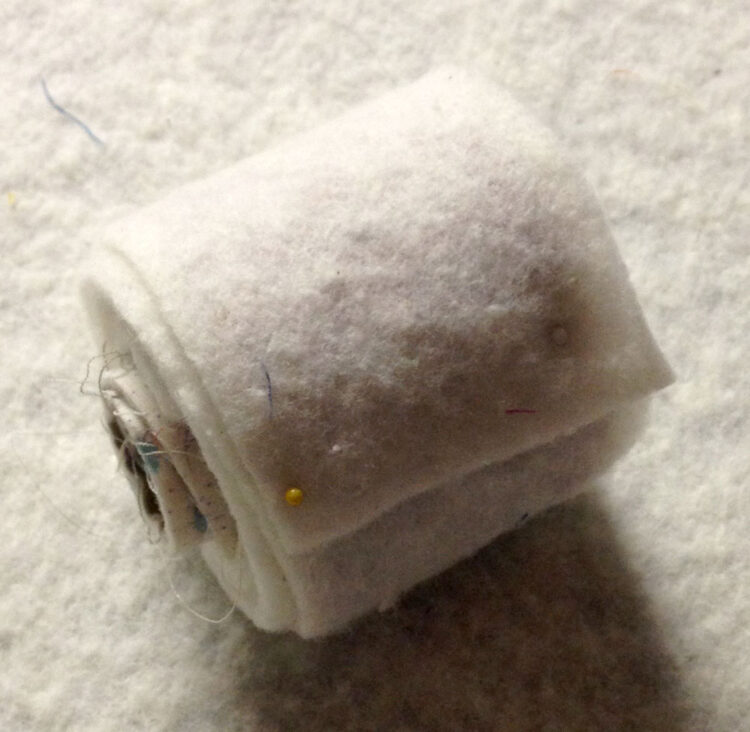
Carefully roll it all up, adjusting the fabric strip as needed:


Now you can pin it on the sides to keep it all in place:

When your ready to stitch, place the roll in a small plastic container like this:

I put a spool of thread behind it for stabilization, because this roll is a little small for the container. Once in place, you can un-pin and carefully start to pull the batting:

Lay the batting over the edge of the container and pull as you need – it’s sort of like a Pez dispenser for hexies! It’s a great way to sew in rows and keep all your hexies exactly as you had them laid out.

Once you have a completed row stitched up, you can lay it back on your design table, and start on another row.
If you try this little hexie-dispenser idea, please let me know how it works for you!


Very clever!
Thanks Dawn!