I’m working on a Hexie Hummingbird right now, and I sew in rows, and in my previous post, I show how I take my hexie-row sewing to go. In this post, I’m going to show you how I stitch these little guys together! *I feel the need to say: this is my own technique – it may not be the “right way”, but it works for me!*
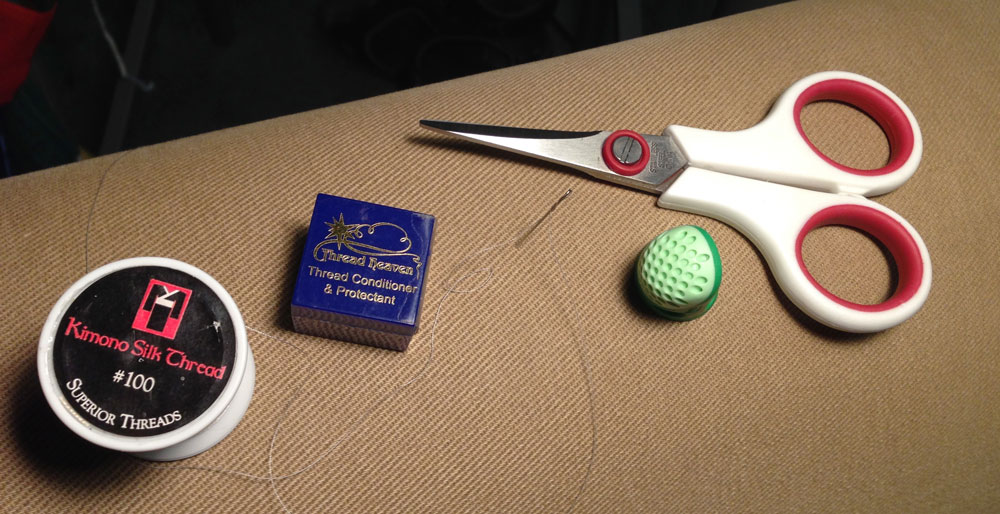
First, you’ll need all your ‘tools’. For me, this is a well-fitting thimble, John James #10 needle, Superior Silk Thread, Thread Heaven, and a scissors.
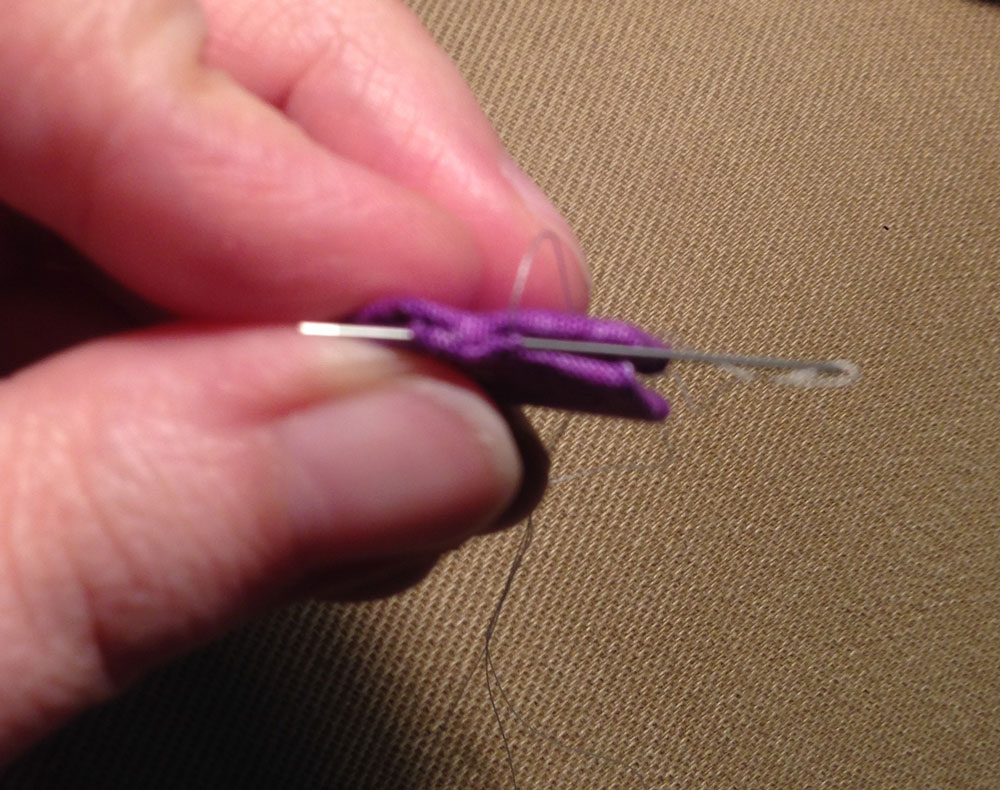
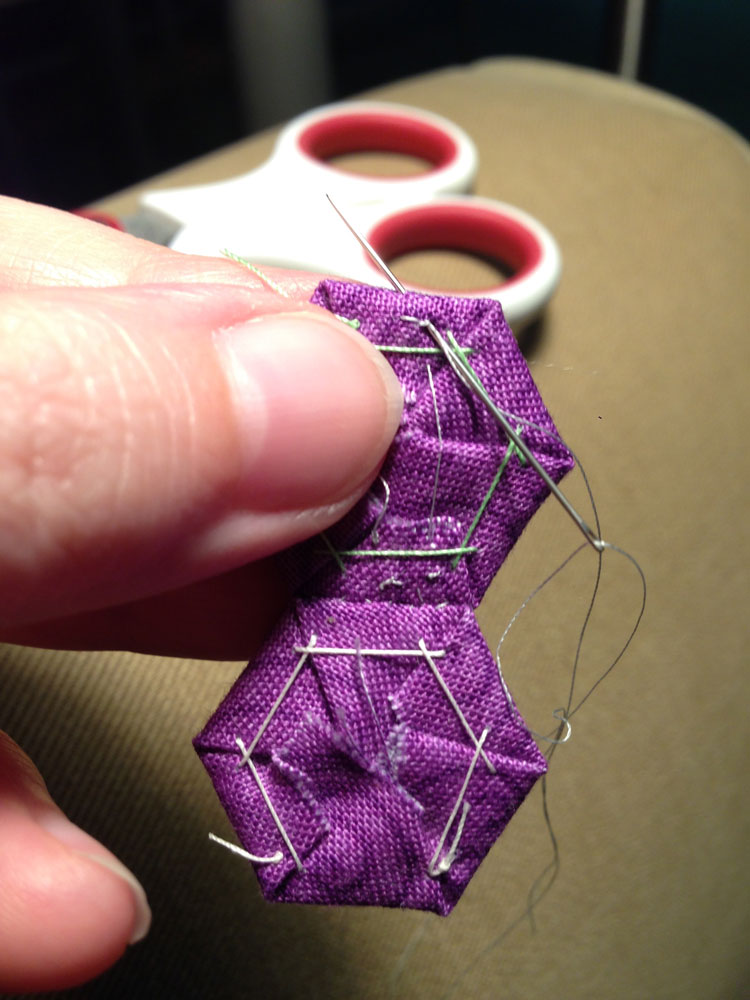
After threading my needle, I run it through the Thread Heaven – this makes the thread easier to work with and last longer. I make a quilters knot in the thread – and start in the center of my first hexie, and tie a knot:
Then I push the needle up through the center, staying on the inside of the hexie:
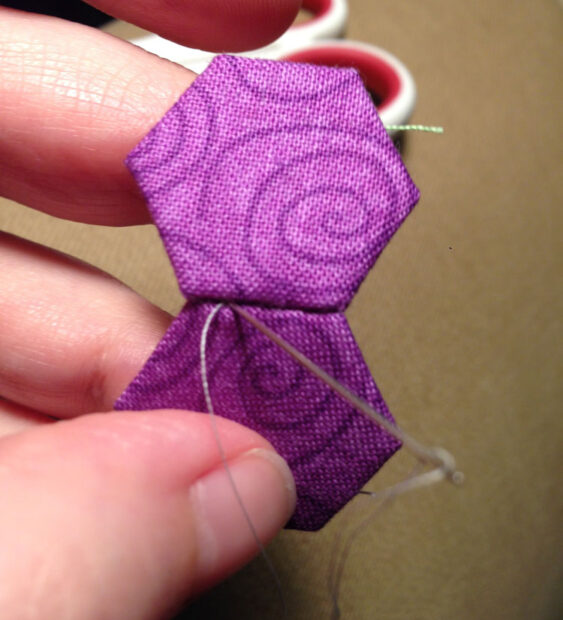
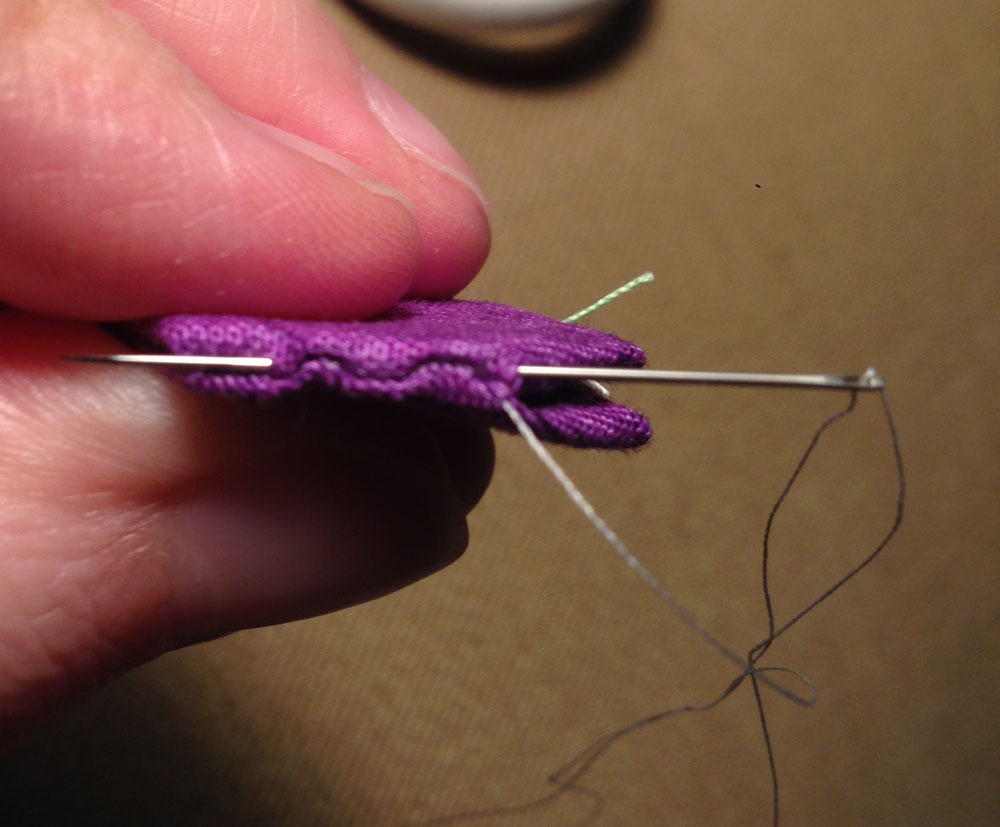
Next, I take the hexie I’m going to add and make sure it’s nicely aligned to the first hexie, with WRONG sides together, and then do a ladder stitch to one end:
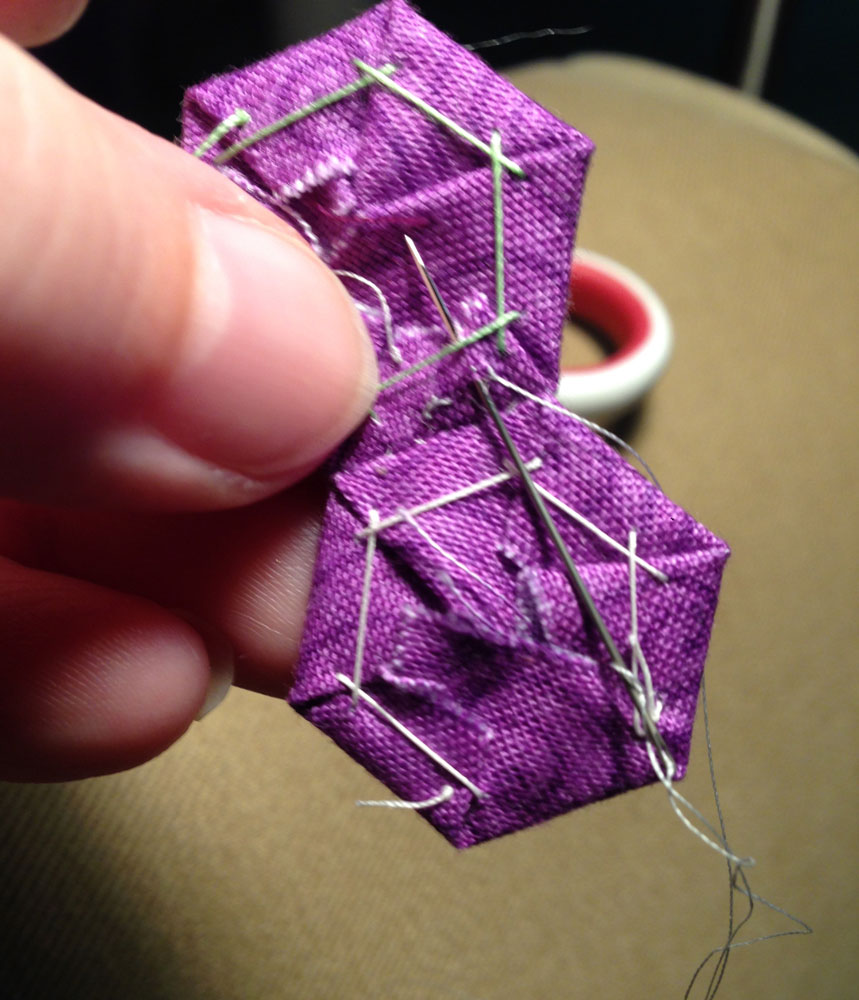
Flip the hexies over and ladder stitch all the way to the other end:

Flip the hexies again, and ladder stitch back to the center:
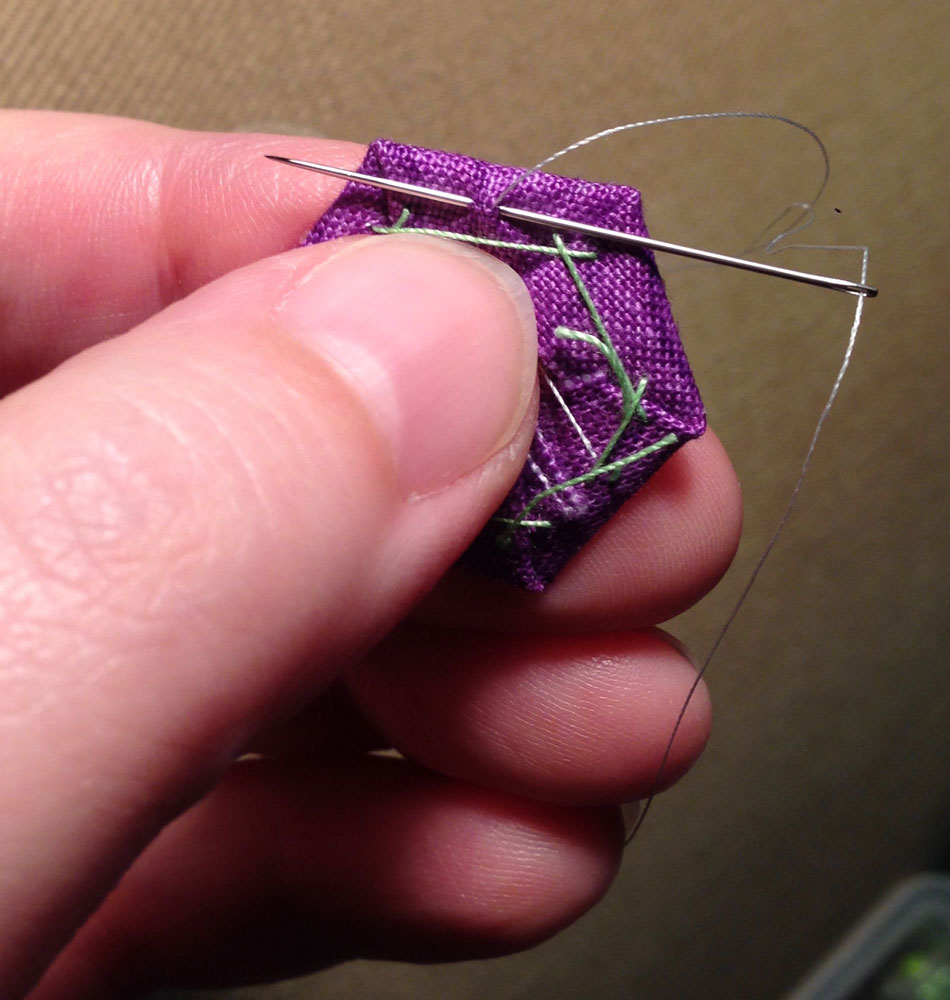
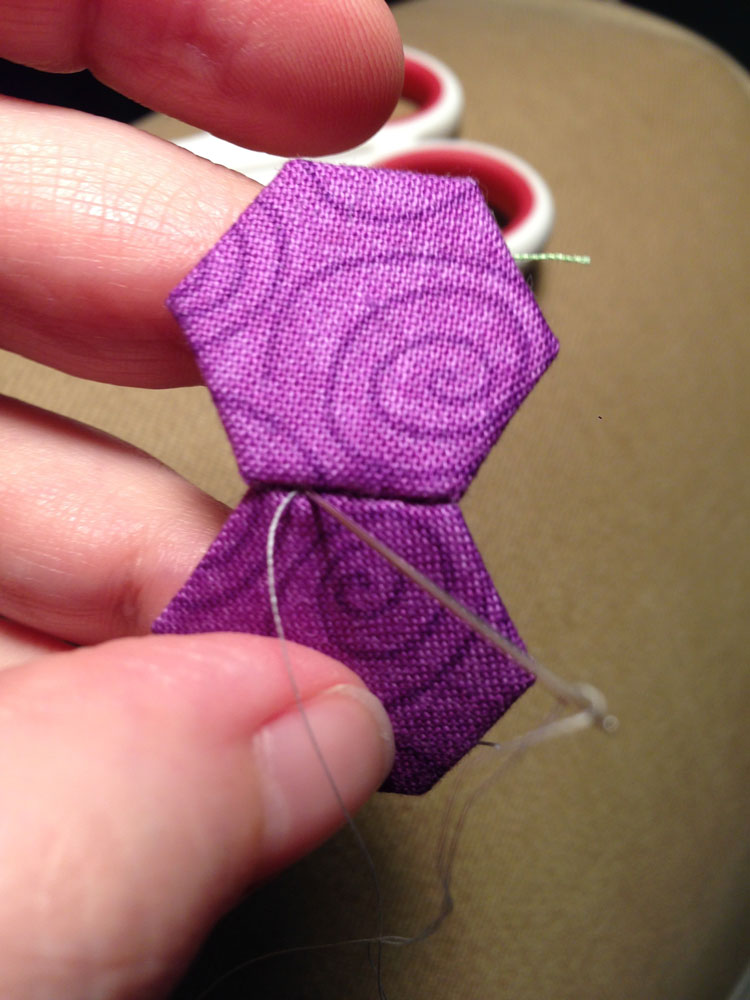
‘Open’ the hexies, then carefully send the needle through to the backside without catching any fabric (if you do catch fabric, you’ll see the stitch on the front):
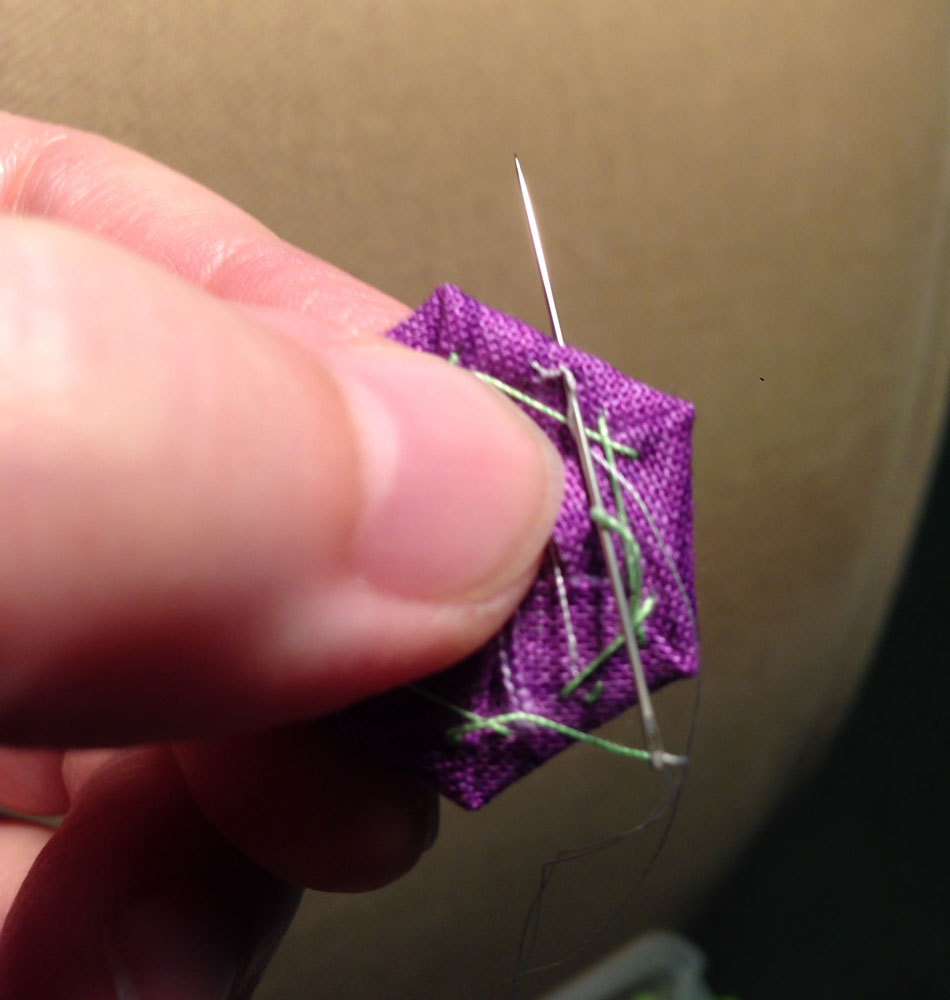
Tie a knot on the back, close to where the thread emerges from the front:
From here, you can make a running stitch up to the top, where the next hexie will go, and make another knot – this way, if the running stitch accidentally gets snipped, the knots will keep the stitches in place:
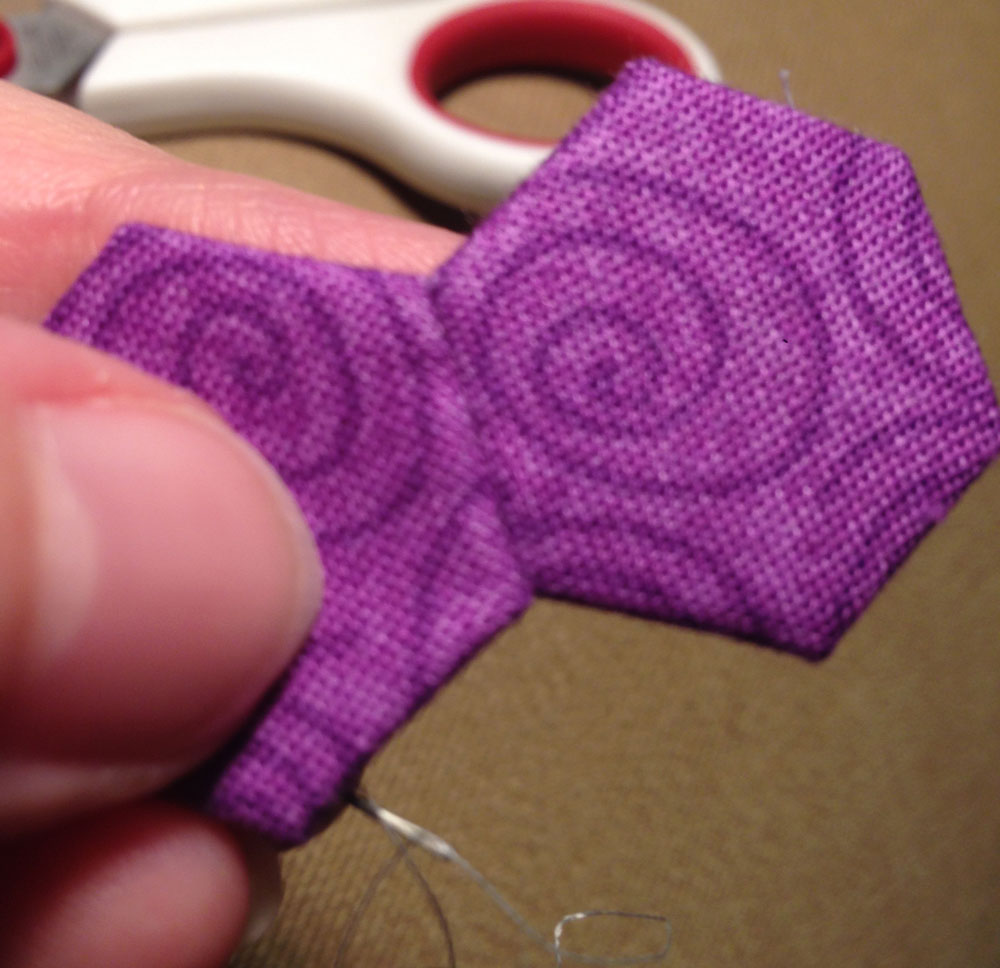
Voila! Well stitched hexies… with NO stitches showing!
I have just finished sewing all my rows for the Hummingbird – next up I’ll be sewing these rows to each other.
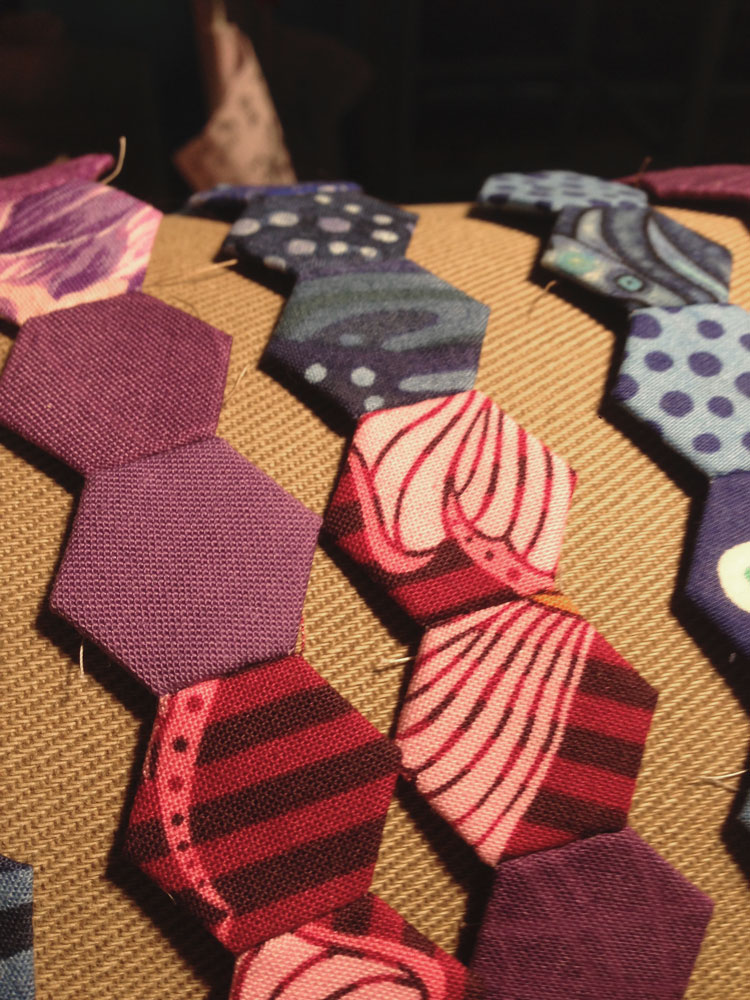
It’s really going fast! It makes such a difference with the decision to appliqué this onto another fabric, rather than making a full hexie background. It feels real good to be able to get a hand-project done quickly!