
I recently designed a new quilt that will need to employ foundation paper piecing for accuracy. I was pretty hesitant to start making blocks until I was shown a really neat technique at our PMQG sew day. My friend Rozina who was working on a Pickle-Dish block, was kind enough to show me.
After she showed me how she did paper piecing, I went out and bought a roll of freezer paper. This is a pretty easy way to get accurate piecing… AND not have to rip papers out at the end.
I haven’t managed to film a good working video yet, so get ready for a lot of photos!
Tutorial
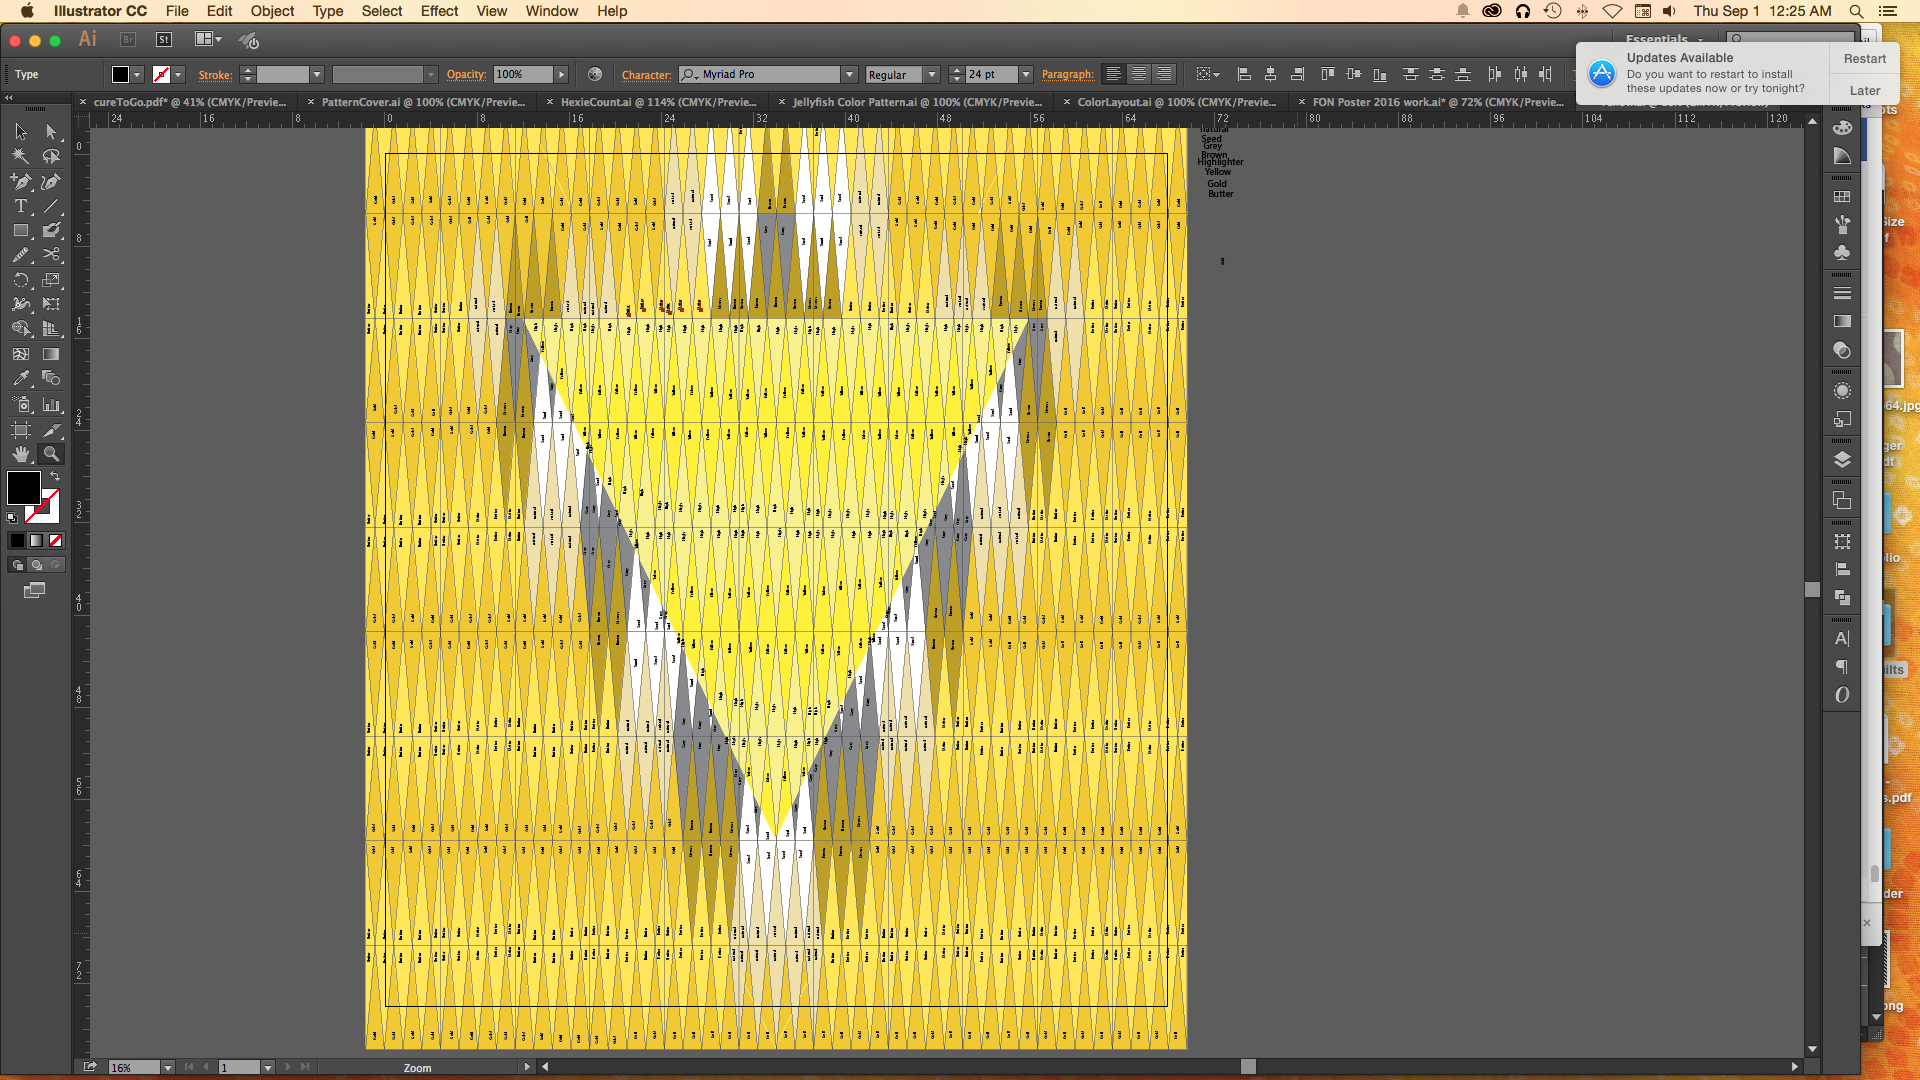
The blocks of this quilt are all the same – using different fabrics. There are 15 blocks in the quilt pattern that are split on an angle to make the inner triangle. Each block finishes at 6.5″ x 9″. I inversed the pattern and printed it on a piece of lightweight newsprint paper.
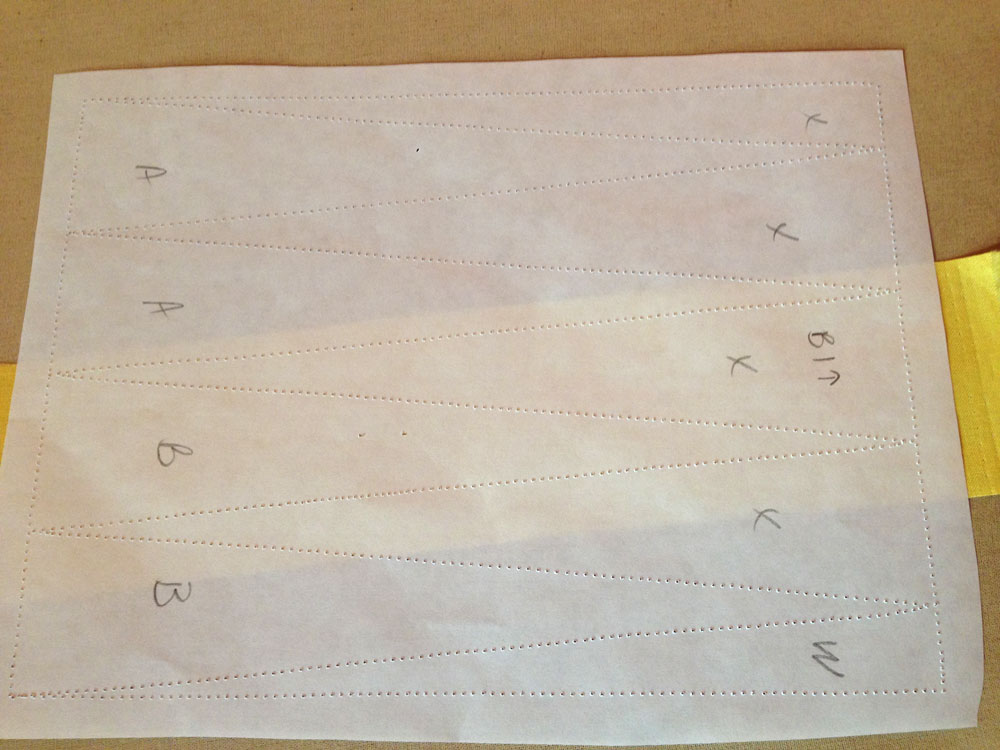
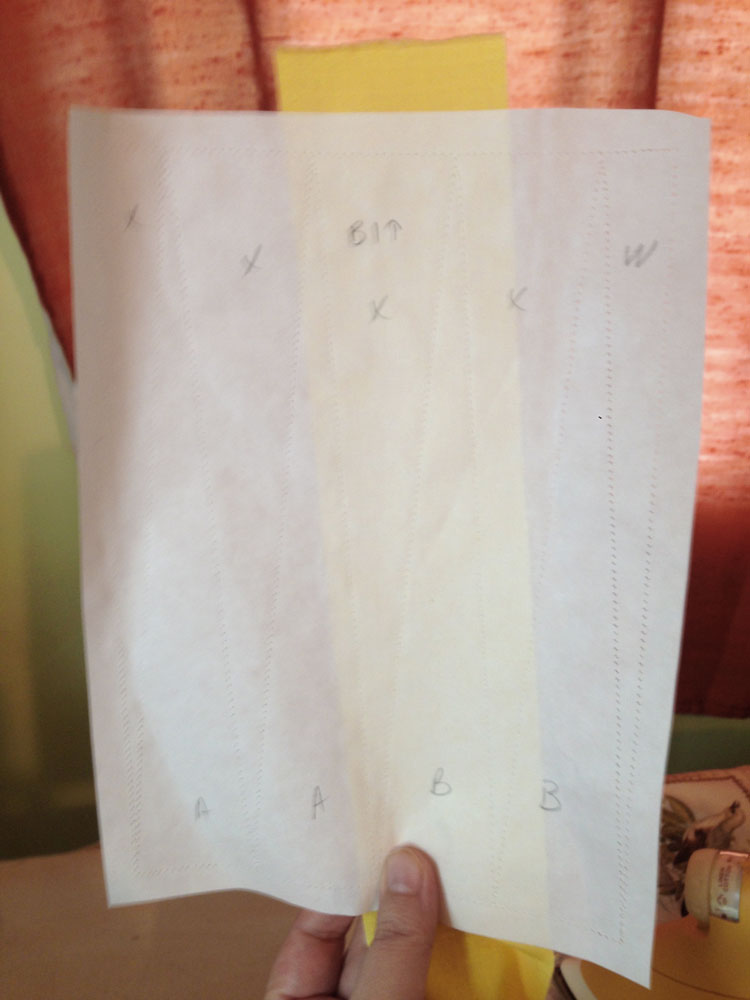
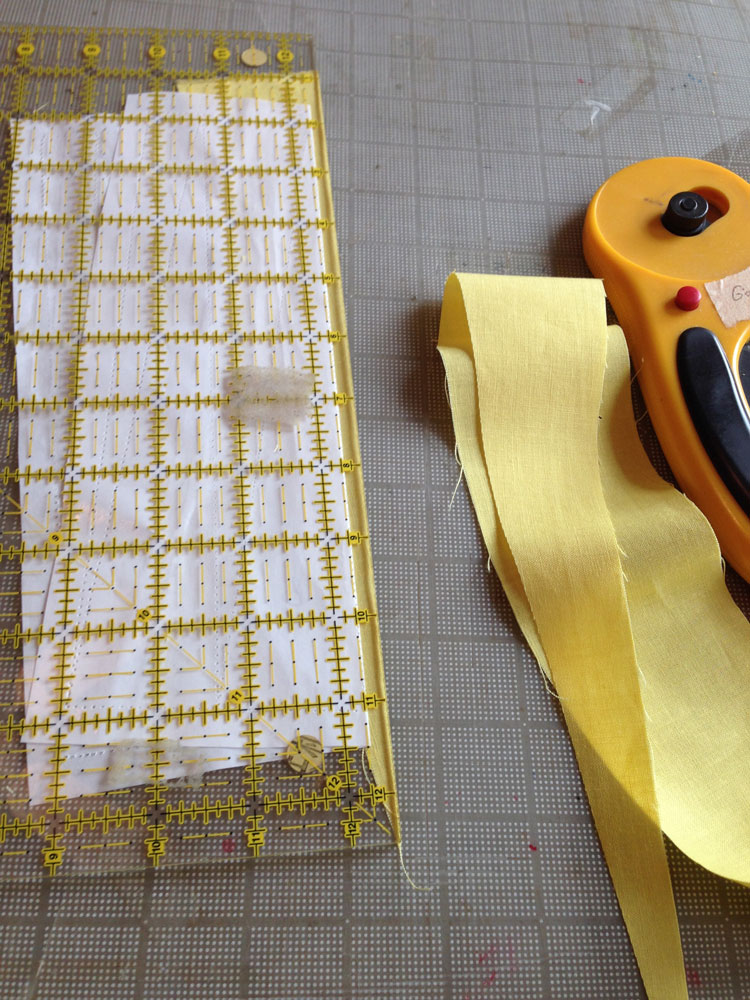
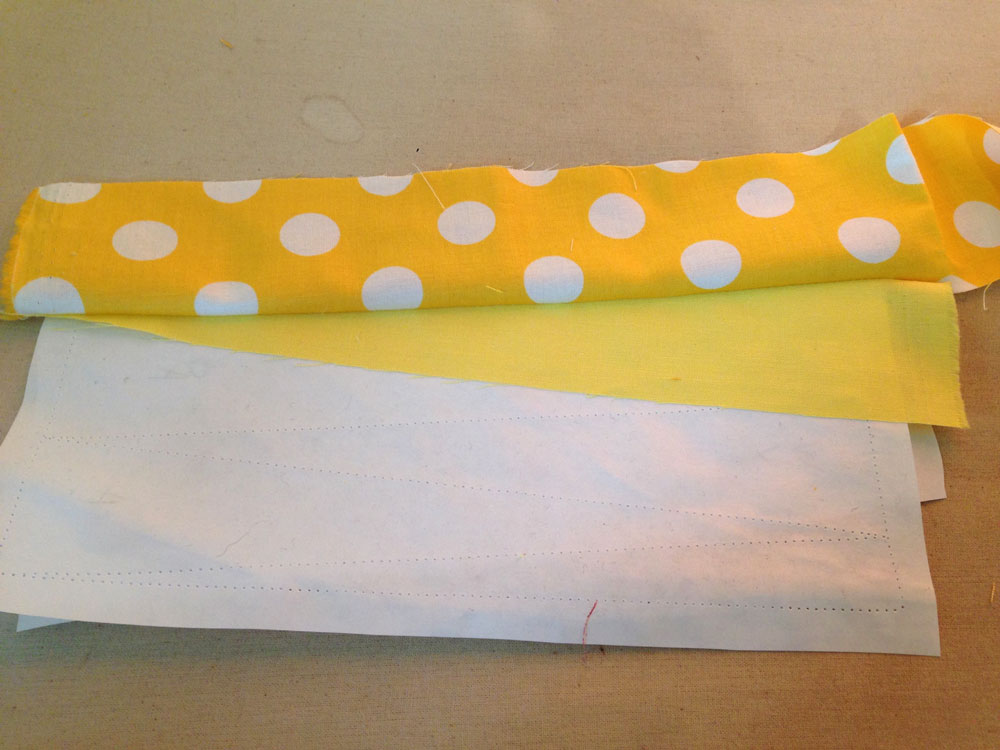
From there, I cut freezer paper to 8″x10″ sheets. This gives me plenty of room for additional seam allowance. I took 8 sheets of FP with the paper side up (wax side down) and stapled the paper pattern to the top. I stitched through all layers without thread, then carefully took out the staple. I trimmed the paper to 3/8″ around the pattern to account for seam allowance. This gave me 8 freezer paper templates with perforated lines, ready to use. These templates can be re-used quite a few times, but I opted to make a template for each block to keep things organized better. My machine did fine with 8 sheets, you may need to test yours.
Now the tricky part:
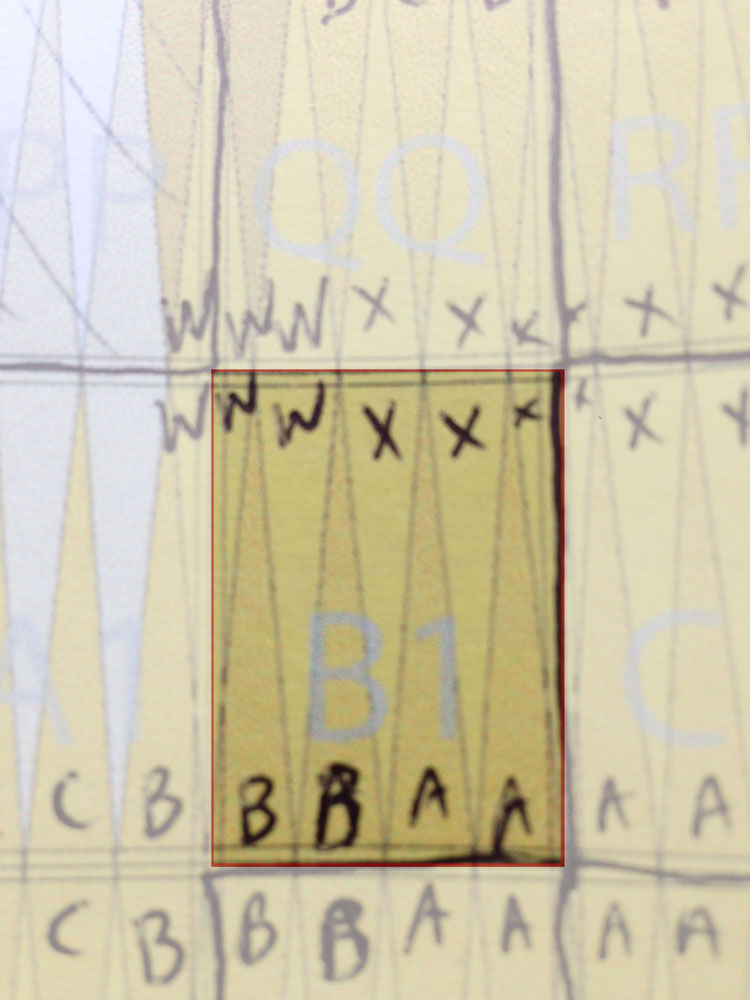
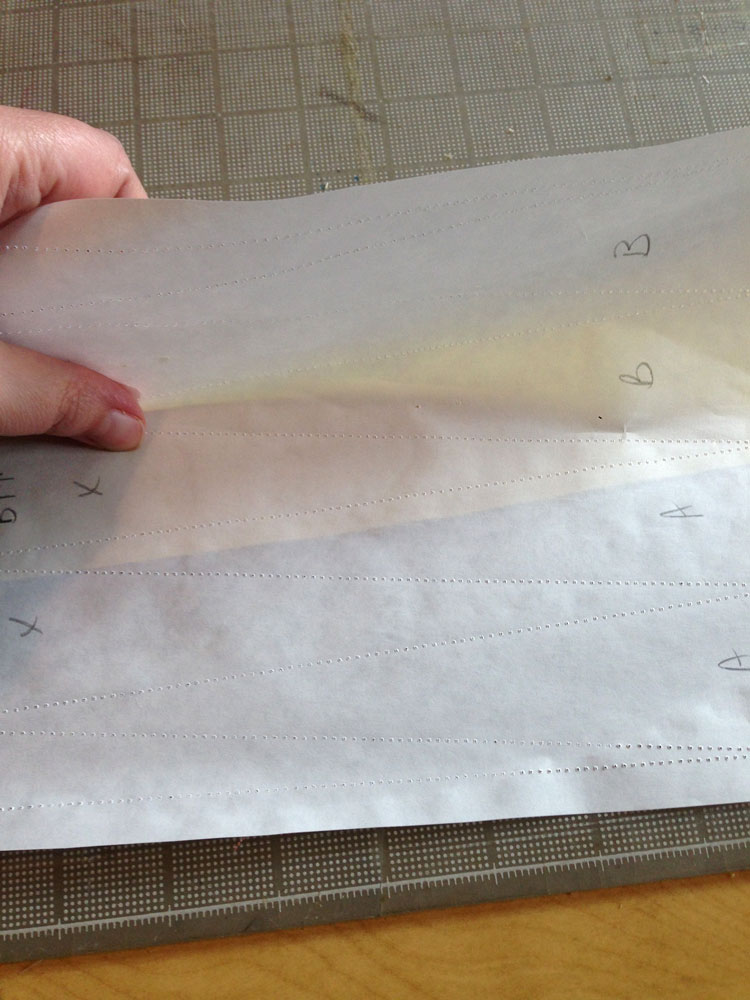
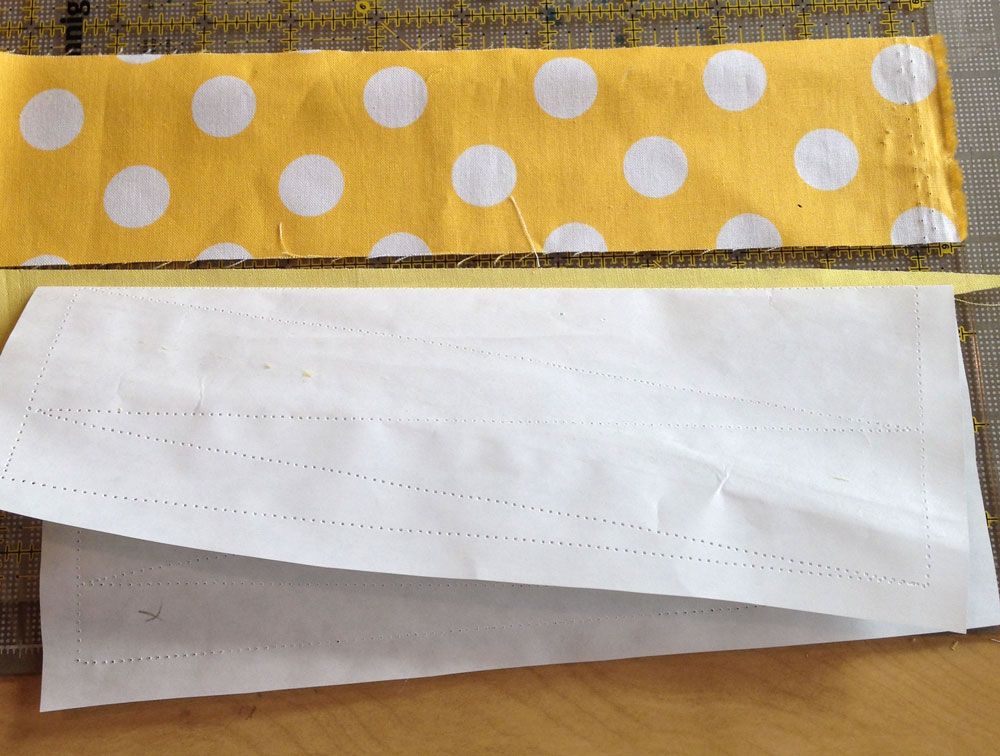
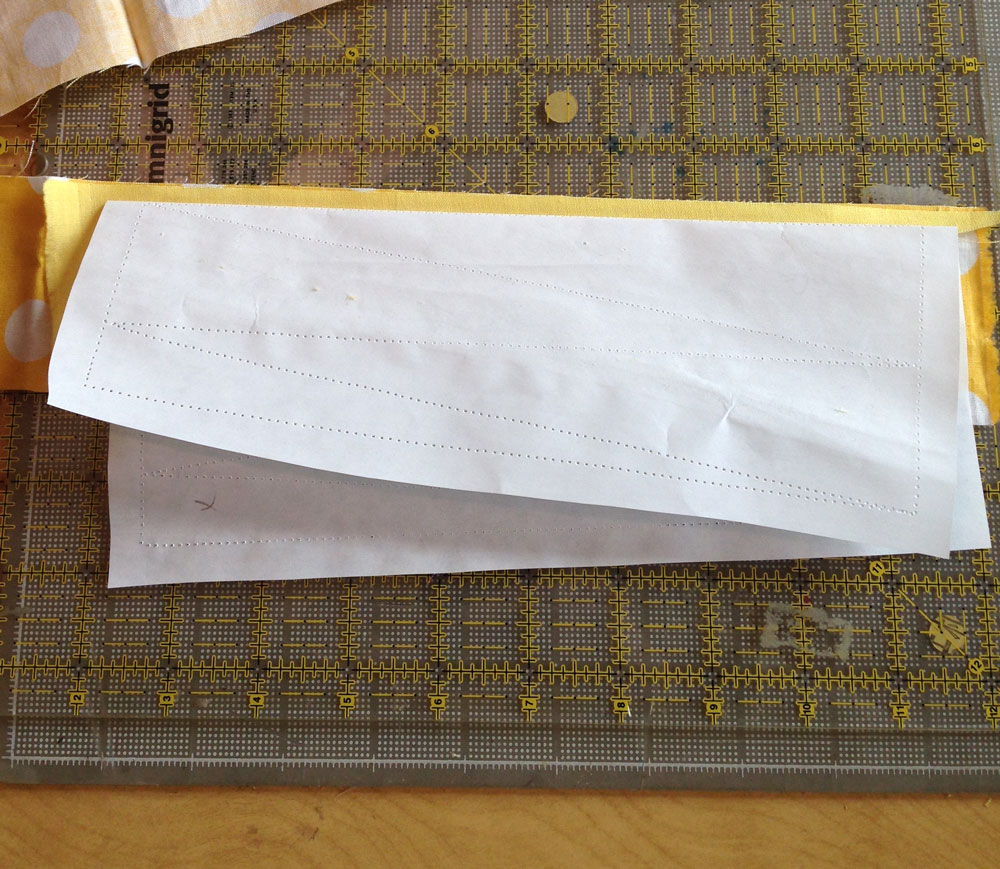
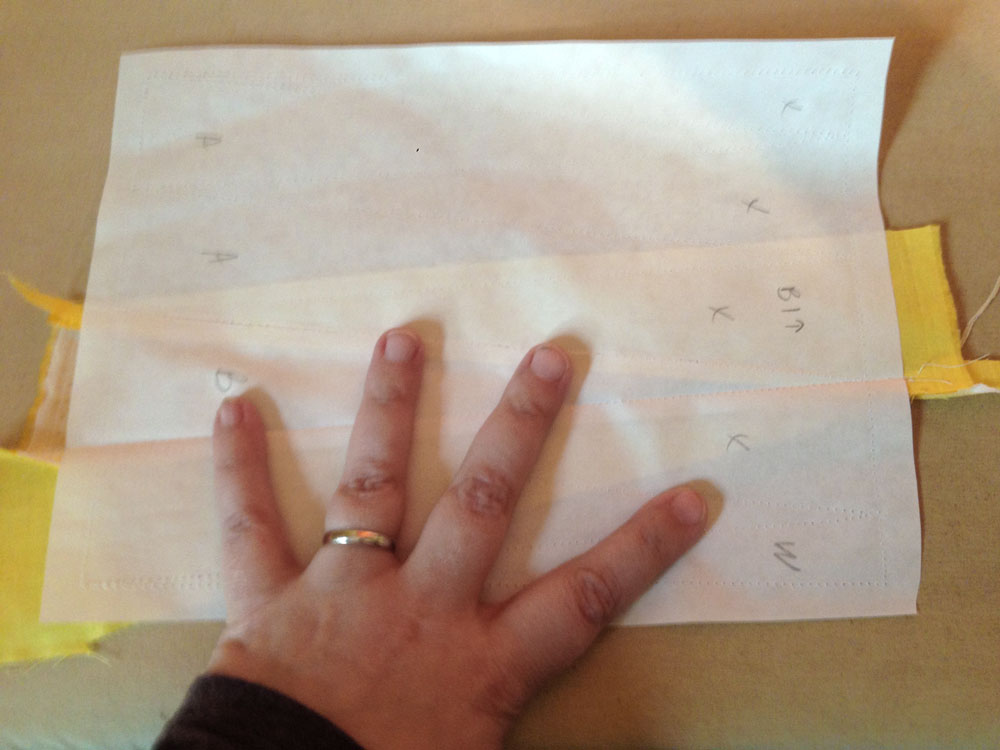
Here is the section of the paper pattern I’m going to demonstrate. It’s highlighted as Block B1.
I marked the freezer paper with pencil on the paper side so the marking is inversed. That is a hard thing for my brain to get around due to my dyslexia – I have to triple-check my markings before sewing, and I still get some things mixed up… but basically, if I flip the freezer paper over, the markings will match my pattern.
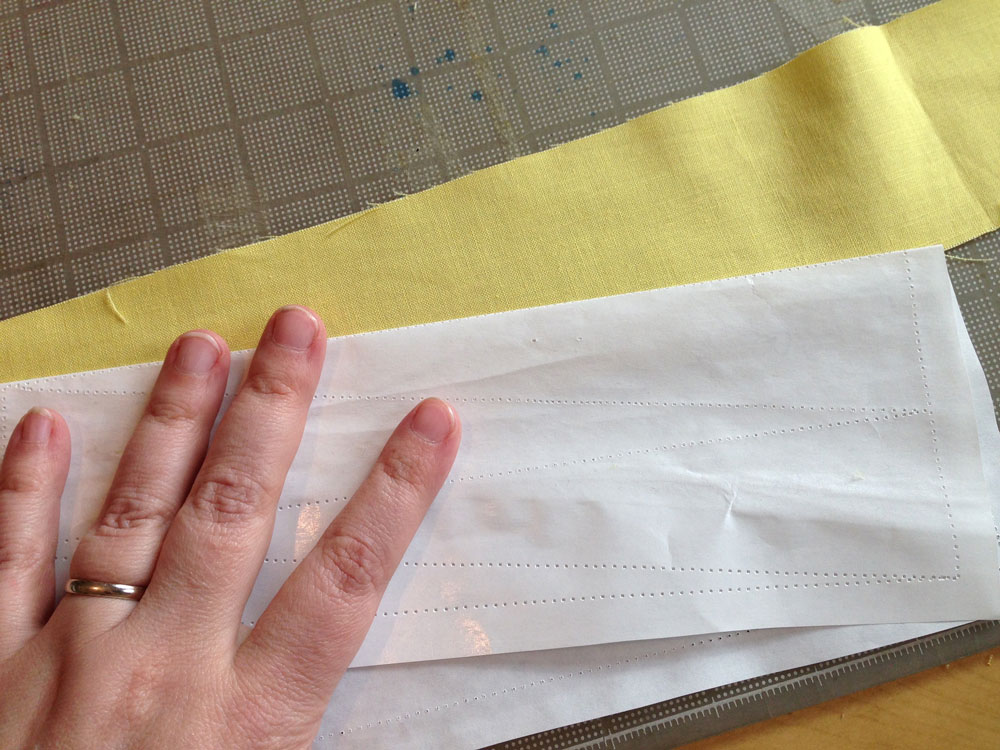
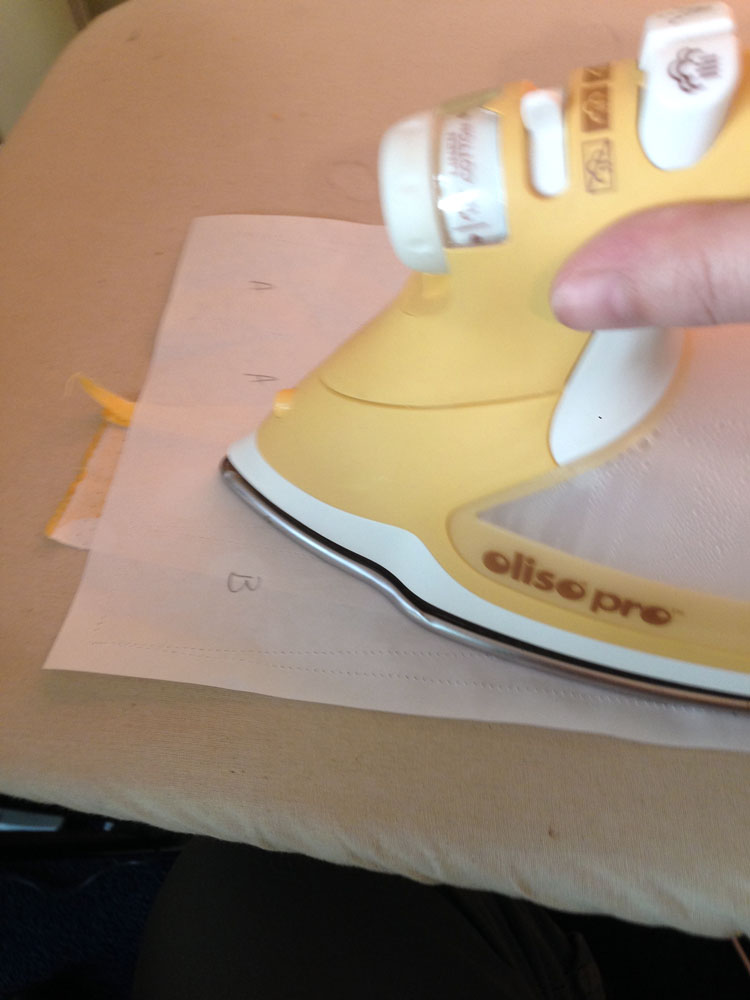
Iron template onto first piece
I start from the center section of the block – for this demo, “X” is for solid yellow. I put the fabric right side down, and lay the freezer paper over it (wax side down) and press. Don’t worry about the wax paper on your ironing surface – it peels up easily without residue while still warm.
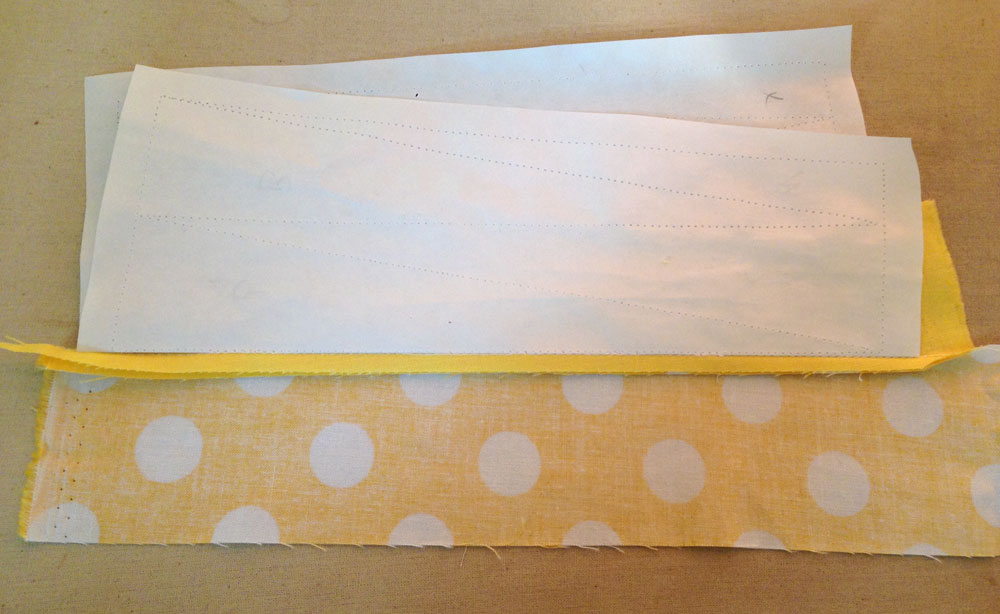
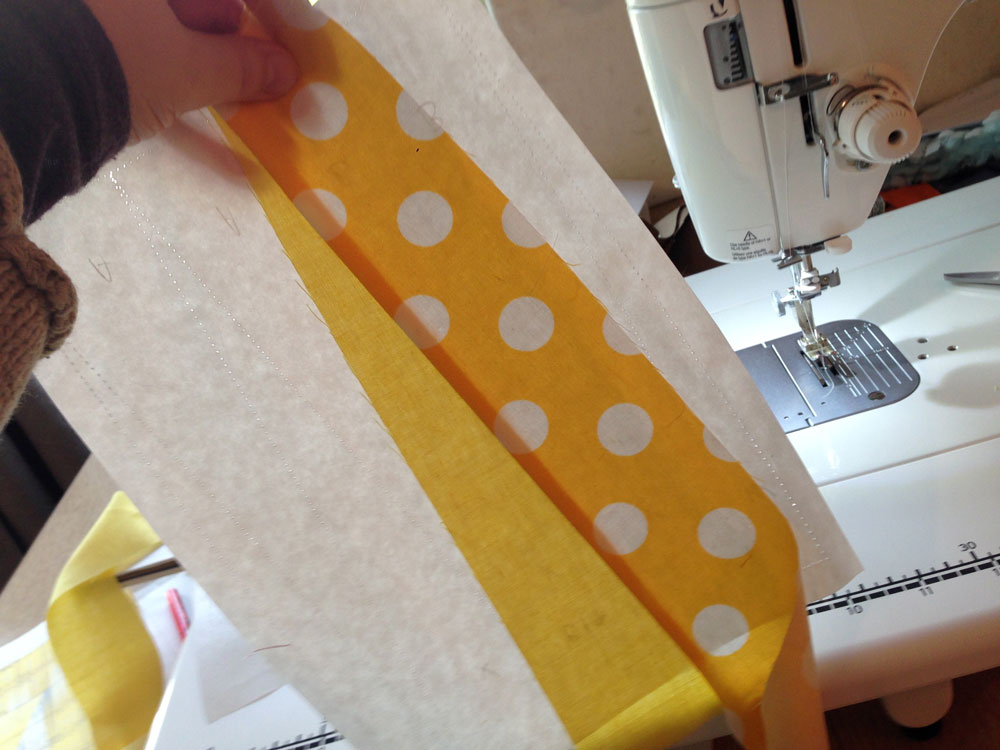
You can see here while I’m holding this up that the fabric is now adhered to the freezer paper. See how there is at least 1/4″ of extra fabric around the whole “X” section. There is excess on this piece I used, I need to trim that off. to do that, lay the paper/fabric piece on your cutting table, fabric side down. Carefully peel back the wax paper to the perforated line that marks the “X” section:
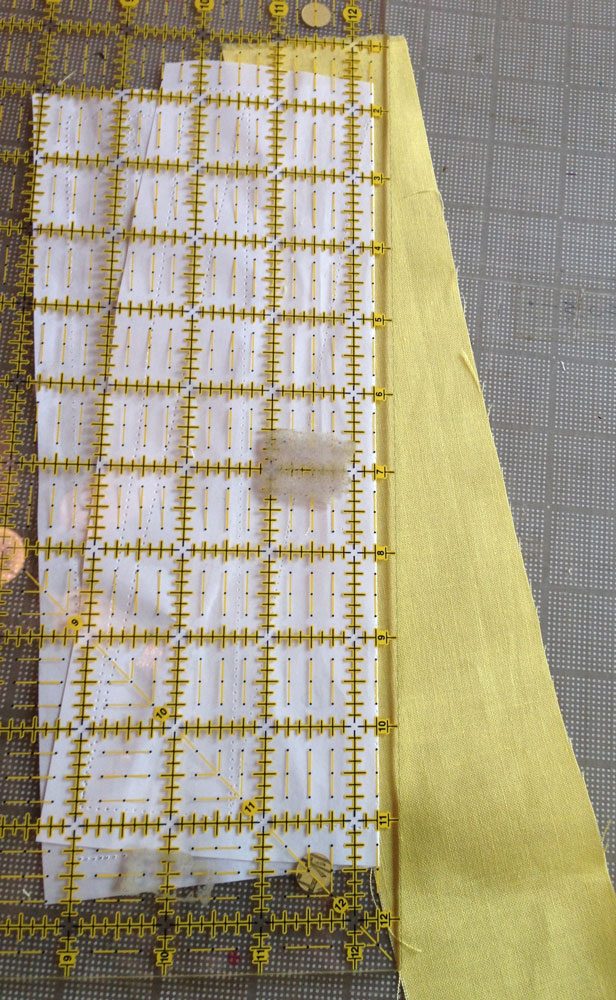
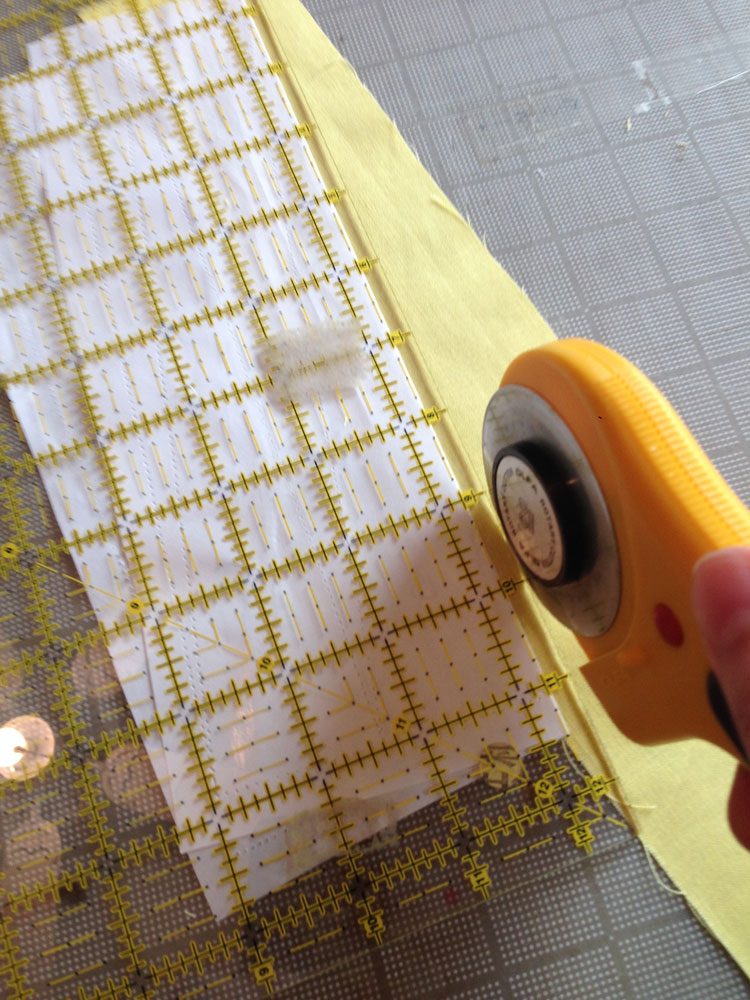
Trimming
Now you are ready to trim that extra piece off, but make sure you add 1/4″ seam allowance first.
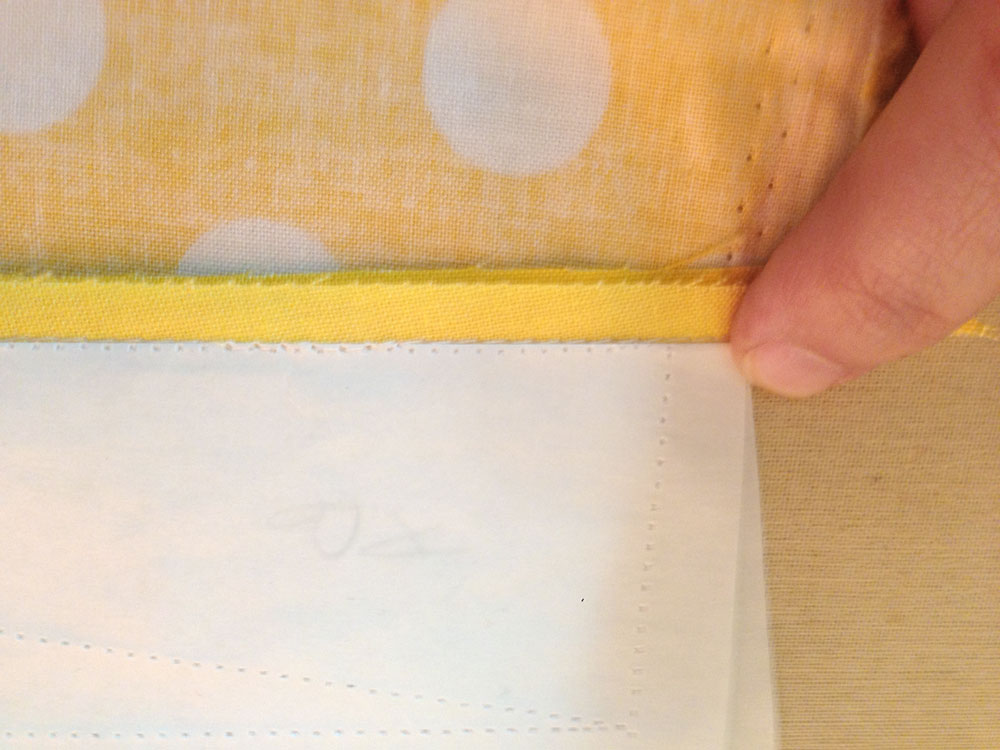
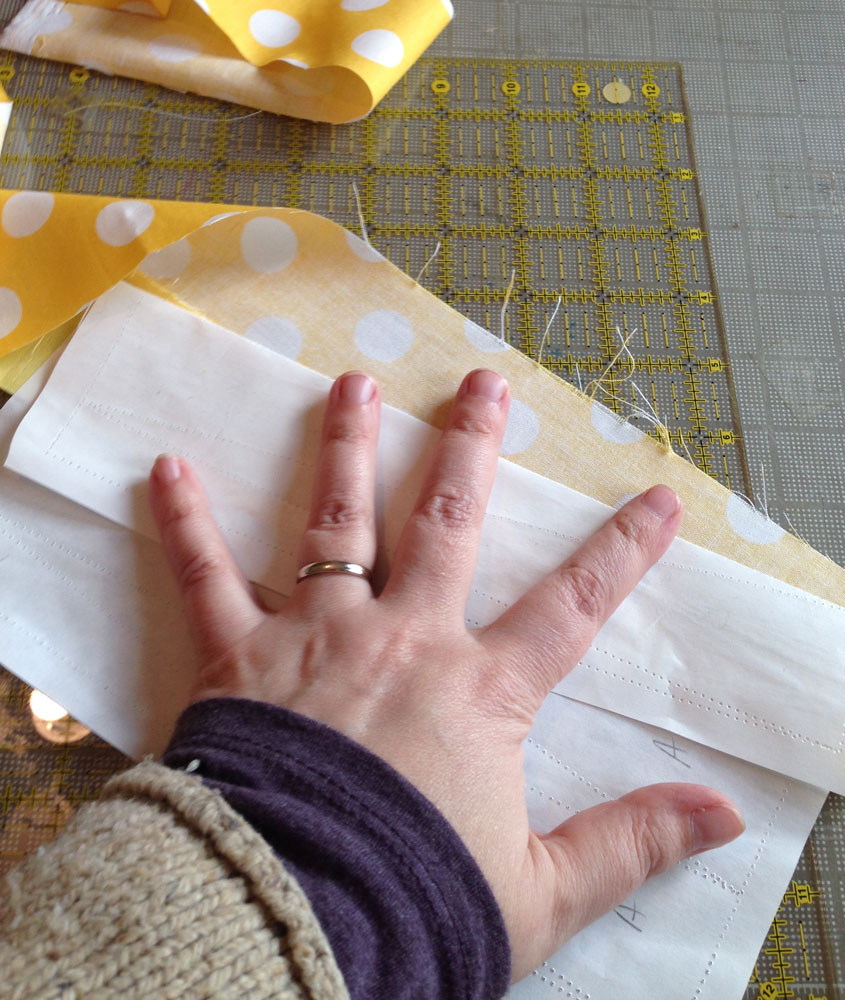
Now you are ready to add your second piece of fabric- which, for me are these dots.
With the paper folded over, you can check to see if the fabric is large enough to cover the perforated shape plus seam allowance.
Sew first piece
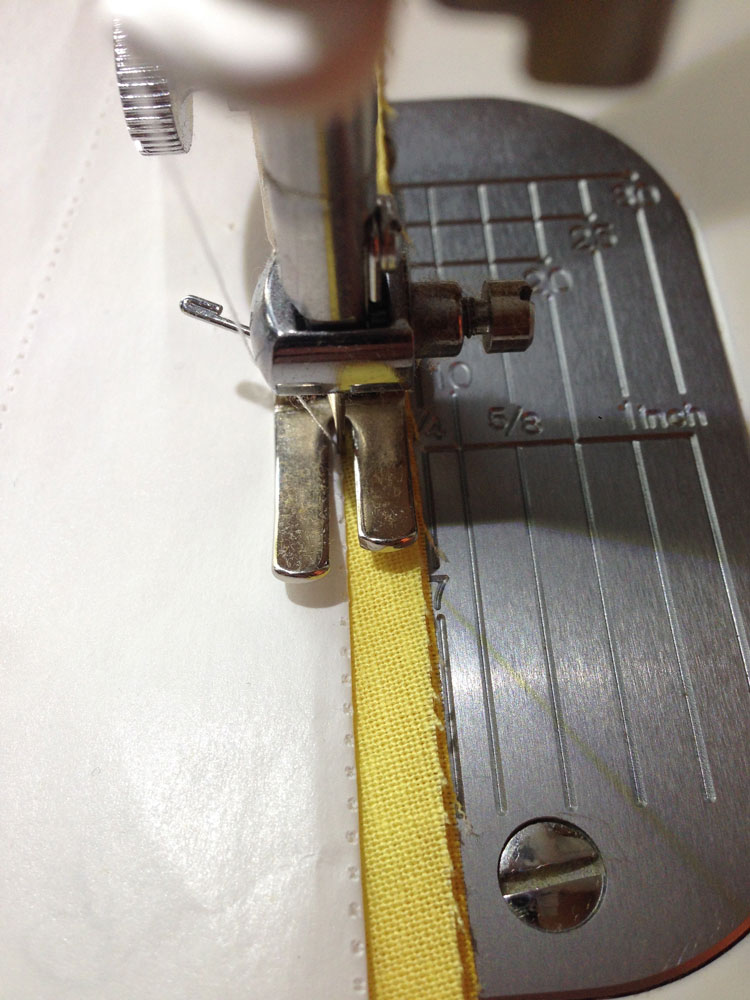
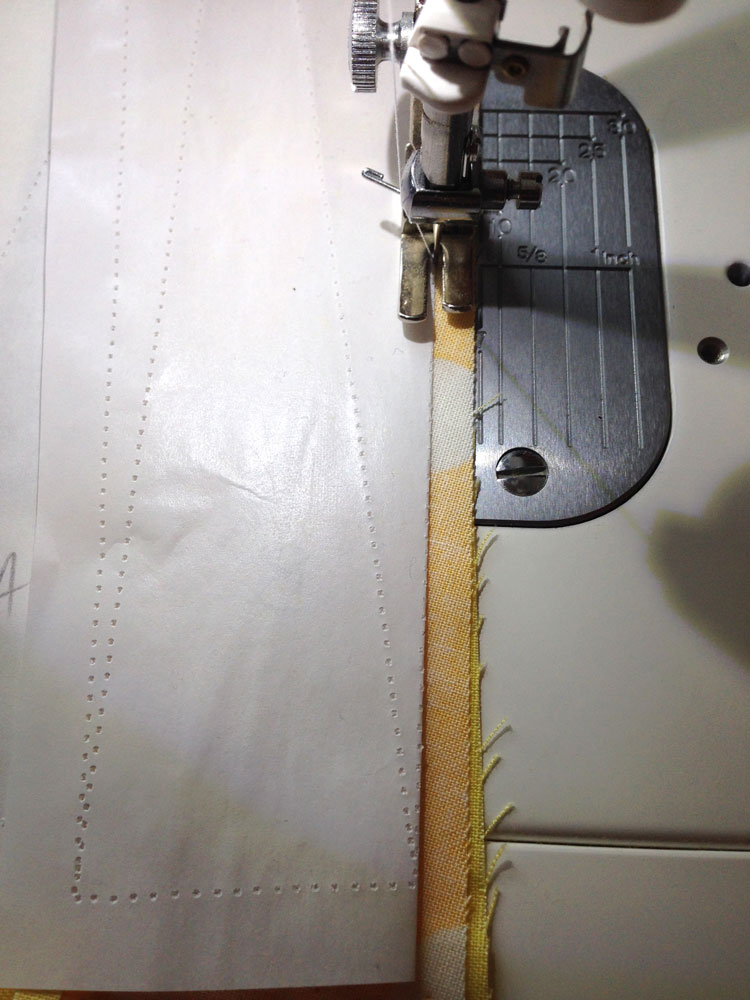
Once you have your fabrics together (right sides together), it’s time to sew. I sew right next to the freezer paper fold. Sometimes I catch a little of the paper, but that’s okay, as long as it is very close to the fold.
Now it’s back to the iron. I lay the piece down so both fabrics are on top,
then I fold one fabric back and press out, just on the seam (very careful NOT to touch the freezer paper!)

Then I flip the whole thing,
double-check the seam matches up to the perforated line,
fold the paper back over the fabric and press.
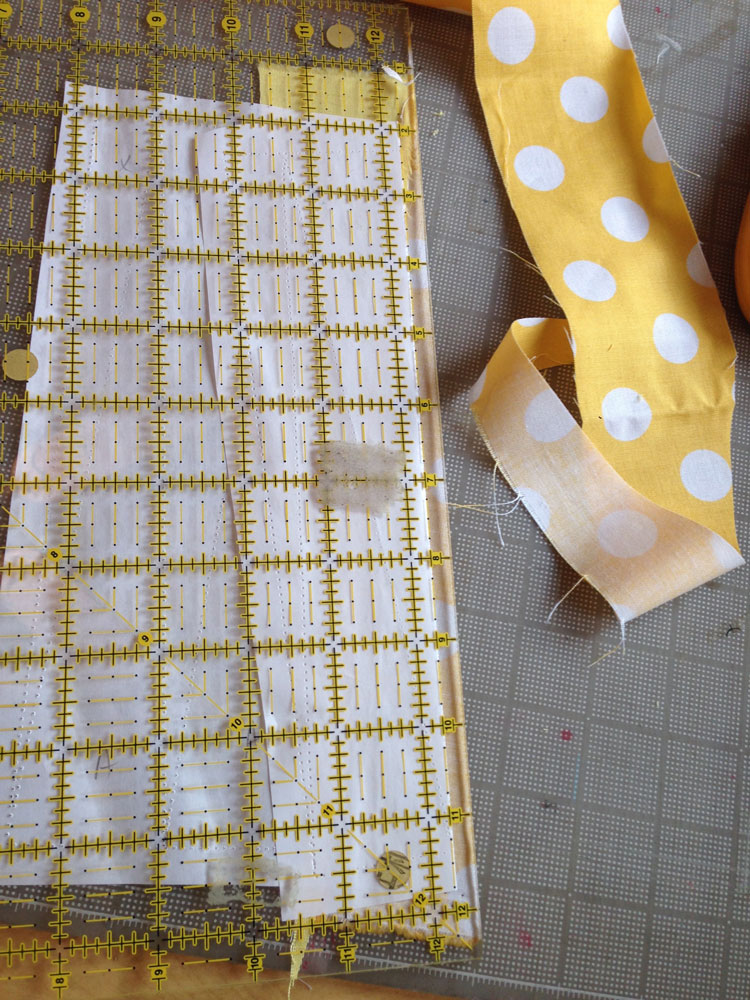
Now I have two pieces stitched together, and I’m ready to trim the dots and add my next section.
Next section
So, I fold back the paper to the perforated line that denotes this section,
And trim adding 1/4″ seam allowance.
Add next piece of fabric (solid yellow in this case) and sew closely to the folded paper line.
Open and press as before, careful not to iron over the wax part of the paper.
Mistakes happen
And… as you can see… I make mistakes sometimes! This second solid yellow piece is sewn on backwards. It doesn’t cover it’s “X” section the way I sewed it on, so I had to do a little seam ripping. It didn’t affect the paper at all.

I was able to reuse the piece, I just had to carefully place it before stitching so it would cover the whole section, and still have seam allowance.
After stitching and pressing, this is how it is supposed to look!

I keep adding sections, one at a time, out to one edge,
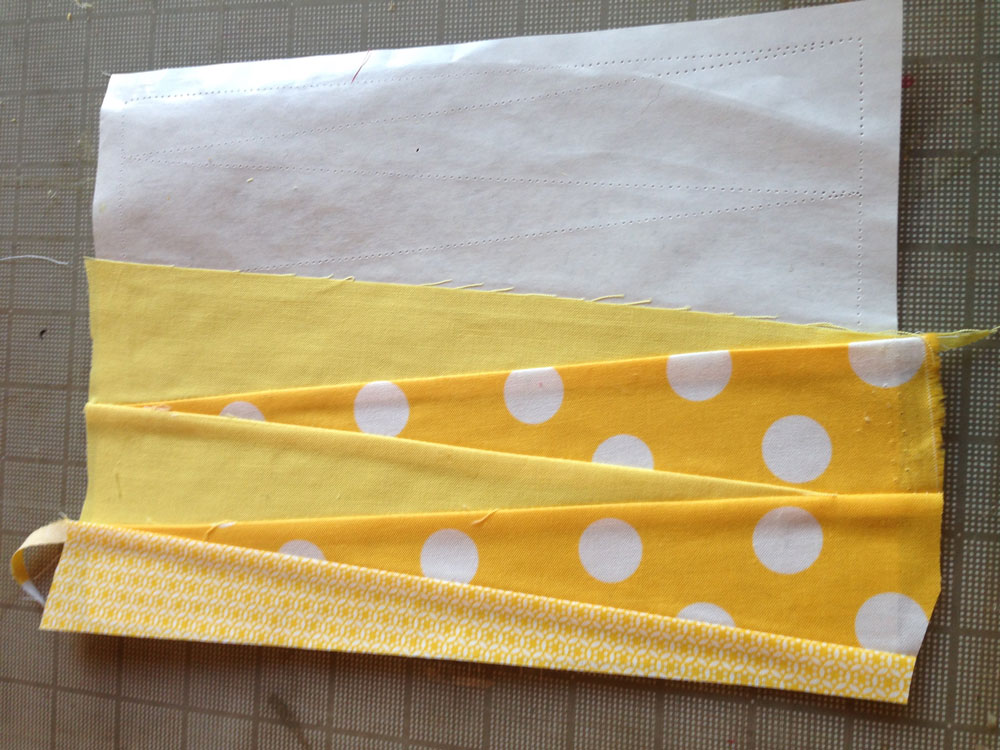
then start in the center again to work toward the other side.
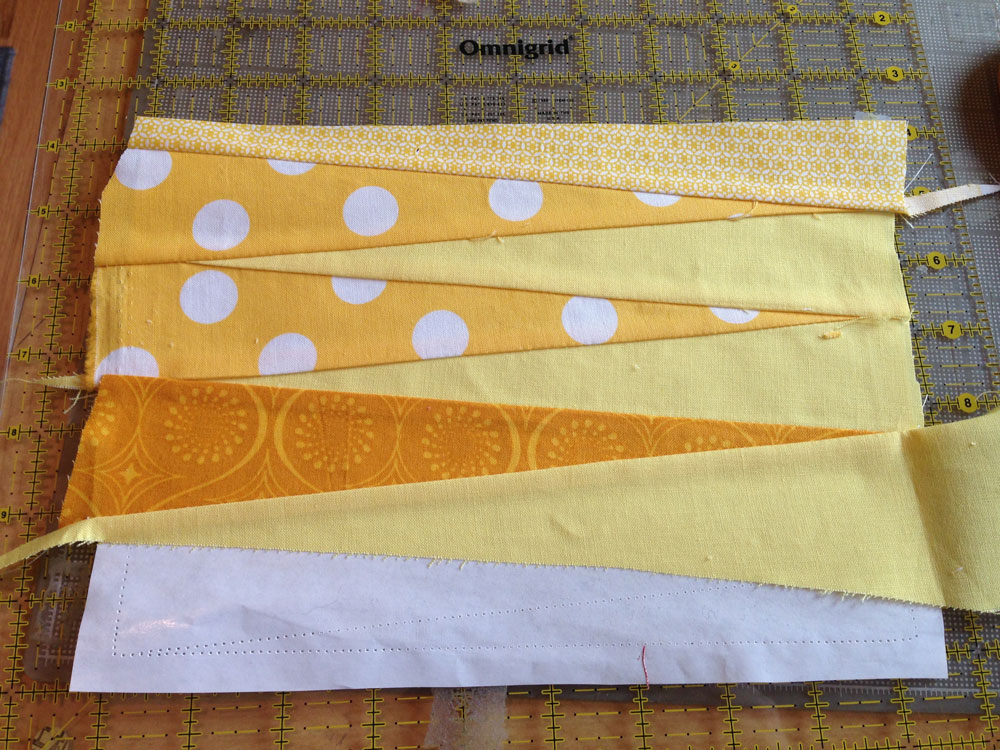

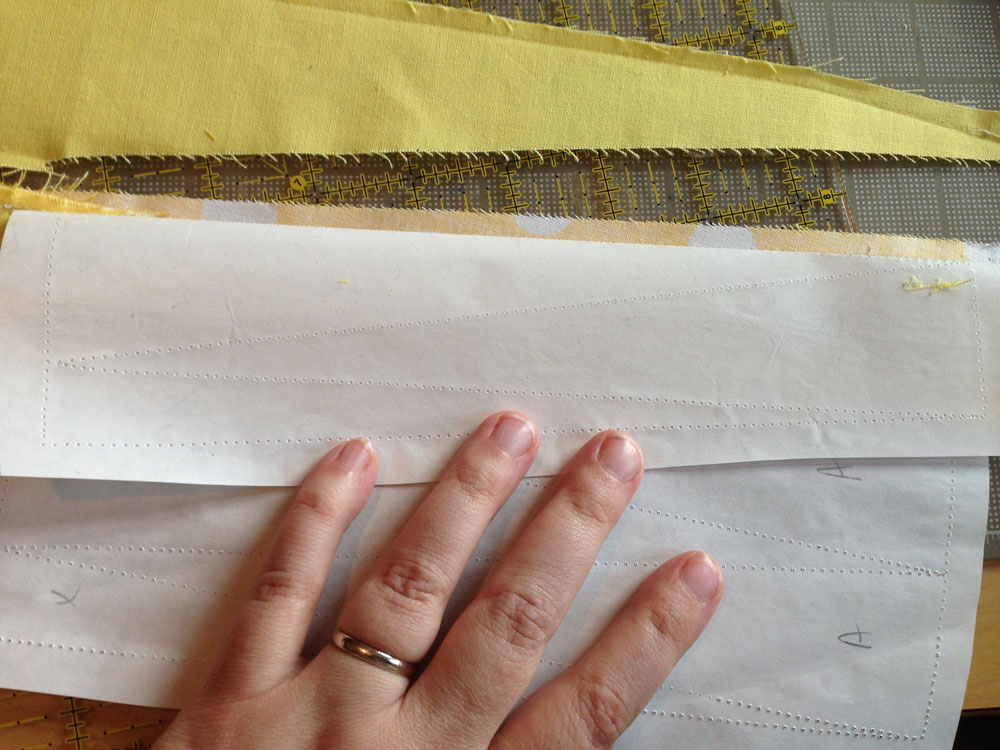
Once all the sections are covered, I consider the block DONE! I’m leaving the paper on and not trimming the sides until I’m ready to start sewing them together.
Finished block
All my markings are still on the back – which should make layout a snap.
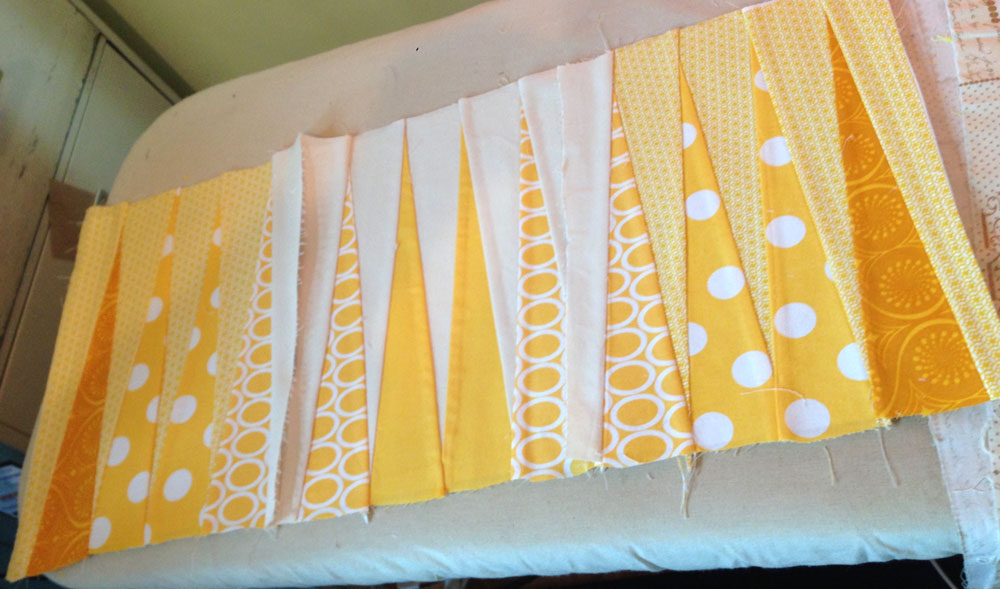
Here are three finished blocks all lined up:
I’m so excited to start sewing this quilt together! I guess you could say I’m a little obsessive. All I want to do is sew. Things like eating, cleaning, and work tend to become frustrating distractions, and I have to check myself to make sure I stay grounded. I have to say, with corporations trying to destroy our planet, and politicians just helping them along, it’s easy for me to lose myself in a project like this.
I hope this little tutorial was as informative and inspiring for you as it was when it was shown to me!
HI Gail, That is a nice treat to see this process and your design is so exciting! Can’t wait to see more.
Thanks Barbara! I can’t wait either – I think the funnest part of designing a quilt is seeing the end result!
Oh dear lord I’m glad I’m not doing this! I truly admire people who can do this kind of inverse/reverse sewing and keep it all straight. I love the design and look forward to seeing more of it. Keep up the great work!
Thanks Nicole! There were definitely a few bumps, but the more I make the easier it gets. As of right now, I only have 5 blocks left to make!