Thanks to my friend Miranda, I was inspired to try sewing a La Passacaglia rosette a few months back, and stitched it using the EPP (English Paper Piecing) method. It took some real time to get it done. I really liked how it came out and wanted to make another, but felt there had to be a better, faster way.
I had the *oh-so-original* idea of tracing the stitch lines from a template on the back of fabric and using a running stitch and no paper pieces – this worked really well. The only two negatives were:
- The running stitch doesn’t seem as strong as a whipstitch.
- Tracing the shape and cutting took almost as much time as EPP method.
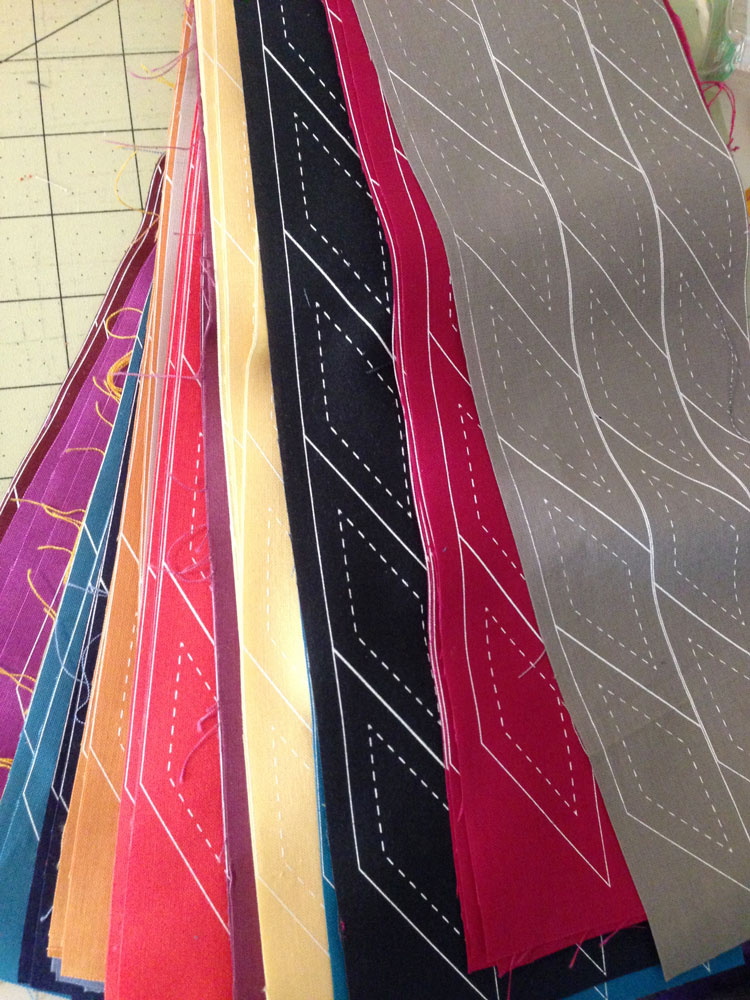
After some research, I found out that many people use the running stitch. If you’re really good, sewing the 1/4″ Y-seams comes naturally. For the rest of us, we need to draw in those stitch lines to know where to sew and where to stop for the corner of the Y-seam. Which is some seriously tedious work. So then, I had the idea of screen printing those shapes with cut and stitch lines on the back of solid fabrics to see if I could cut some time.
While we have a screen printing business, there is still some time and cost involved to create a print. After I design something on the computer, I send the final to a camera-house. They output a piece of film-positive (opposite of a negative) that we can use to ‘shoot’ a screen. Once we have a piece of film-positive, we lay that onto a screen that has been coated with photo-sensitive emulsion and shine a light on it to ‘burn the screen’. The light hardens all the exposed emulsion, leaving the part under the opaque black of the film to stay soft. After washing it out with water, there is a hole or ‘open’ part of the screen where we can push ink through and onto the fabric.
Since screen printing is quite a process, I wanted to make use of the time spent.
Then Fabric Depot ran a sale on Kona solids for $5/yard and I knew it was time to try this crazy plan.
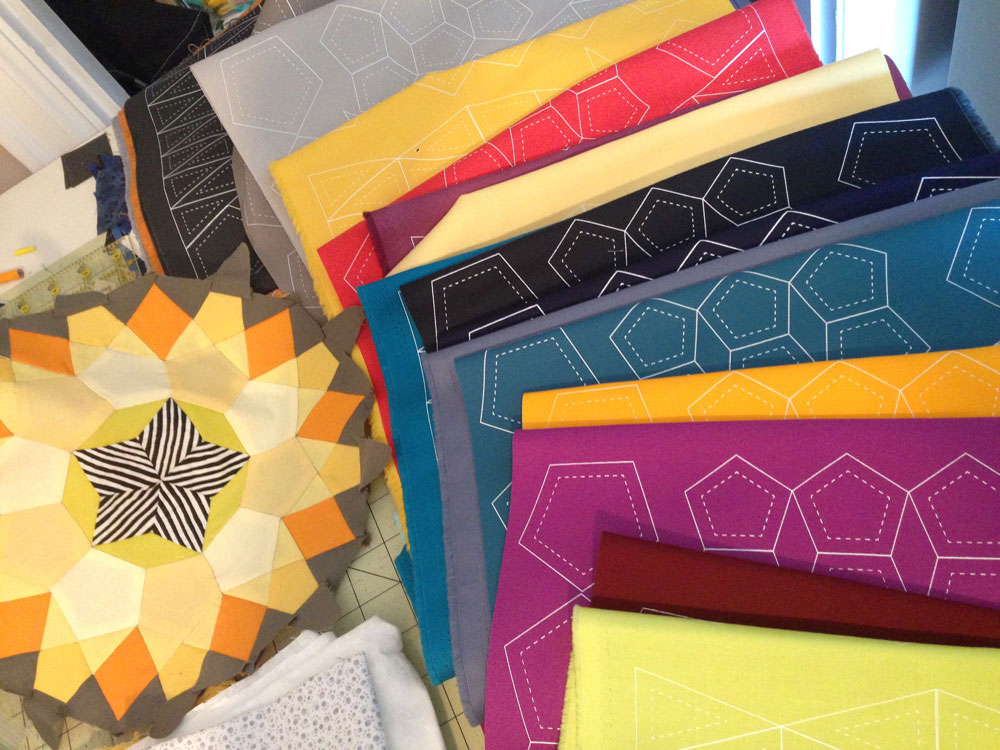
I purchased 3/4 of a yard of fabric in 21 different colors – one of the biggest fabric purchases I’ve ever made… so it’s a little scary not knowing how this will all work out!
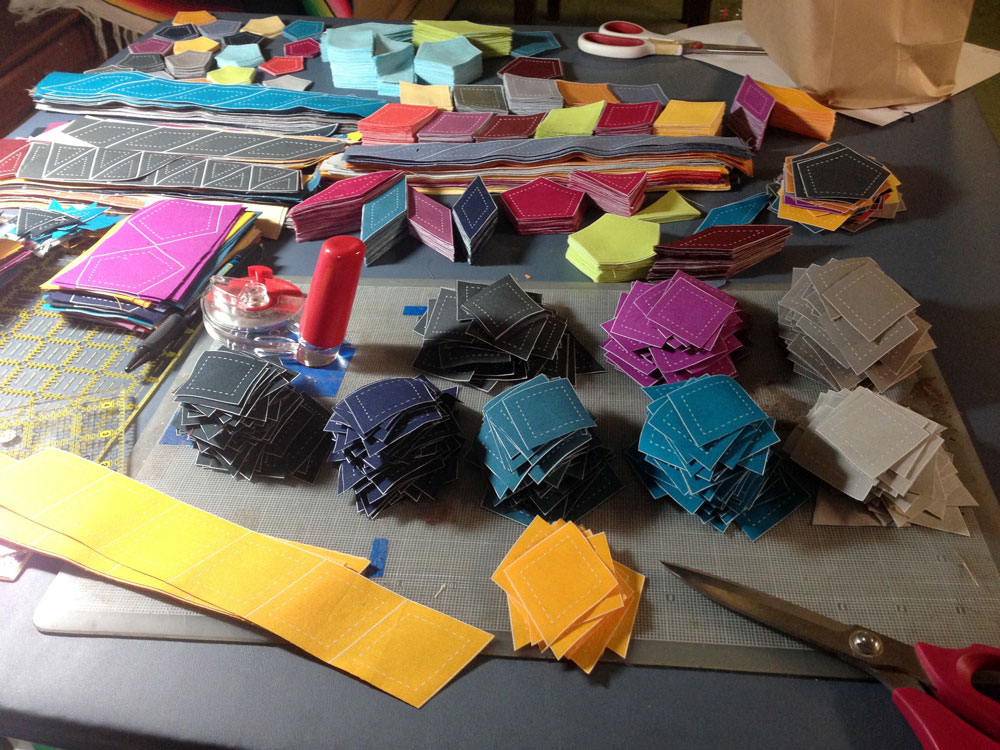
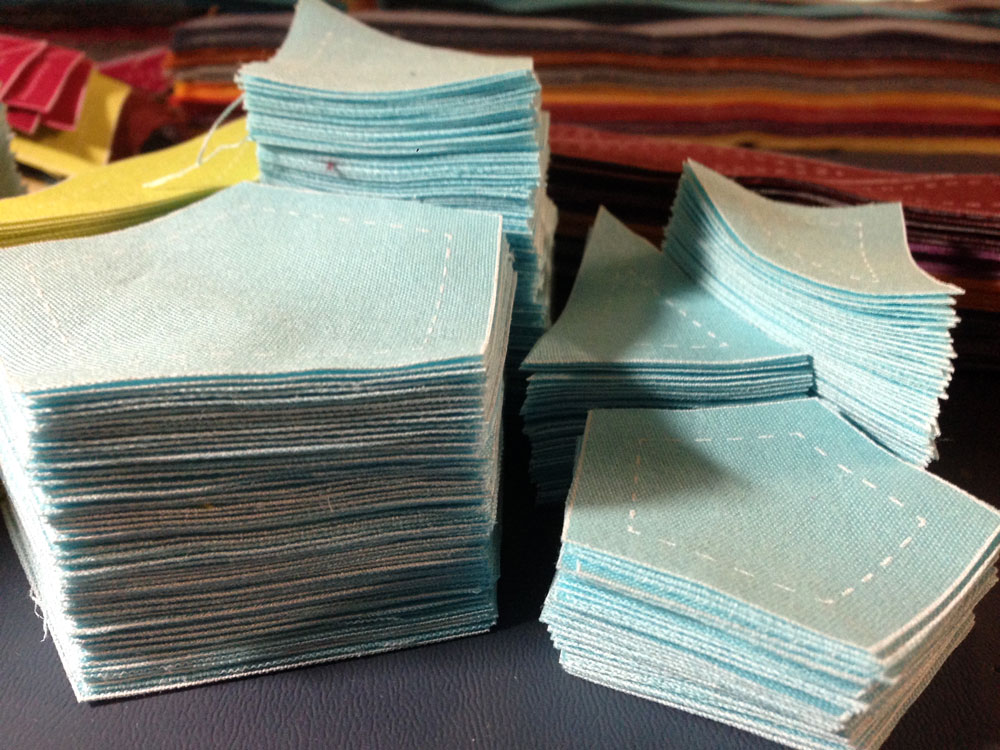
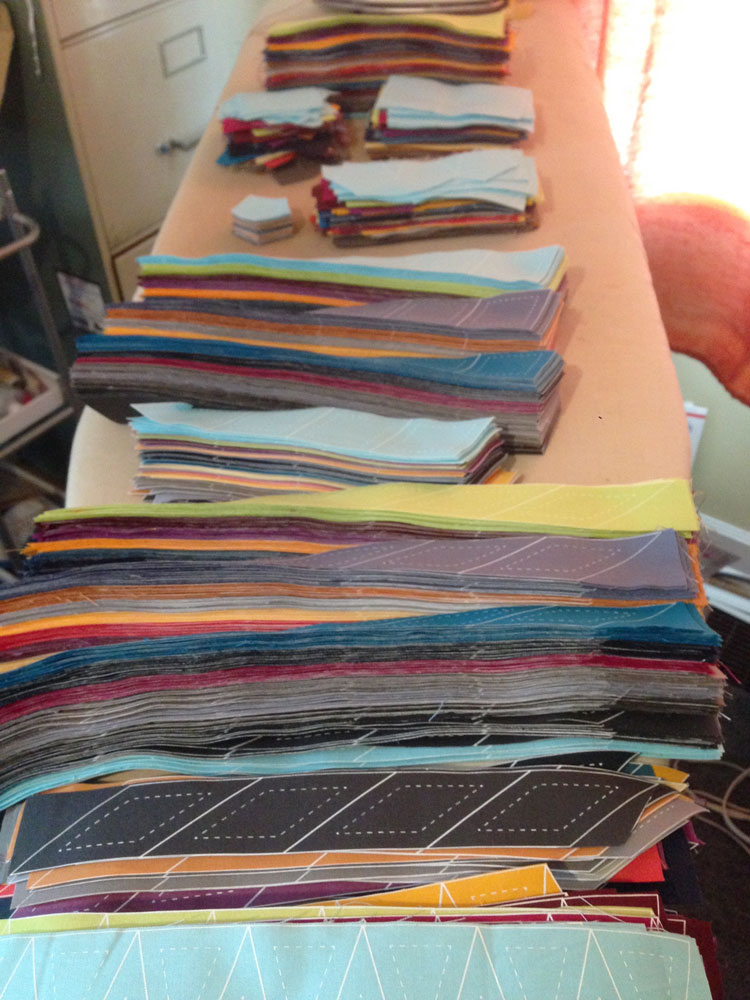
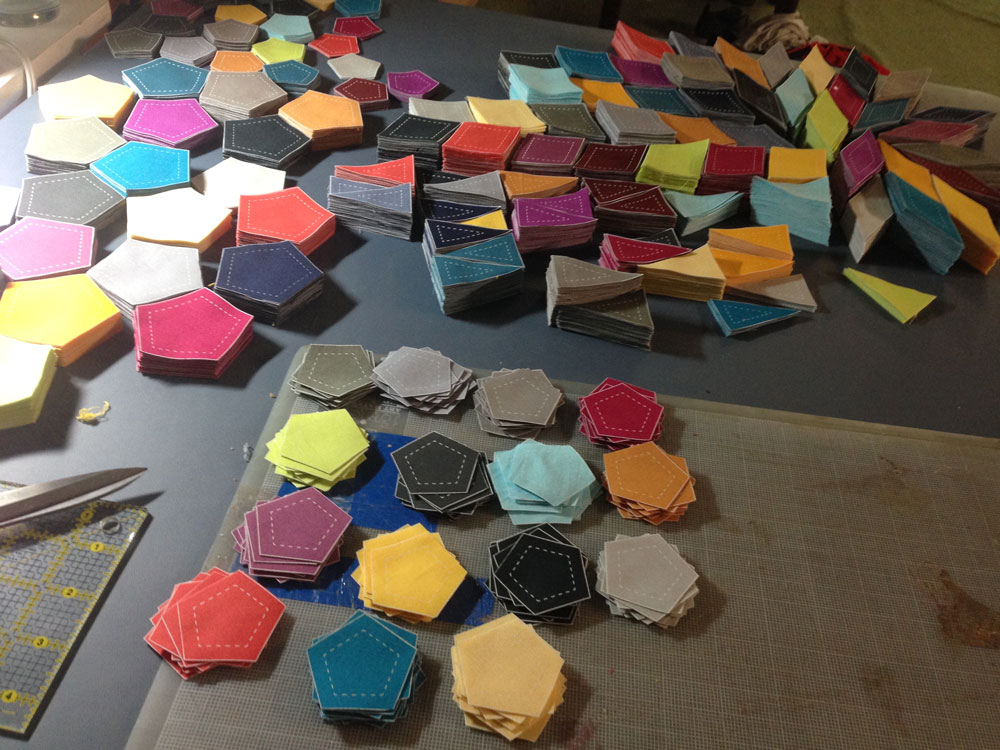
My husband printed 4 different layouts for me. He used as much of the fabric as possible in printing, while leaving good cut lines. I appreciate him taking the 2 days in set up and printing time to print for me. He likes my idea and has always been completely supportive! The part I wasn’t planning on was the cutting. I’ve been cutting fabric pieces for 2 weeks on and off. I can only cut for an hour or two at a time without hurting my wrists. I honestly did not think that the cutting would take so long. I’m close to having all the pieces from all 21 fabric colors cut and ready to sew!
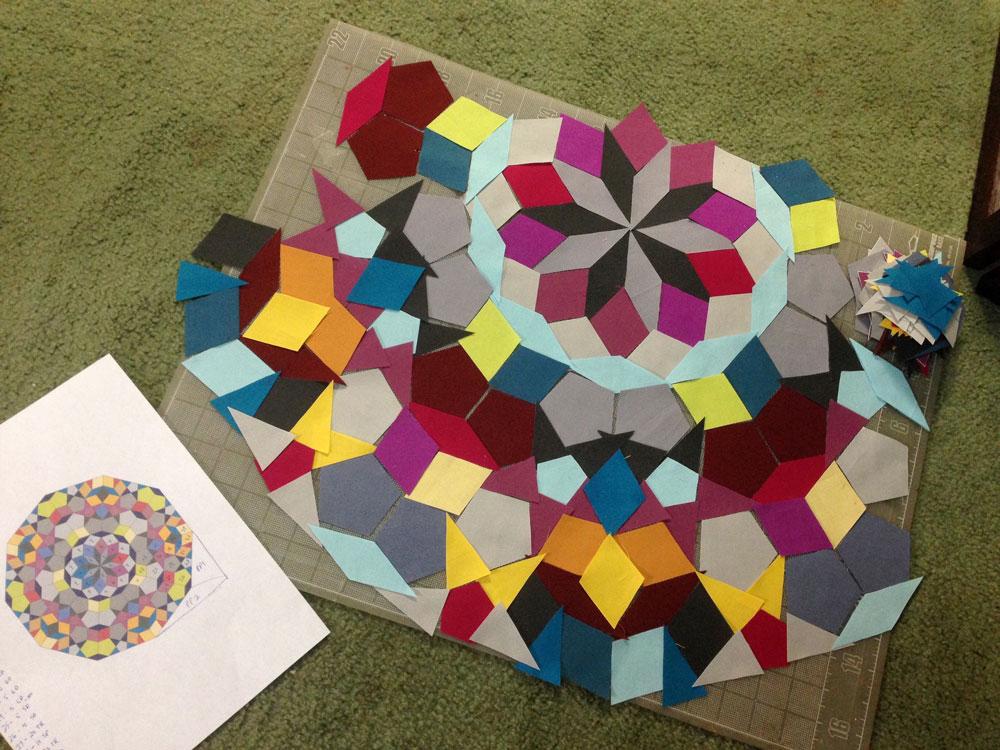
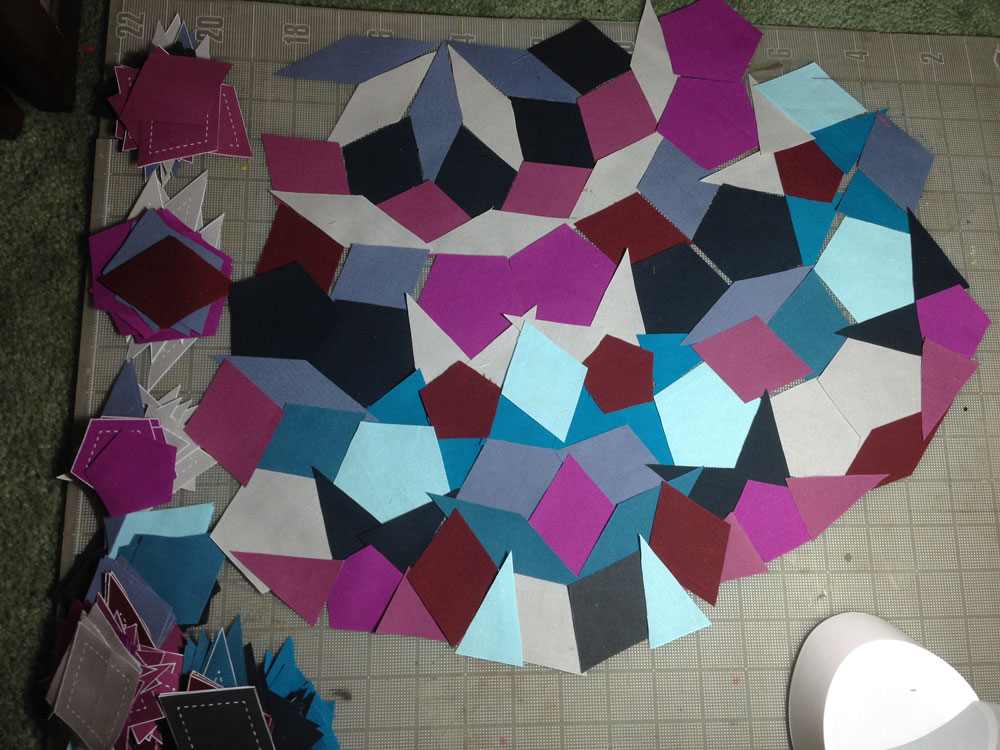
I have a few patterns, and my idea was of a kaleidoscope – so the colors are bright and contrasting. I started with the La Passacaglia layout, but wanted to try my own layout. I think I have enough pieces to do a full sized quilt and still have some left over! I even have an idea of possibly selling these pieces in kits for smaller projects so people can try hand-stitching for a small project. I’ve been playing with a decagon layout that would make an awesome pillow cover – here are 3 versions:
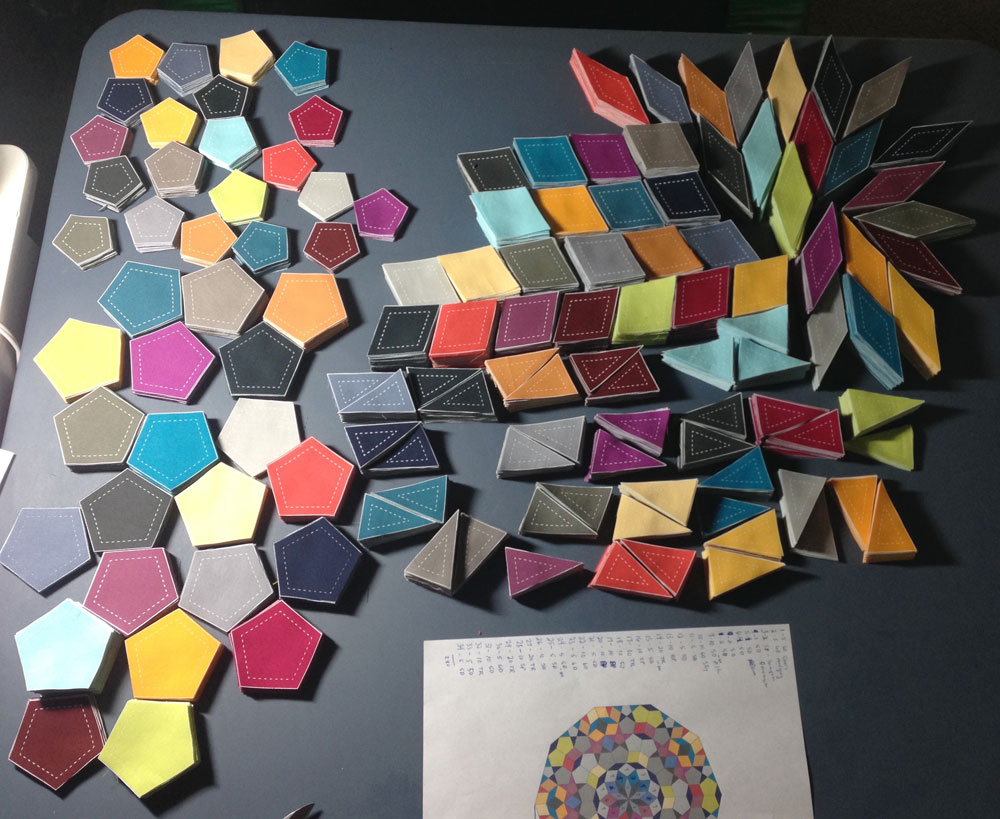
There are so many possibilities!! My goal this next week is to try to do enough layouts to use up all the pieces we printed… or all in one quilt. Not sure just yet how I’m going to use these, but it will come! It looks like treasure on this table right now. Part of me wants to throw them all up into the air and roll around in them, but the organizer in me wouldn’t allow me to make a mess of this. 😉
Have you ever hand stitched using a running stitch? Do you have any tips to share?
So excited to have finished all the cutting for all the pieces we printed. I think that’s why it hasn’t been done before. The cutting has to be done by hand to work with the printing… and that is extremely labor intensive.
This whole project is a learning process, but I also think it’s going to make a kick-ass quilt! I’ve been having a hard time keeping this to myself. I wanted to be done with the cutting before sharing. Or maybe I should say I’ve been totally obsessing on the cutting and so haven’t spent much time doing anything else!
I’m so excited to start sewing on this… but I need to finish some layout plans first. Time to practice a little patience and focus on the designs.
THEN I can jump in 100% and sew to my little hearts content. 😉

I think this is such an interesting way to approach the prep work.
A few years after I started quilting I was browsing the alternate version of craigslist that is most popular in my city and found a listing which said “quilter’s estate sale. email for address”.
WELL.
Seven such sales later, I was extremely set up for scraps, yardage, and half finished projects (most of which I found in the FREE! scrap bags.) Anyway, she preferred hand quilting and used a running stitch. I’ve learned a lot from working on her pieces. She didn’t mark cutting lines, just eyeballed them. Don’t use a knot at the start and stop of each seam, just take a couple stitches in the same place. And apparently she said “if you sew just one star every day, after a month you’ll have enough stars to do something with.” Have fun and enjoy the process.
I just stumbled across this, but you should absolutely consider selling kits of fabric pre-printed with cut & sew lines. It’s genius!
Thanks Laura! There are some small kits available here 🙂