Okay folks, I’m back!
I just looked at my drafts for this blog and I have 6 unpublished posts from last month that I will not be posting. Each one of them is about dental pain, and anxiety, and the frustration of not having decent healthcare. We each have our own version of that stress – so no need to hear it from me! This is the reason for my lack of presence lately.
Luckily, I did have an infected tooth extracted last week and I’m feeling like a different person altogether. Now I can focus on some really exciting new things in my world!
What am I talking about…?
Well, as you may, or may not know… my husband and I have a screen printing business and we’ve been printing t-shirts locally over 20 years here in Portland. T-shirts are great, but I’ve been wanting to get into fabric printing for a while!
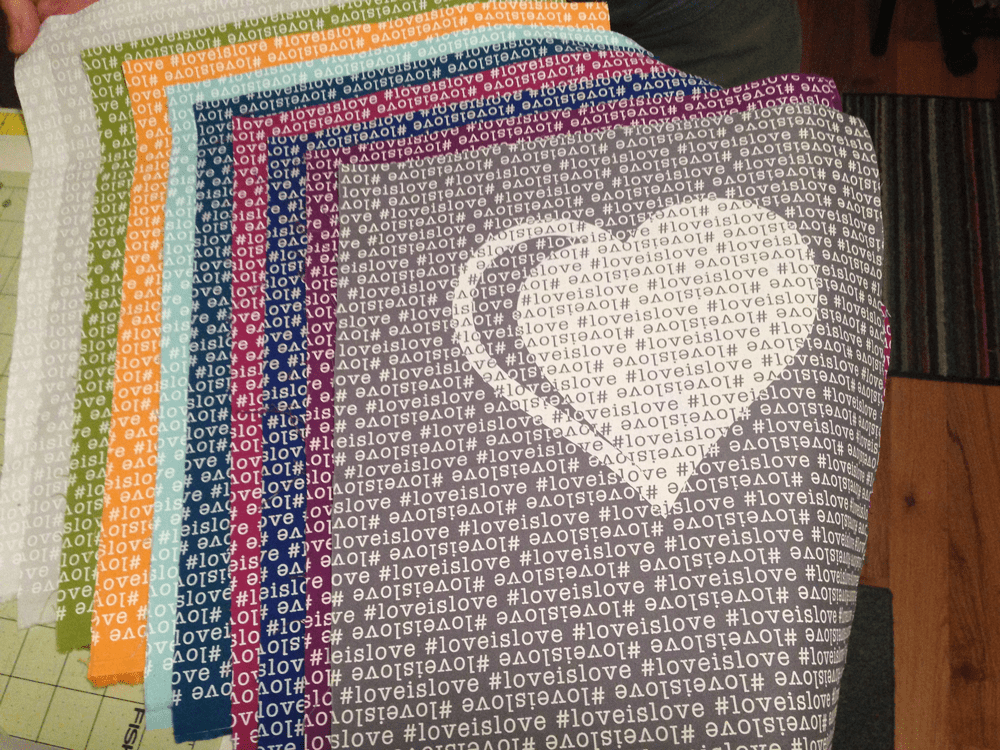
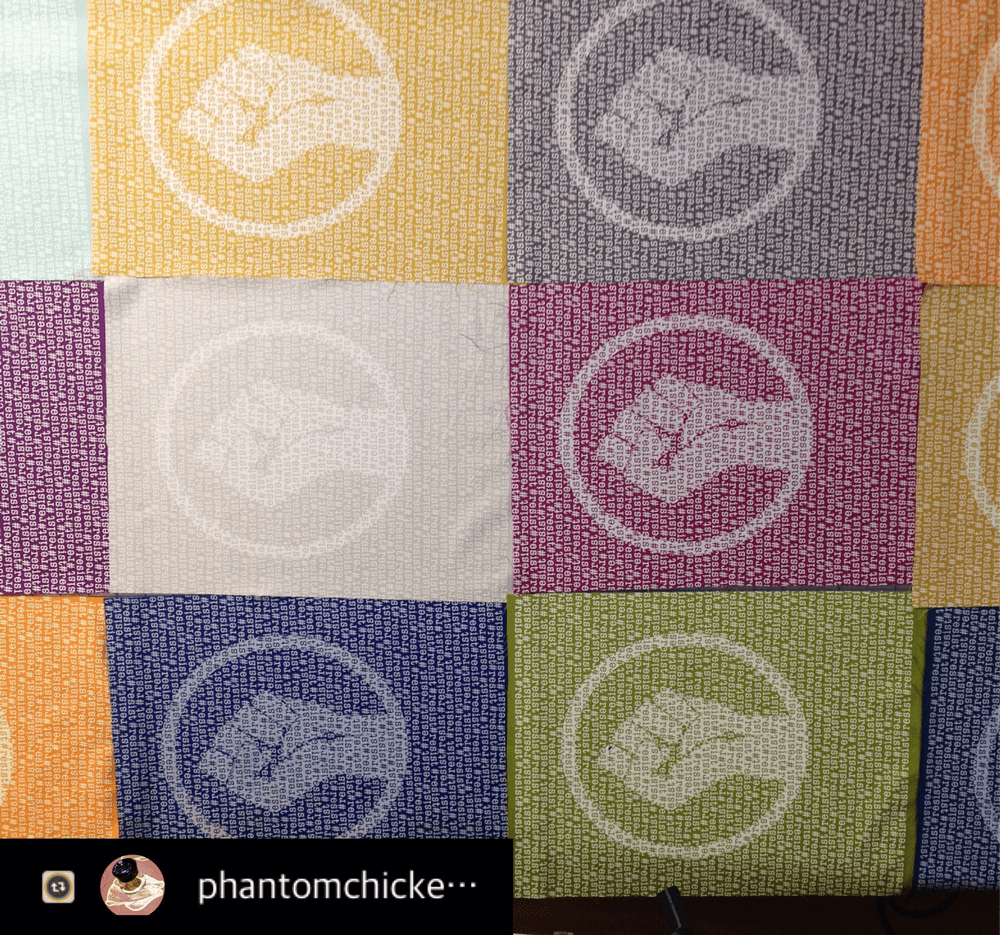
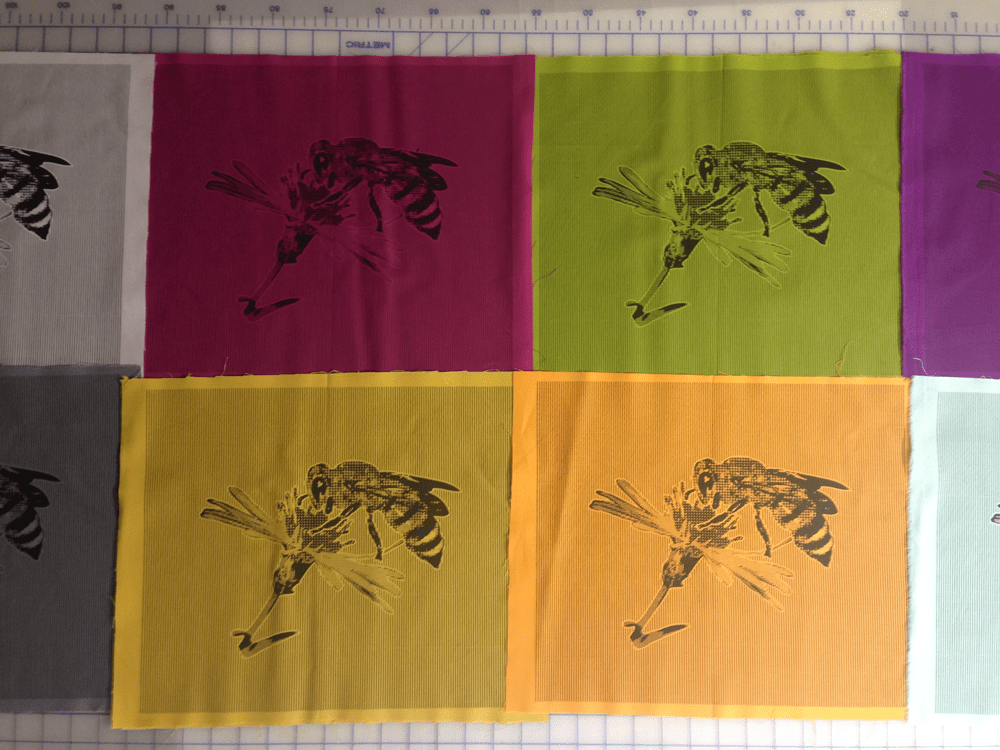
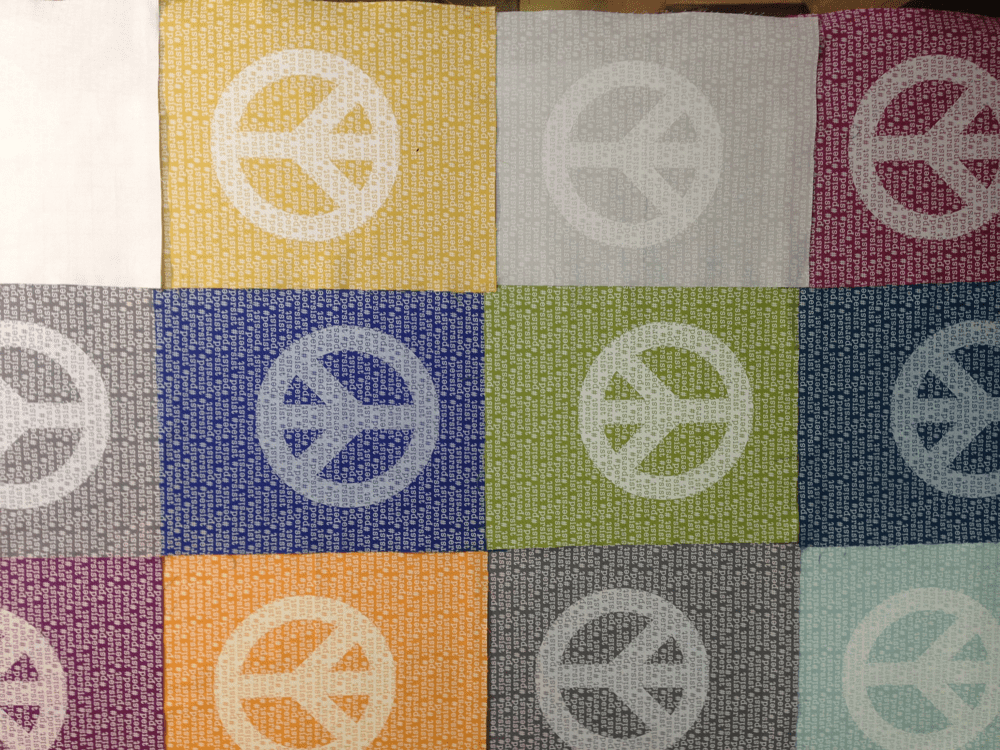
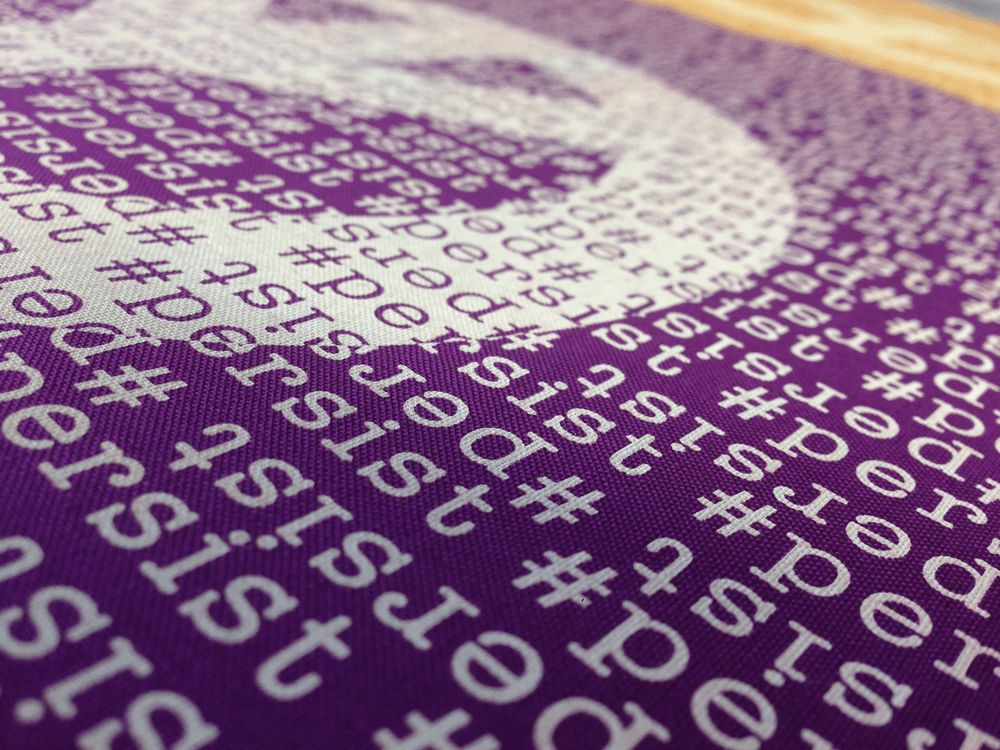
Since our studio is set up for T-shirt printing, we are not capable of printing full yardage sizes of fabric, so we’ve been trying what we are calling “fabric panels” using our largest possible print size of 12″ x 13″. We are also using discharge and waterbased inks so that the fabric can be ironed directly and after washing. The ink is set into the fabric, rather than ON the fabric. These inks leave a residue on the fabric that should be washed prior to use. We’ve decided to serge the edges so we can wash and press each piece before selling. That way, they will be ready to use. I think they would be great as a quilt center or sewn into a tote bag… but since the edges are serged, they can be hung on the wall or sewn to a jacket back, or used as a pillow front. Of course they can also be cut up and used as quilting pieces too.
Resist Fabric Panels:
Honeybee Fabric Panels:
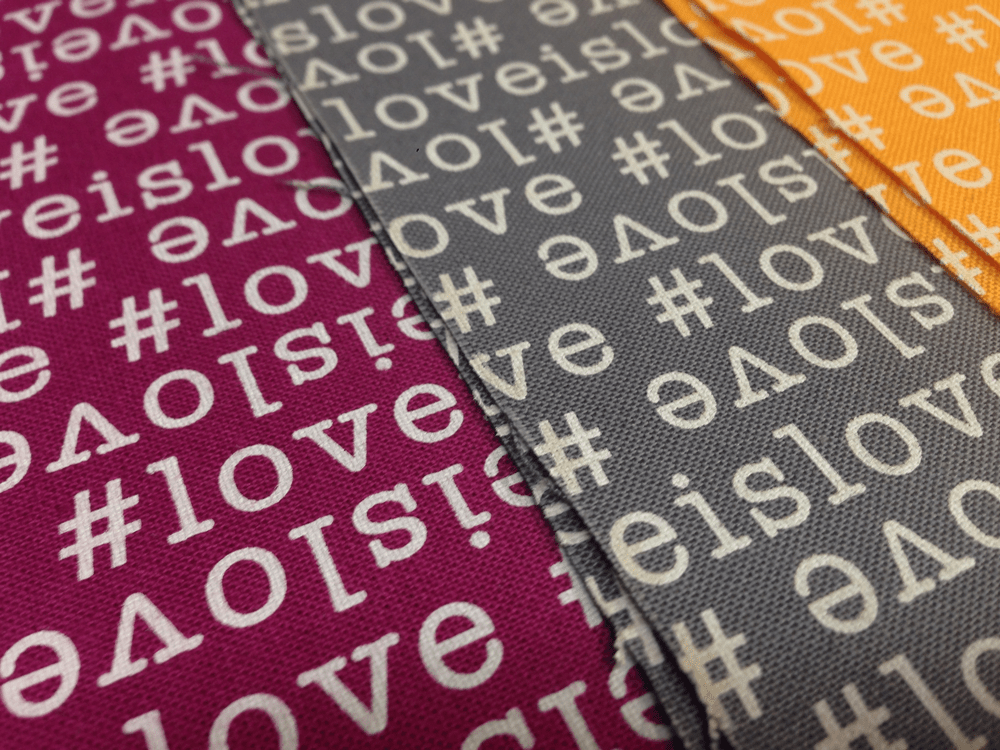
Love is Love Fabric Panels:
Persist Fabric Panels:
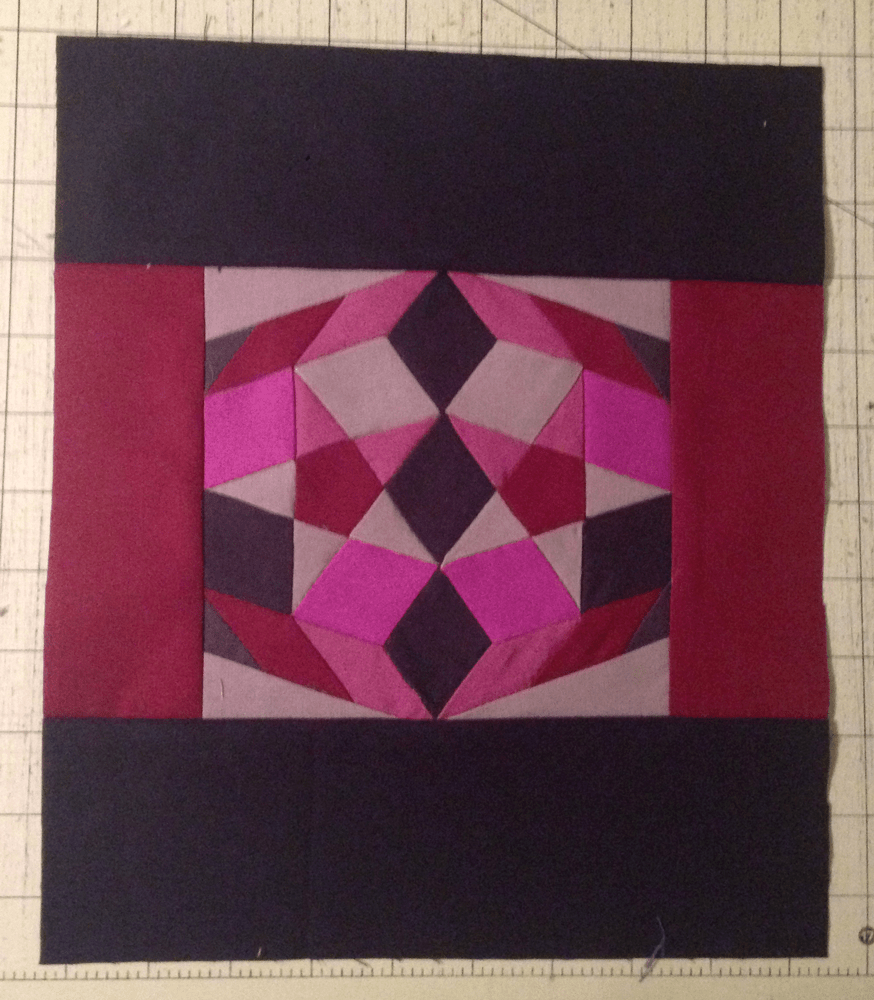
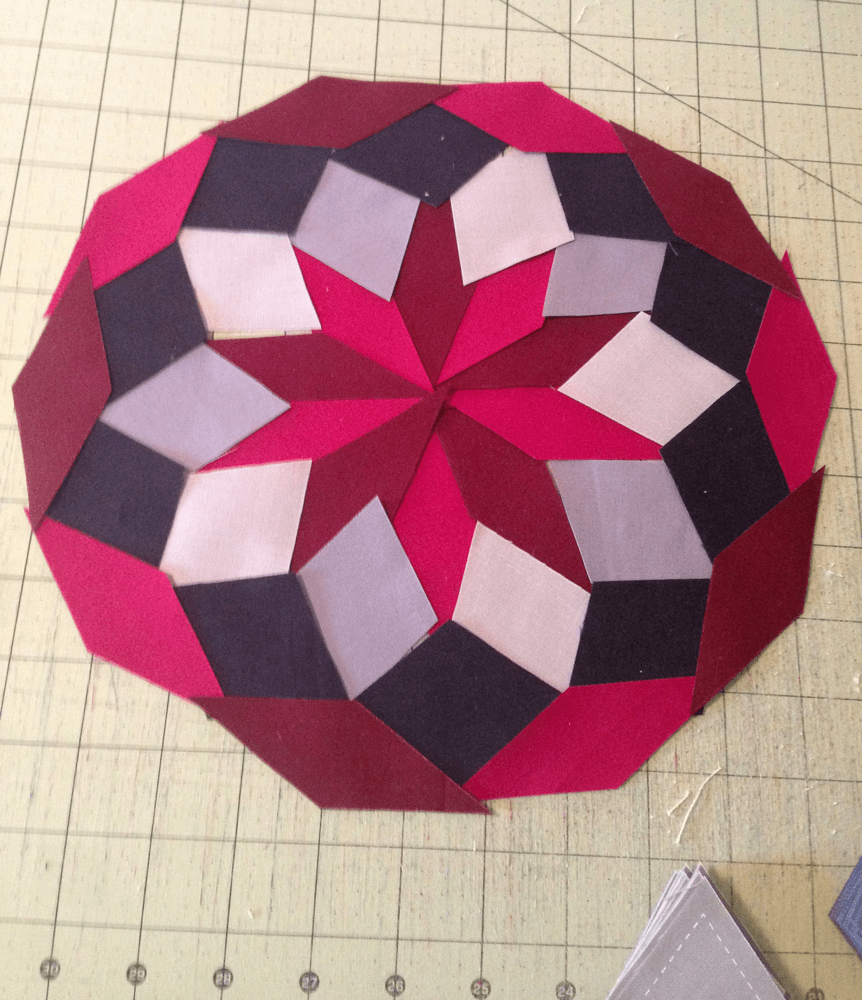
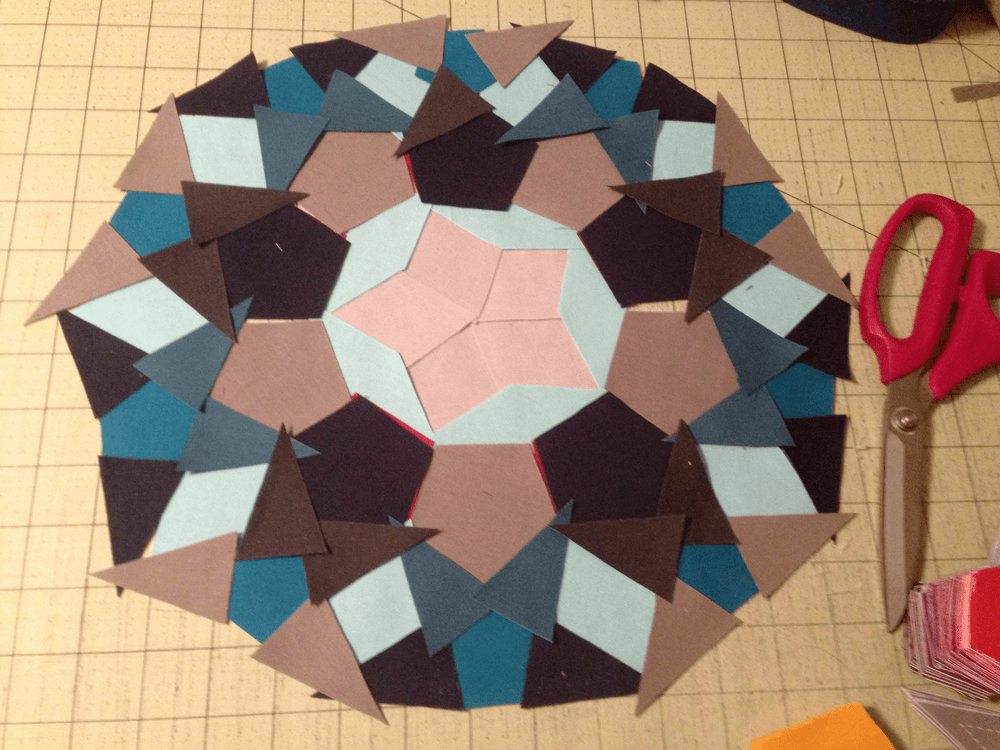
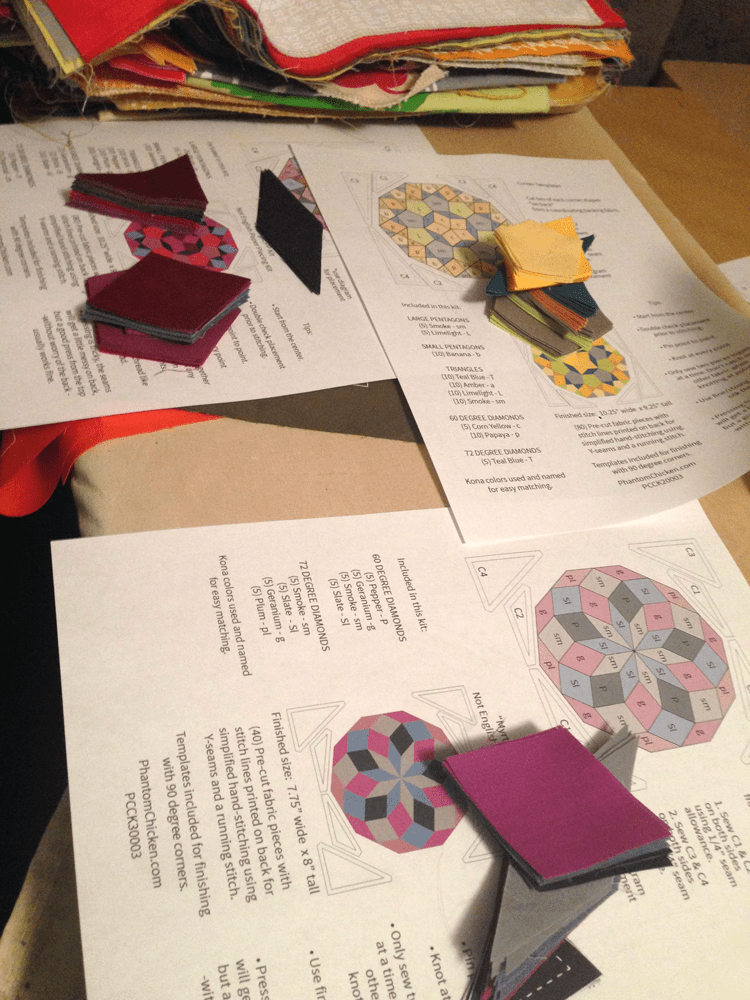
Another new thing we are creating are Hand-Sewing Kits. NEPP (Not English Paper Pieced) is what I’m calling them. I’ve been working on my own hand-sewing projects for years and I’ve usually used the EPP (English Paper Pieced) method. I had a big epiphany on my last project that I could print the stitch lines onto the back of fabric and use a running stitch to piece them together. This saves a whole lot of time compared to EPP. When we first started thinking about this, we didn’t know how long the cutting would take (much longer than the printing!) but we think that the best thing about a kit is that you don’t have to do much extra other than sew. So… we will be doing all the cutting here so these kits will come ready to stitch together! If you’ve ever made an EPP project yourself, you would understand the value of this in time conservation! I also wanted to make something that wasn’t too daunting so that a first-time hand sewist can try a very small project before jumping into something larger.
Lucy NEPP Pattern Sample:
Opal NEPP Layout
NEPP Kit Packaging
Our online store will be opening 2/12/18 with these items plus T-shirts and Hoodies, of course. We are starting to connect with other designers for quilt-related designs that we can feature on our site. This is fantastic because we love to work with other artists – it will also keeps things on our site fun and fresh!
Our main business is printing commercially for other groups and businesses, this is a brand new venture since it’s retail oriented. I’m very excited to start this new adventure…and I’m ready to be successful at it! You will notice a new tab in the menu for our online store ChickenScratch – next February, it will be open and ready to use!
Those look really great Gail. Well done you two. Also glad to hear a problem has been solved. Heal quickly!
Thanks Nicole! <3