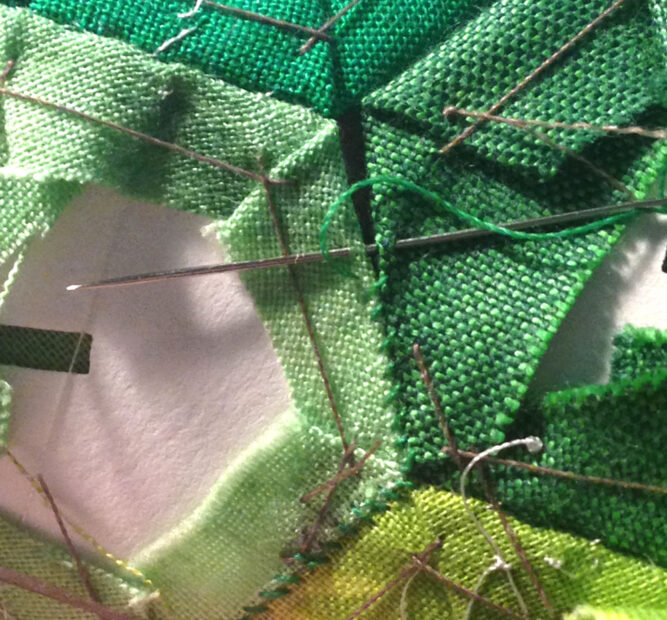
This is another quick tutorial on how I sew my hexies together. After a layout, and sewing all the rows together as in my last post, I’m ready to start sewing the rows together!
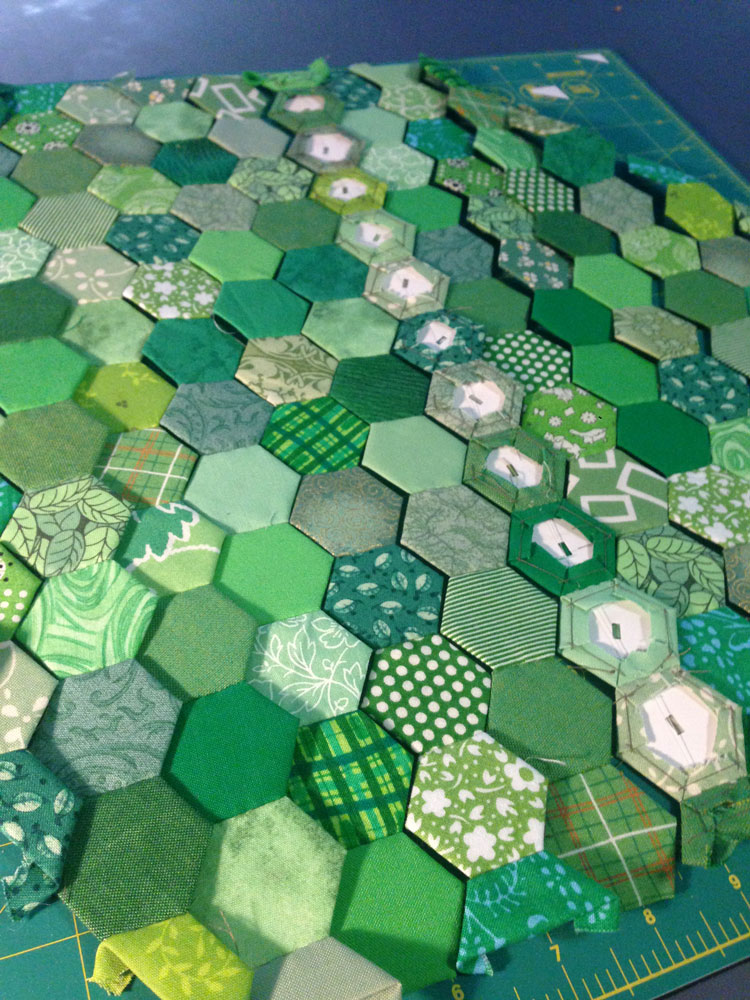
I start from the left side – I have the first smaller rows stitched together already and now I’m adding the fourth row.
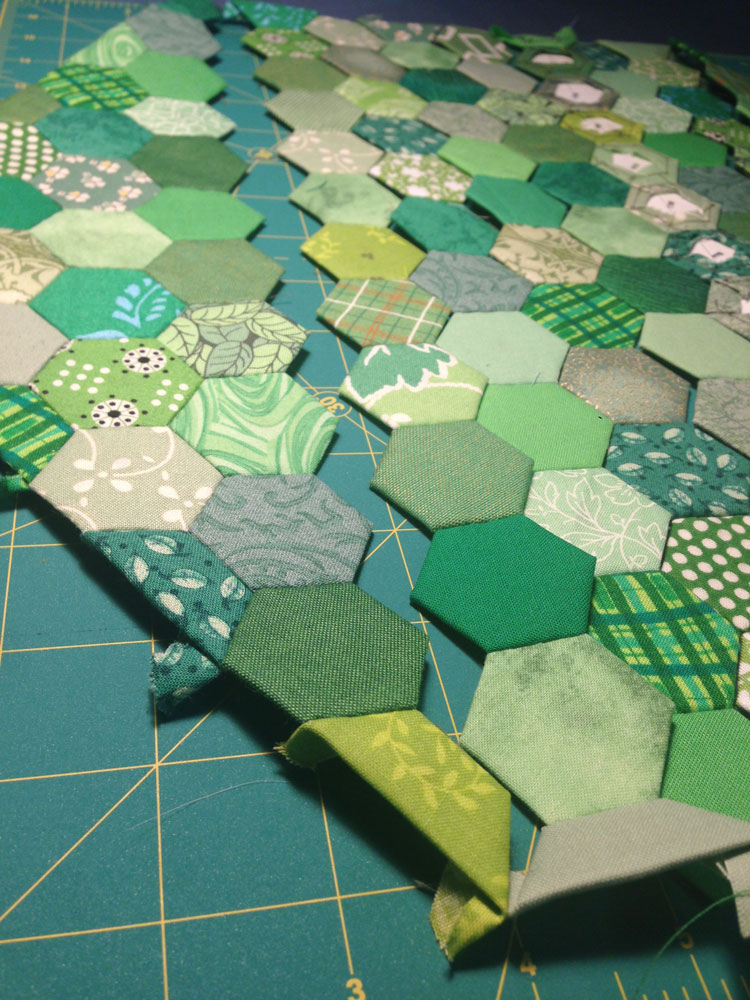
I’m going to start at the bottom here – with the yellow green print and the sage green solid half-hexies. I grab the hexies where I’m going to start sewing…
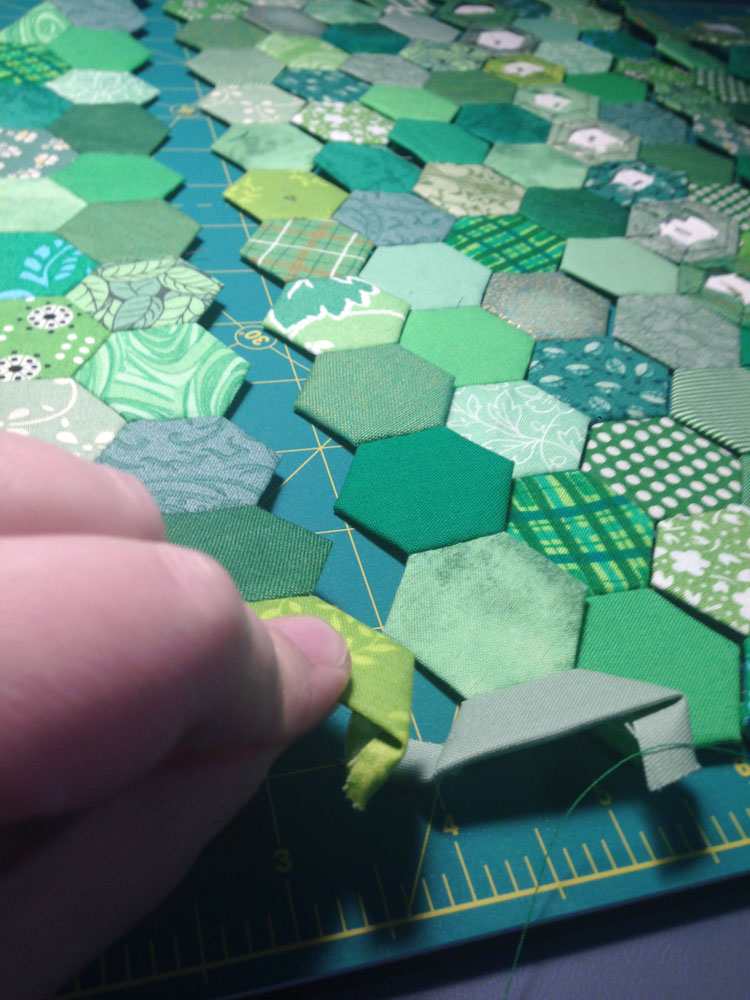
… and flip them over. I use a bolster pillow to rest them on while I get the stitch started.
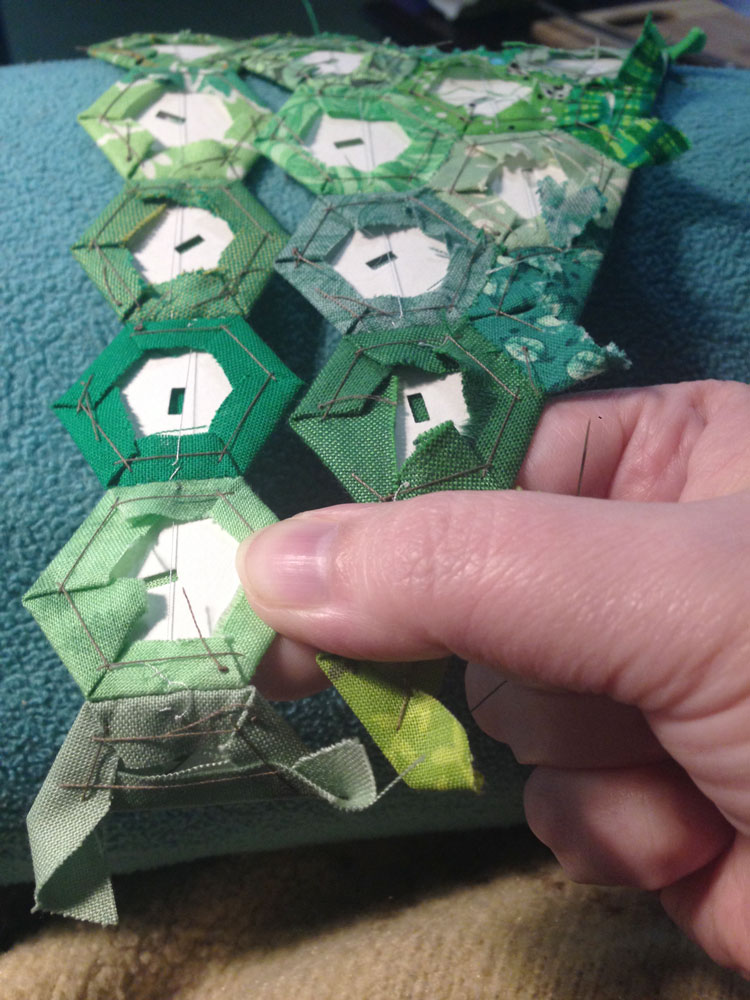
From here, start your stitch in the middle of the two hexie sides you’re going to sew together.

From here, use a whipstitch and skim the papers to grab the edges of the hexie without pulling the fabric from the top of the hexie piece, and work your way down to the bottom edge. Avoid the seam allowance.
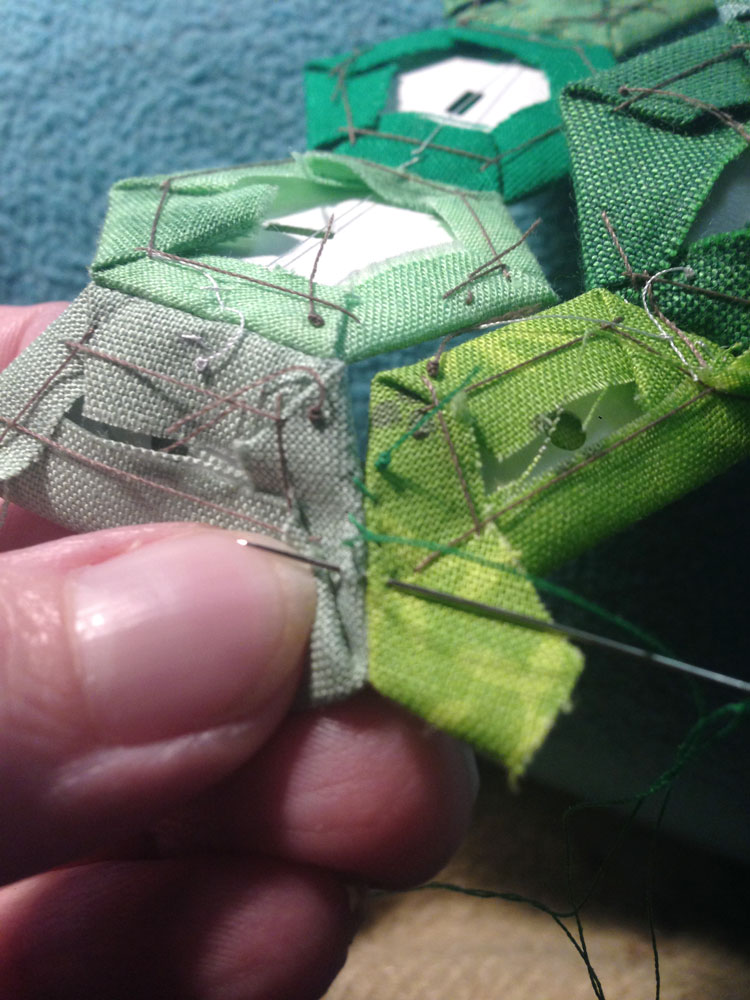
When you get to the bottom, start working your way back up, going over the stitches you just did. This will reinforce all your edges.
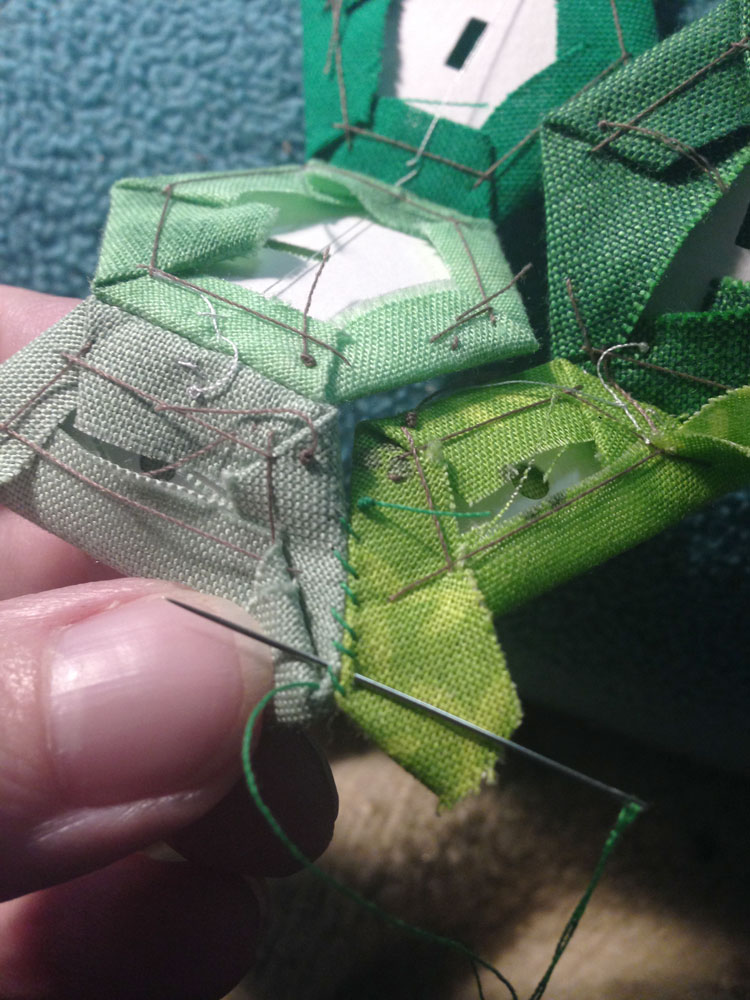
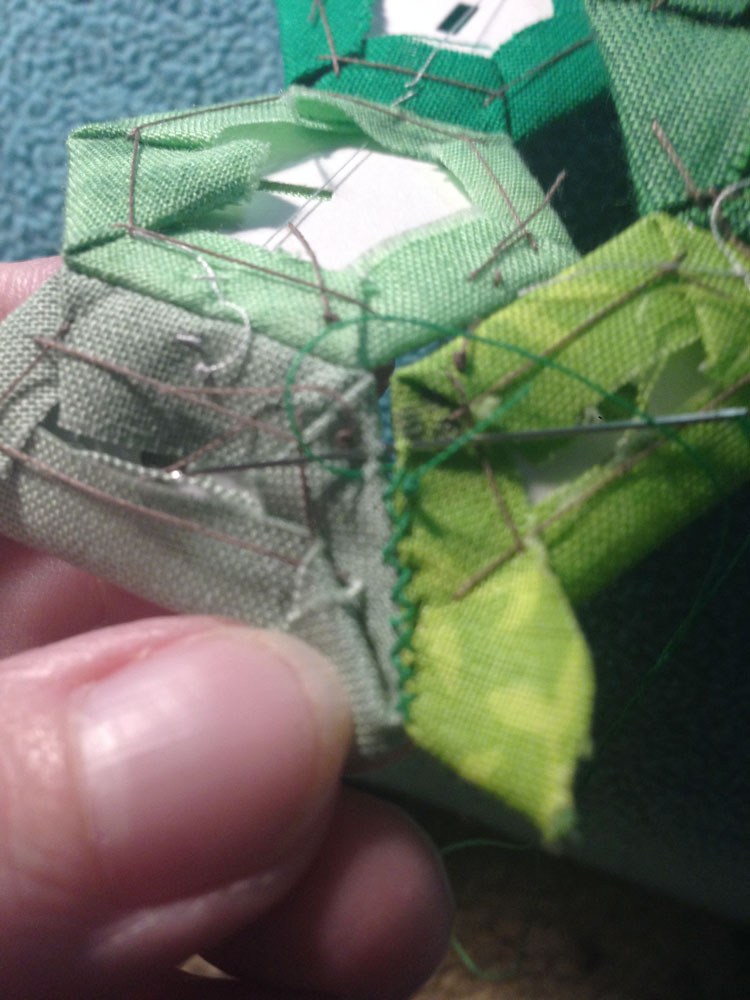
Knot at each corner and keep going.
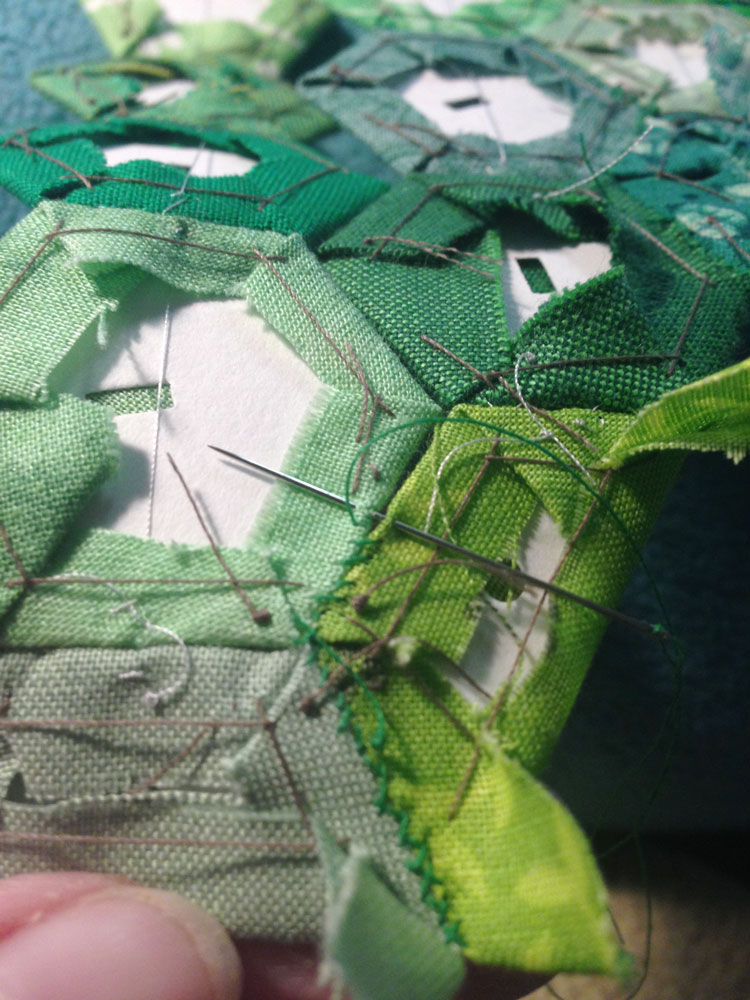
When you get to the end of the row, go all the way to the edge and then work your way back in halfway on the first hexie before tying off your stitch. I don’t have this pictured, but it looks the same as how you start and reinforces the edges of the piece.
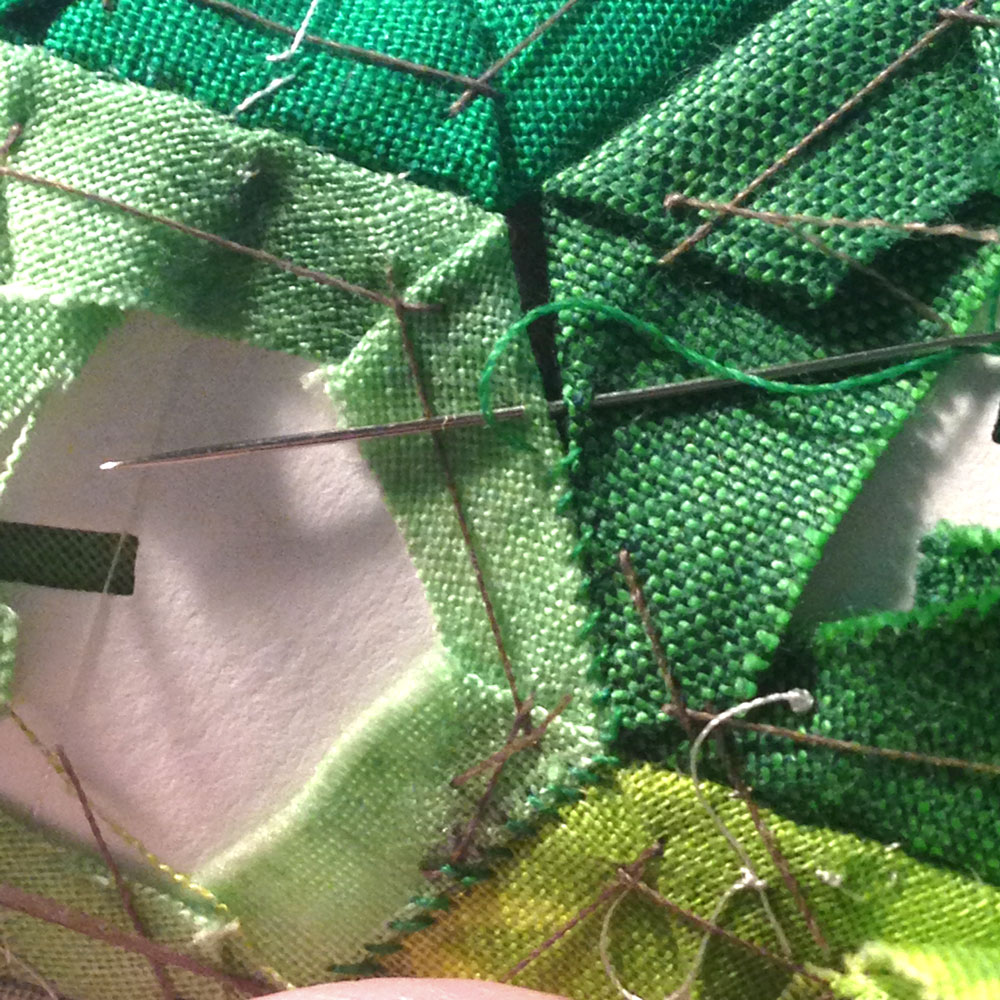
For these stitches, I used Gutterman Polyester thread – it works well for whipstitching.
That is all for now… I’ll post when I get this little center piece done for the Heart Chakra Quilt. Then I’ll have to figure out what I’m going to do from there… I have a plan, but it’s very vague.
Happy Hexies!
