Freezer paper is a great paper piecing tool! I’ve been using it on my Crown Chakra Quilt, and it’s really helping to keep things all lined up. I’m using equilateral triangles throughout the quilt, and I’m able to sew them together without using Y-seams. Thought I’d show how.
I use paper piecing to keep better accuracy when sewing a lot of small pieces together. I usually use English Paper Piecing, but I wanted a faster method for this quilt. The triangles I’m using finish at 3″ on each side. I’m using 1000 triangles in this quilt. Of those, 190 are made up of 1.5″ triangles. It’s a lot of sewing, and if I’m off by just a little, it will show at some point.
Making Templates
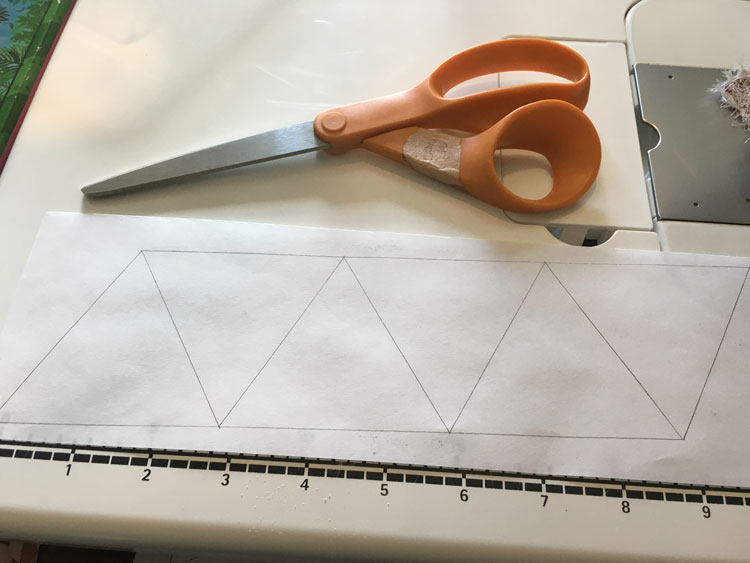
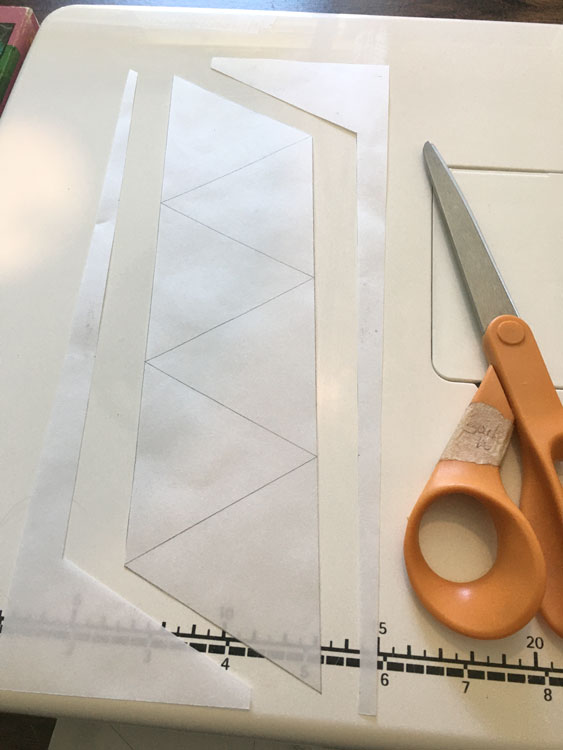
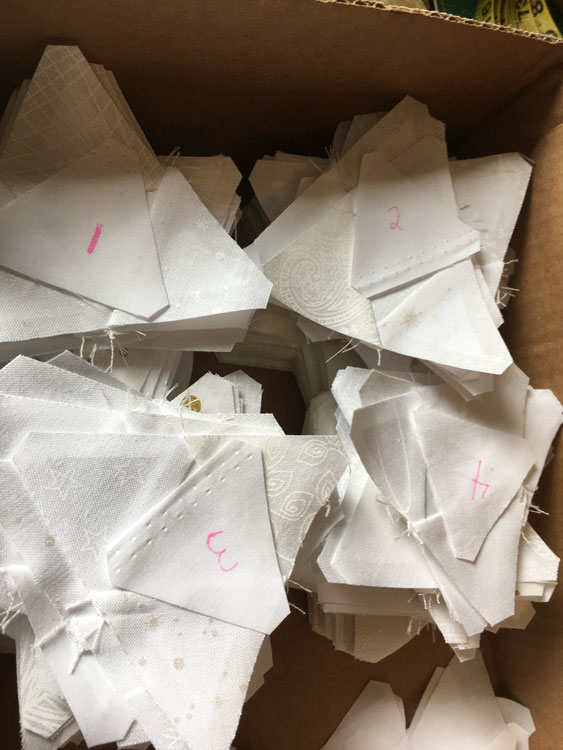
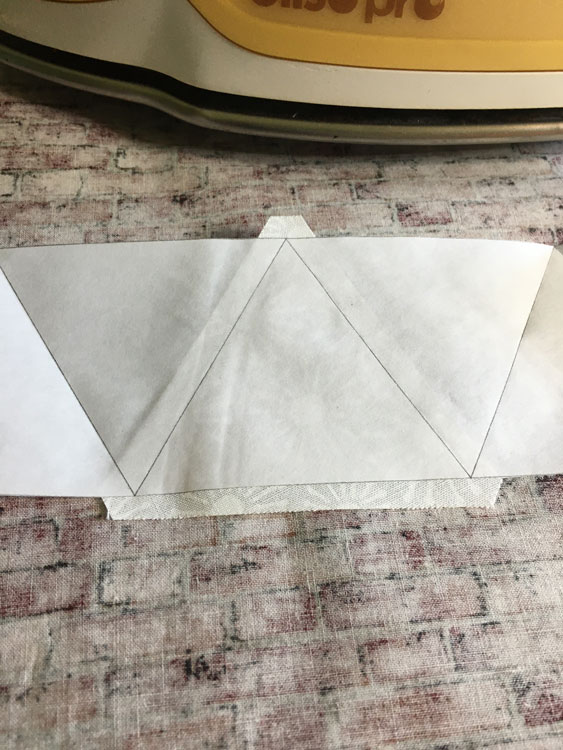
The first thing I do is print out my template on paper. Then, using a lightbox, I put freezer paper (paper side up), over the template, and tape it in place. Then I trace the template, using straight edges. I’m creating strips of triangles that will sew together in straight lines. After tracing them, I cut them out and pre-fold on the lines.
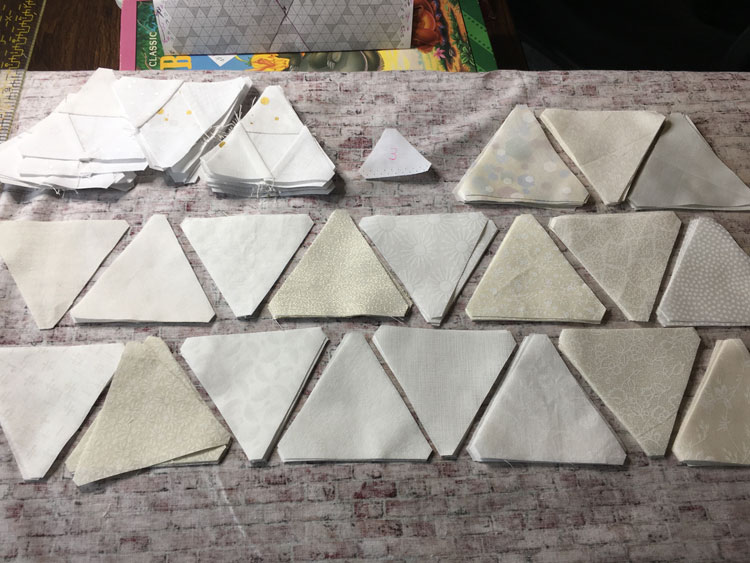
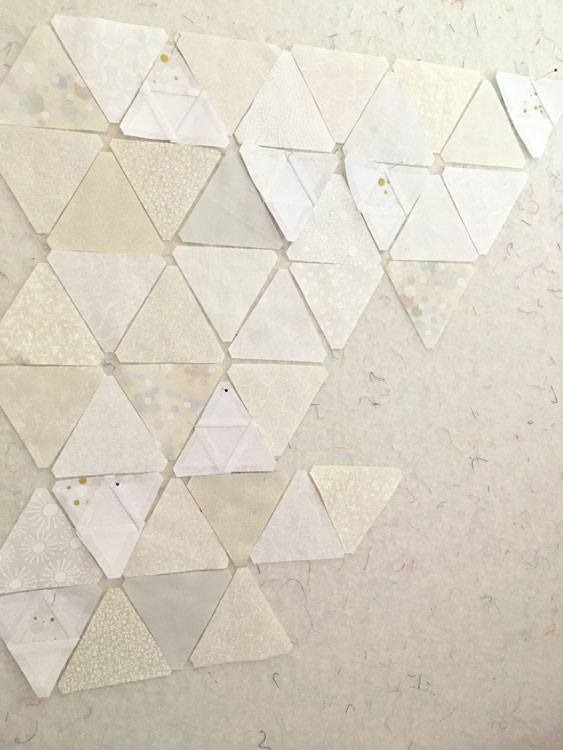
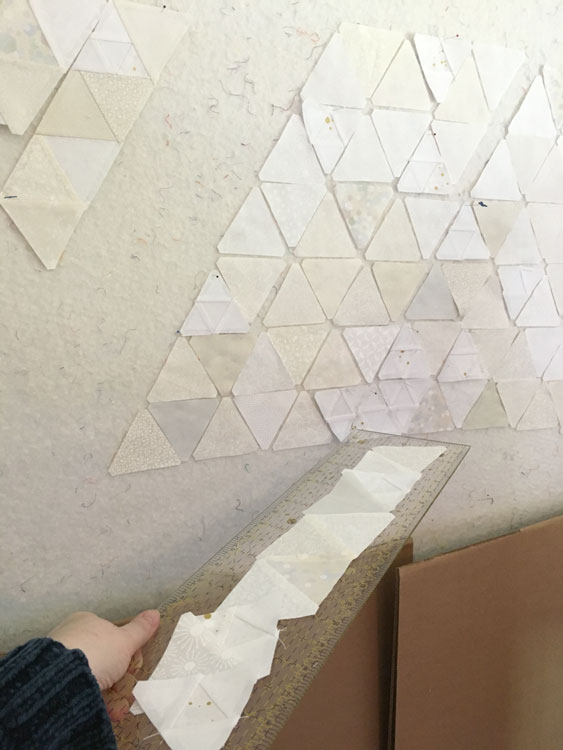
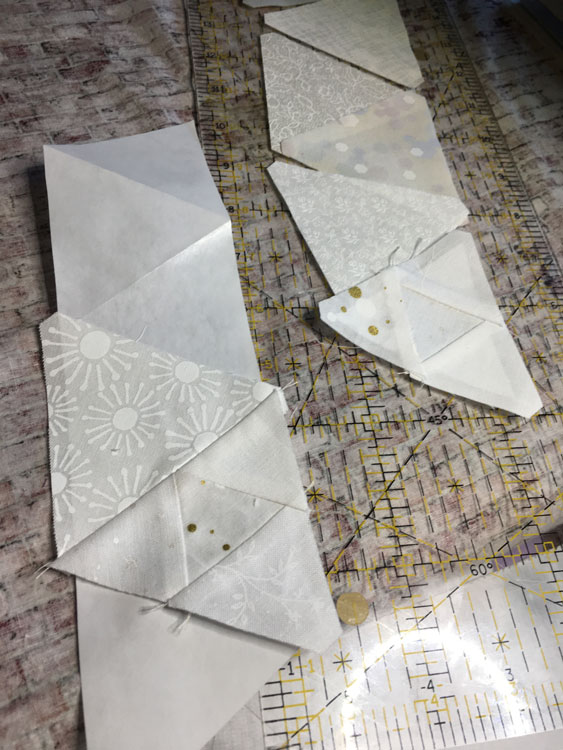
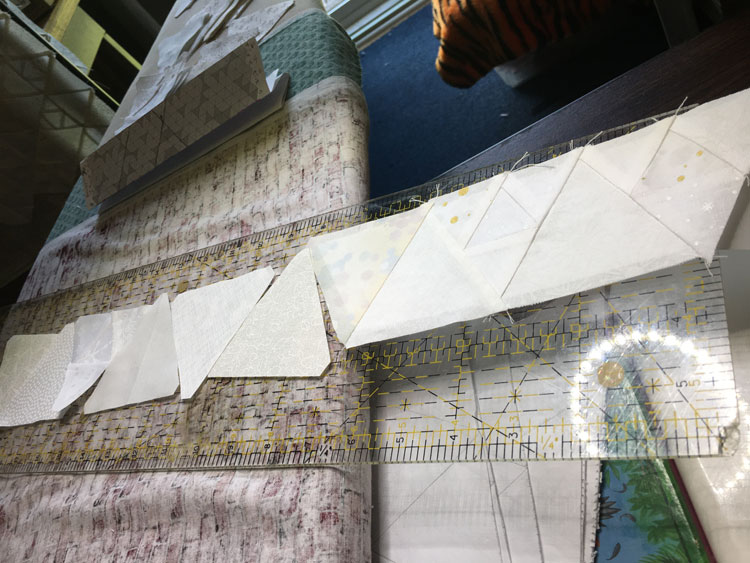
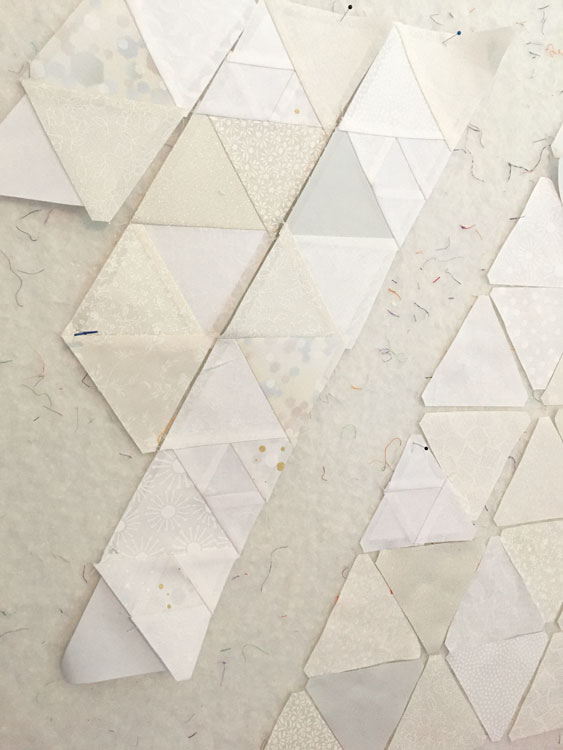
Before sewing, I use my design wall and layout the pieces to make sure I’m happy with placement. For this quilt, I’ve divided the triangles pieces into eight sections, so each patterned fabric is evenly distributed throughout the quilt.
Stitching
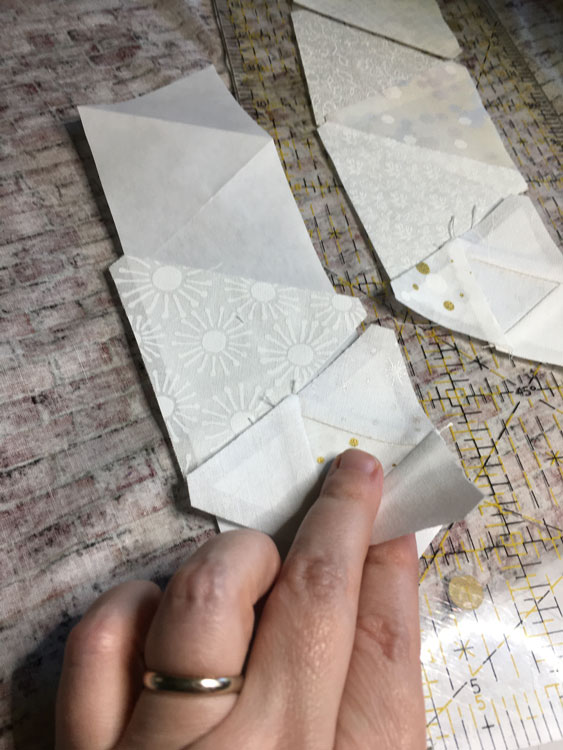
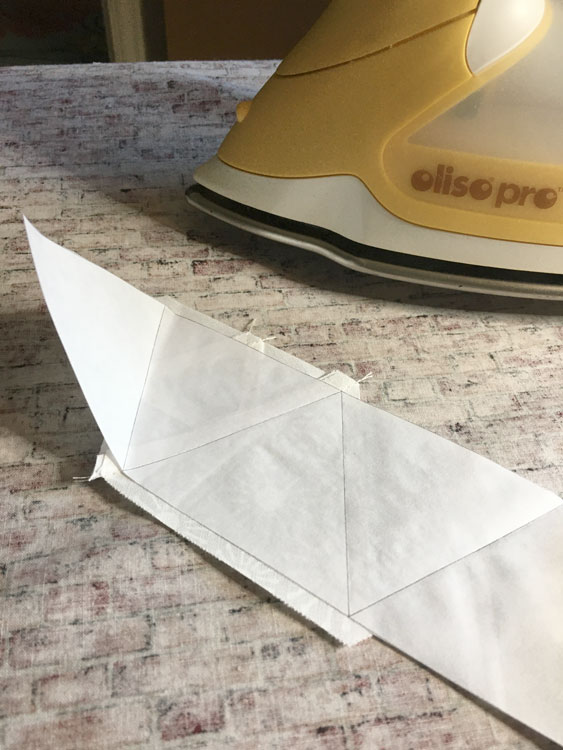
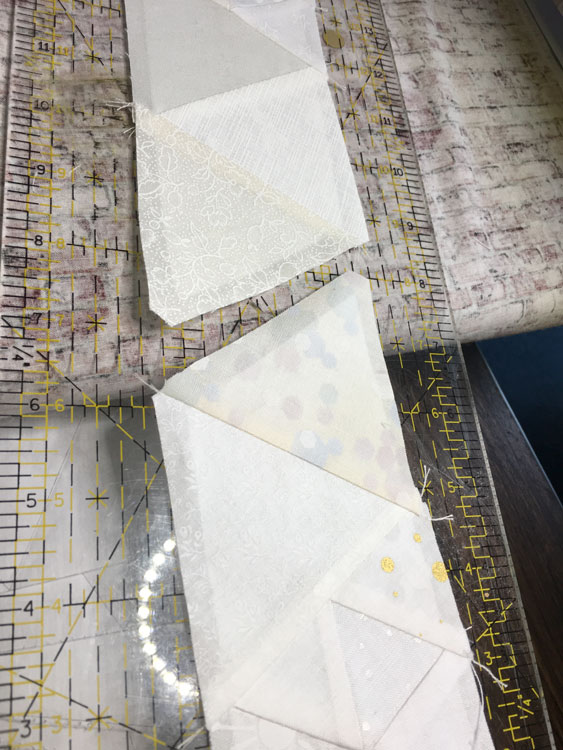
To keep the order of the layout, I sew each line individually. I carefully take the pieces from the design wall and place them on an acrylic ruler, just as they are on the wall, and move them over to my sewing machine. I start from the center of the template, and match the designated fabric triangle to the right space in the line on the template. Then I position the fabric to the wax side of the freezer paper, and iron it down.

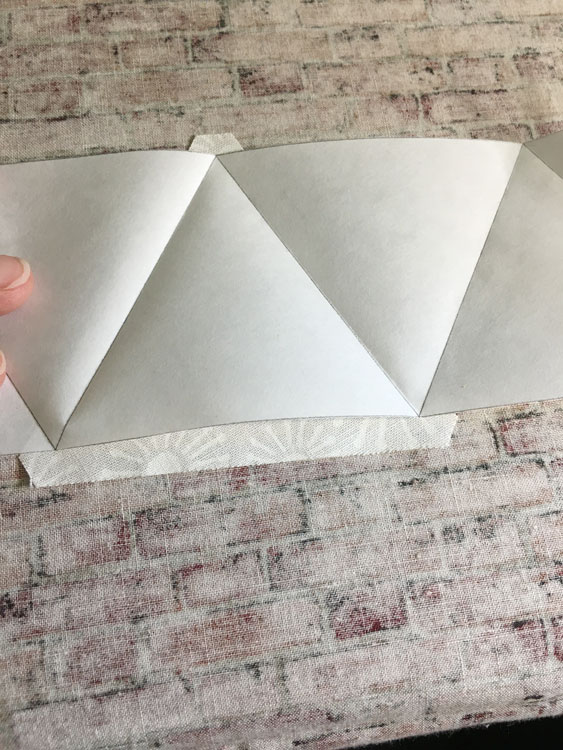
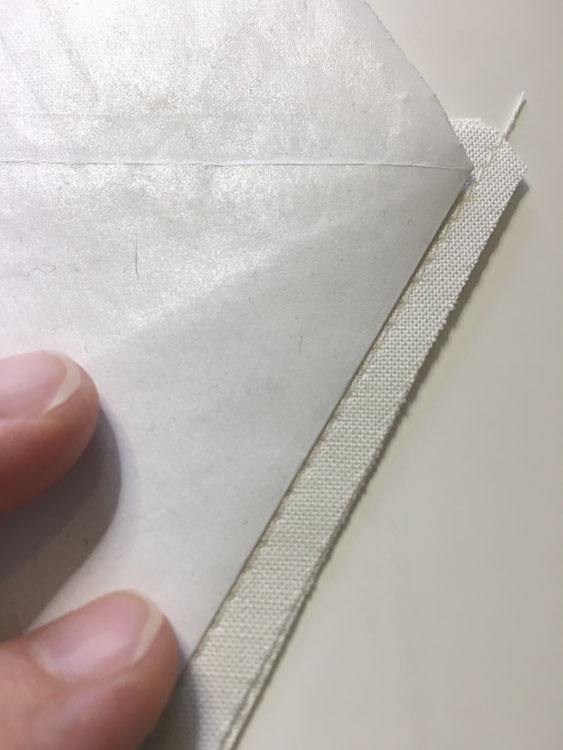
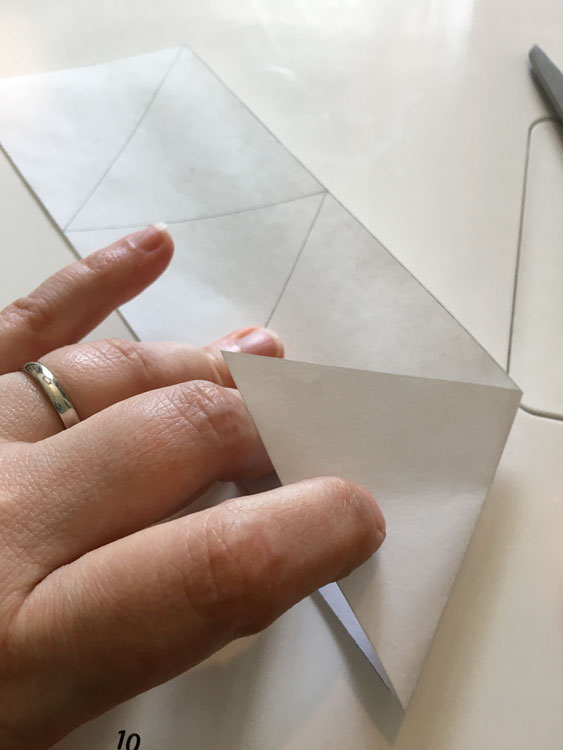
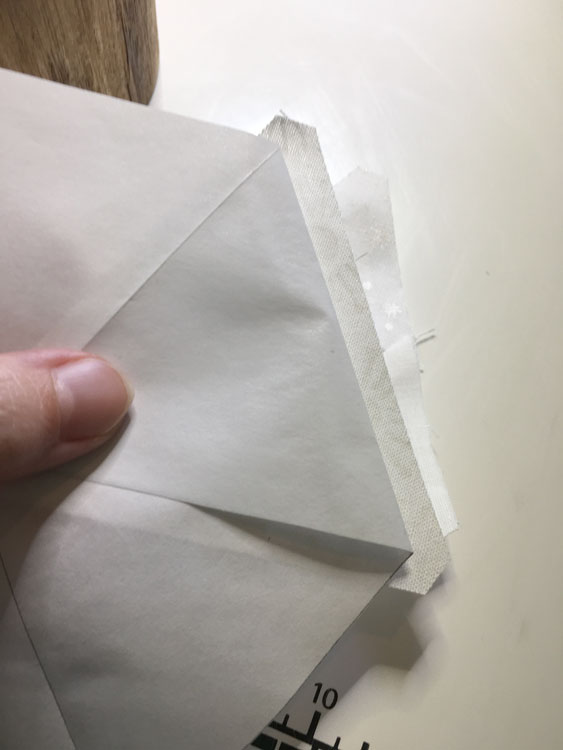
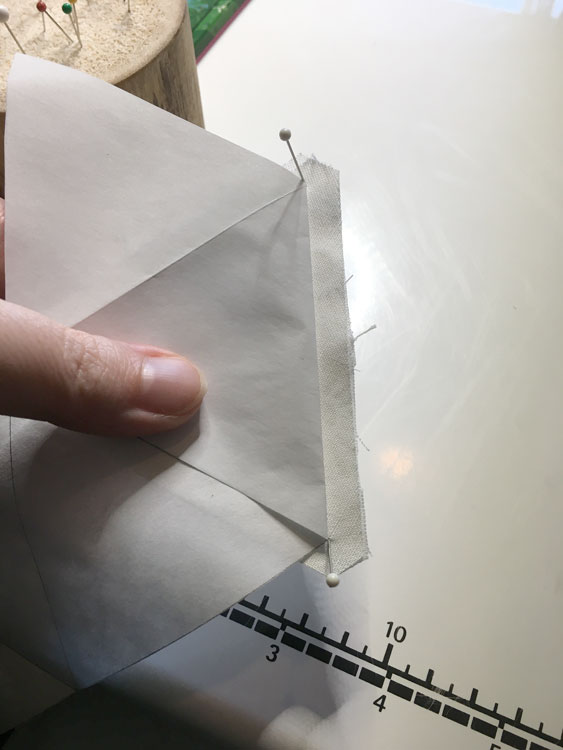
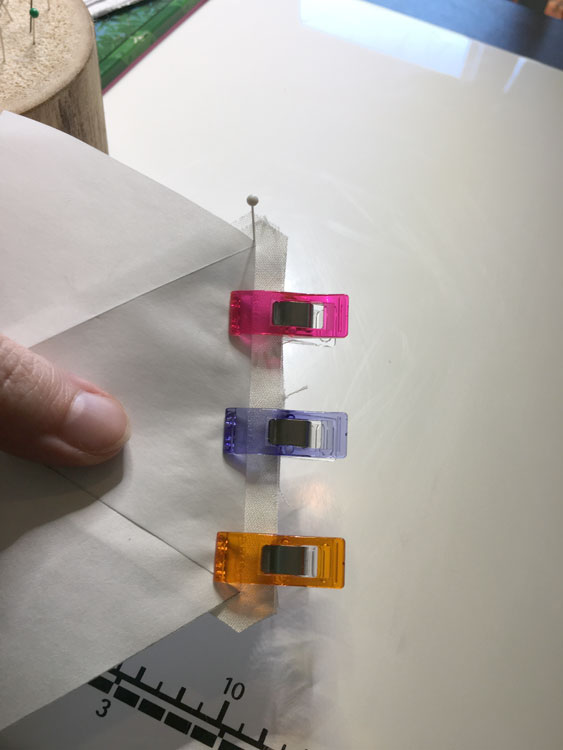
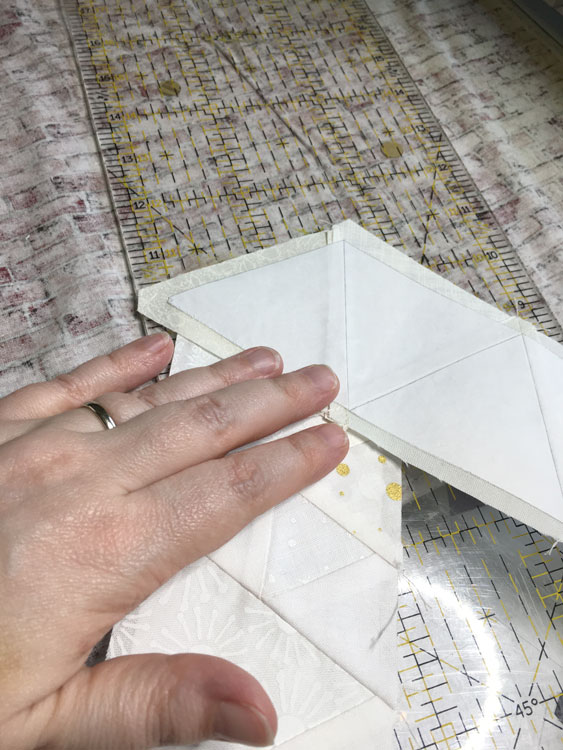
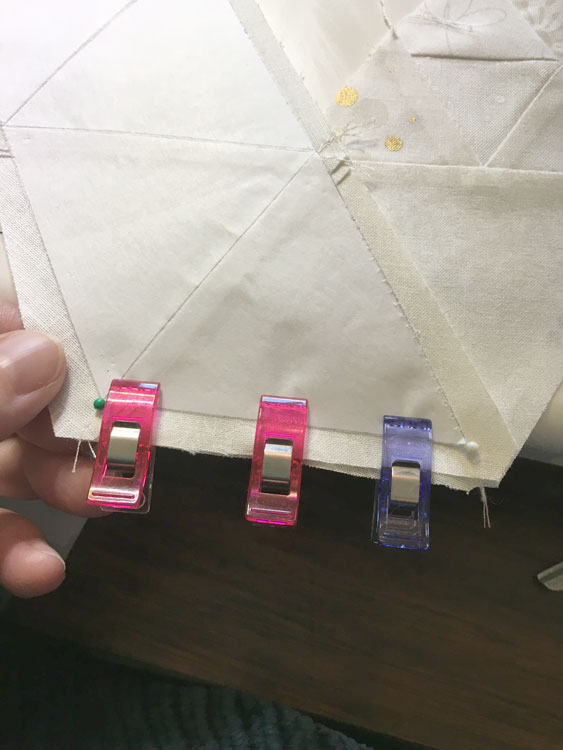
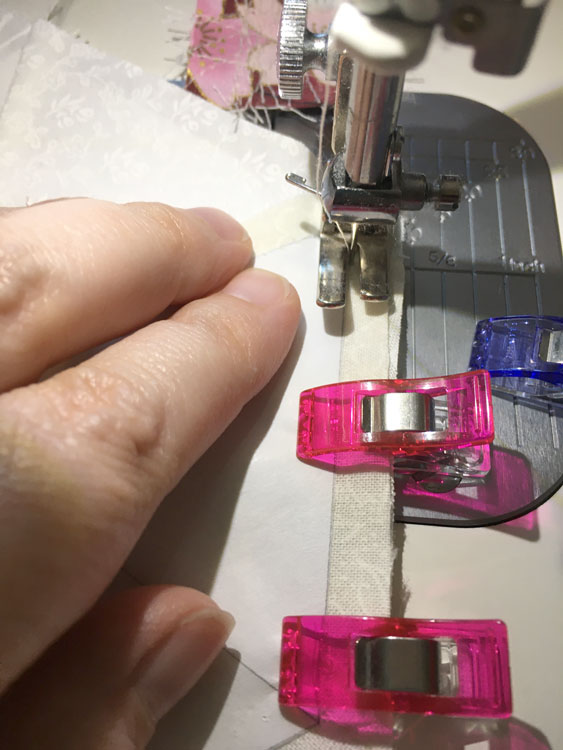
On the side that I’m going to sew next, I fold the freezer paper over, exposing the seam allowance of the first triangle. With right sides together, I pin this to the next piece. This piece is one made up of smaller triangles, so I use pins to match up the end points on the freezer paper. Then I flip it over and check to see that the backside matches up, and use wonder clips to hold together.
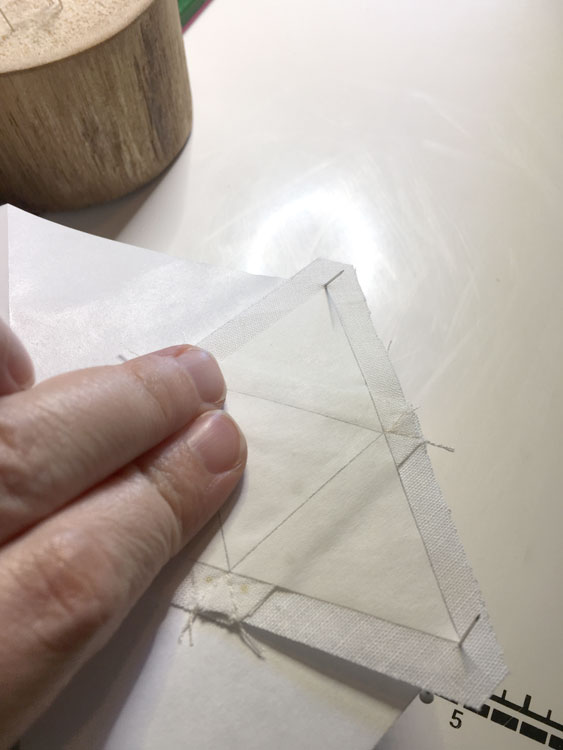
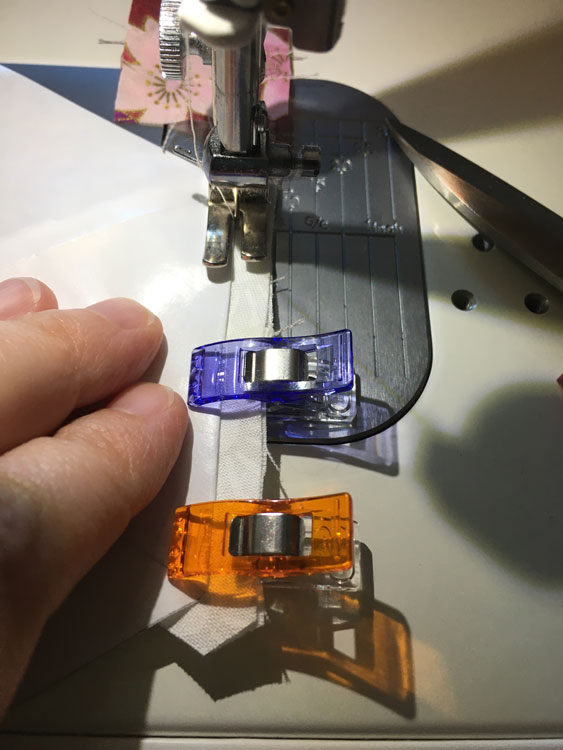
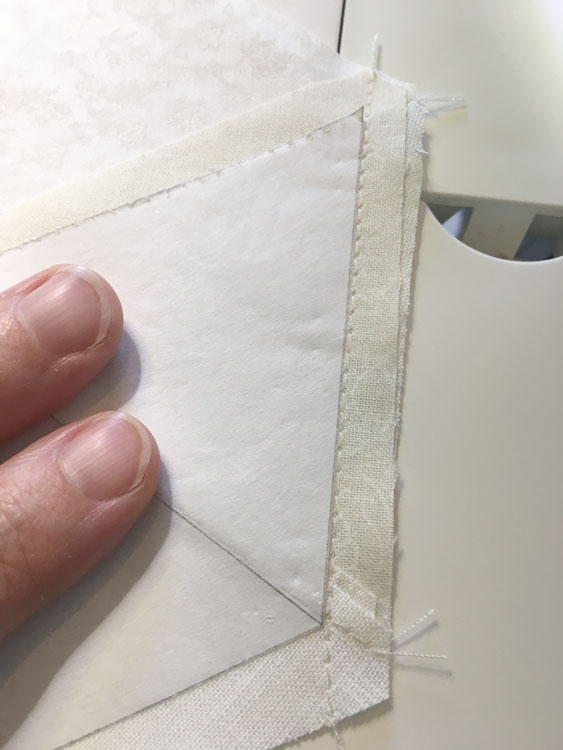
Very carefully, I sew as close to the paper edge without sewing over it. I do chain piecing and have a leader/ender piece I use so I don’t have to back stitch. Then I check stitching on front and back, making sure it matches up and very close to the paper. I remove the template from the pieced-triangle, and open that triangle over the strip template and iron into place.
Continue On
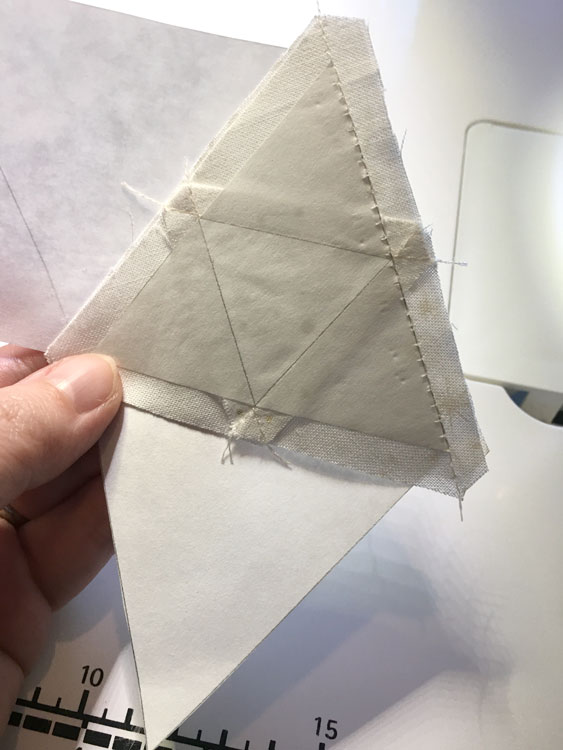
Now I’m ready to sew the next piece on. I fold the freezer paper back to expose the seam allowance, and sew the next triangle on with right sides together. Open and press onto freezer paper. Continue to the end of that template strip.
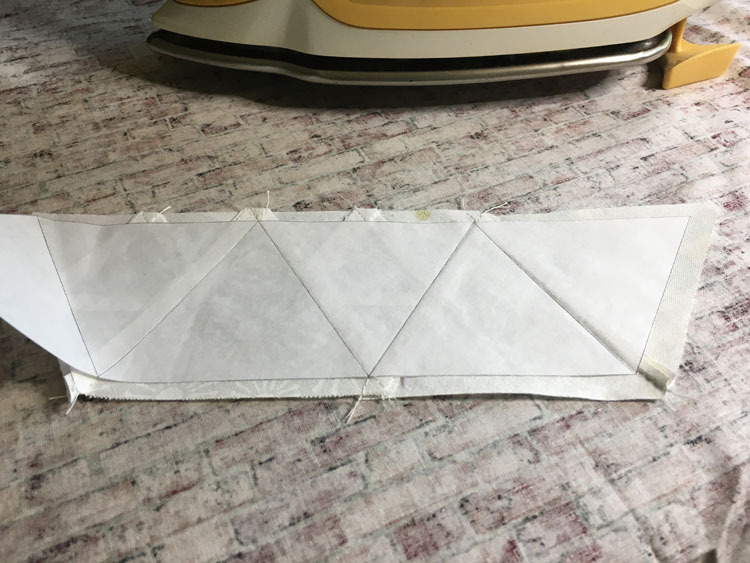
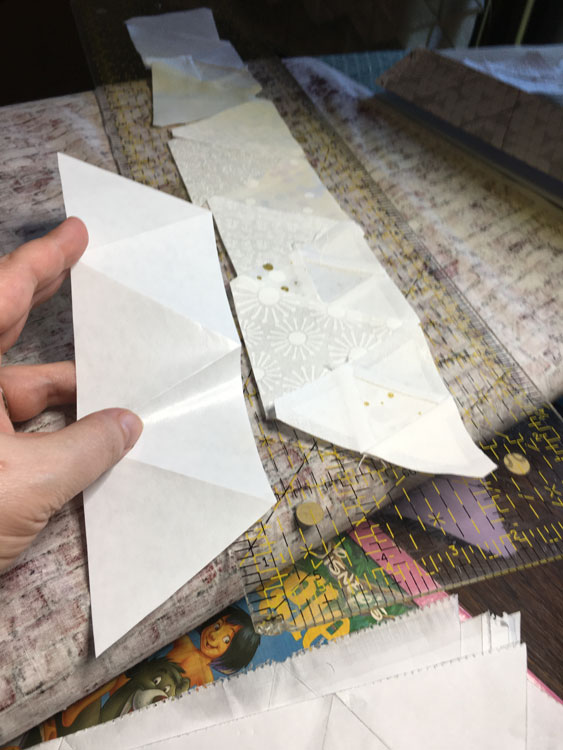
This is only half of the strip I need for this section. The other will be done with a separate template, sewn in the same way. I like to double check my stitching is nice and close to the paper.


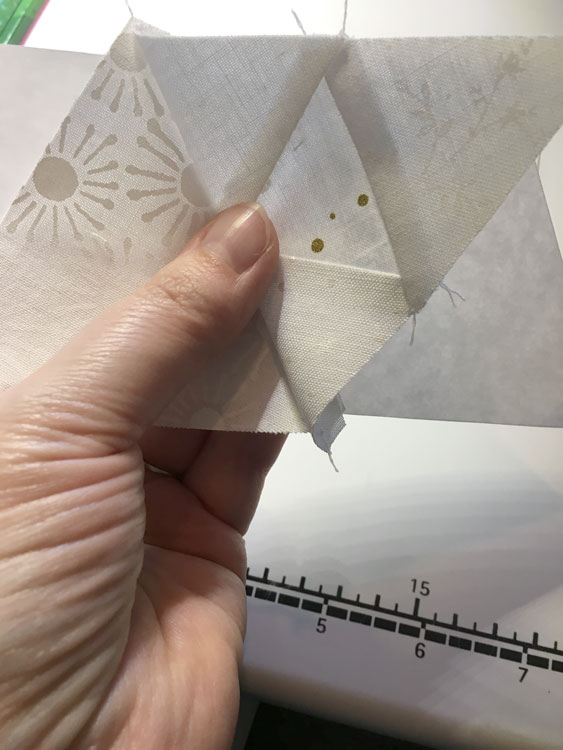
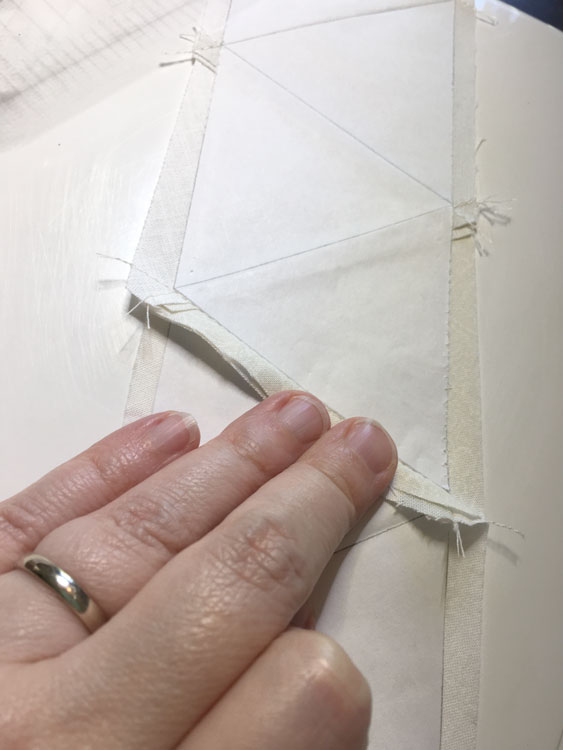
Now I have two short strips that need to be combined. I put right sides together and pin the points. I always check the backside to make sure the points line up. Then I use wonder clips to hold in place for sewing.
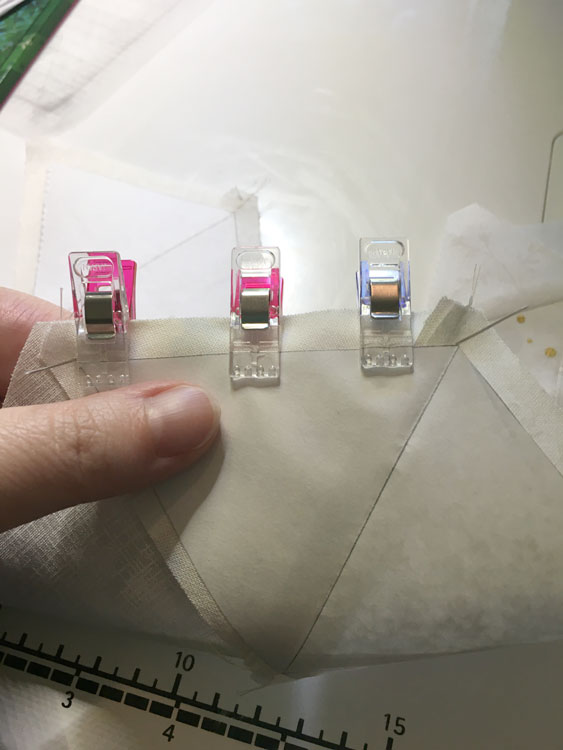
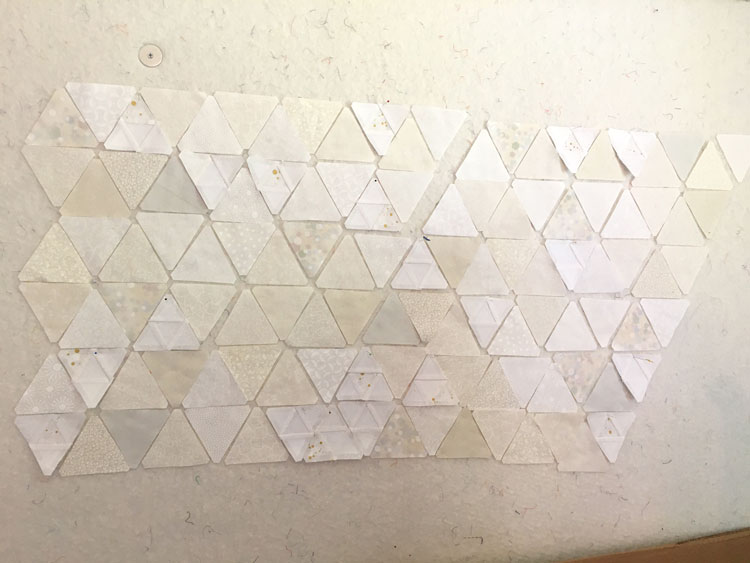
After sewing, check that seam is close to paper on both sides. Open and press flat, and I always check to make sure the strips line up. Once the strip is finished, I pin it to my design wall and start on the next one.
For a pattern like this, I think the freezer paper works great! I also used the acrylic templates I had made to cut the fabric triangles, which is making this project go really fast… for me at least!
Health Update
I had my colonoscopy and endoscopy last week Friday. I have to say that doing the prep the way I did it, really seemed to make things better. Ten days before my procedure, I cut all nuts, seeds, red meat, dairy, whole wheat, and raw veggies. I ate a lot of chicken, potato, and leek soup, rice, and steamed veggies. Two days prior, I could only drink clear liquids, so I had a lot of chicken stock, water, tea, and lemon gelatin. The worst part was taking the Suprep!
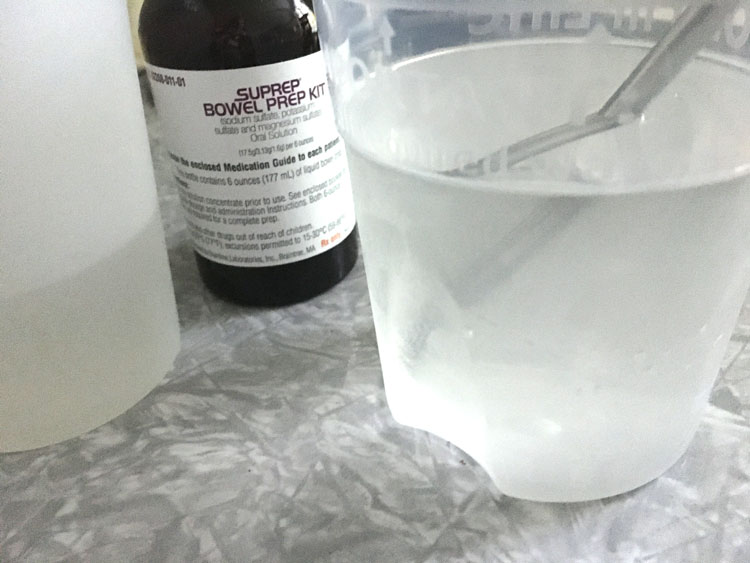
This stuff tasted like nasty, thick, cherry cough syrup – with an extra terrible after-taste. I don’t eat sugar, and this was extra sugary-sweet. Had to get 16oz of this down the night before, and another 16oz the morning of. It bloated me immediately and I had a hard time keeping it down. It felt like I just wrecked myself… but then I went to the bathroom. Then again, and again. I won’t get into details, but I easily hit the mark of clear liquid output before leaving for my appointment!
Appointment Day
The anxiety wasn’t what I was expecting. I’m thinking that the iron infusions might have really helped my anxiety – by a lot… which is feeling phenomenal to me! At the clinic, I got into a gown, and they put an IV in. I was a little nervous, but still calm. Then Dr. Dan came and lightened my mood and told me the sedation he was going to use didn’t cause nausea. He took me to the exam room, and Dr. Le came and explained what they were going to do, and had me sign some papers. They put this thing in my mouth to bite on – it kept my mouth open for the endoscopy, and they attached it around my head with a strap. Then the oxygen mask went over that, and just as I was starting to feel a little claustrophobic, I was out.
I came to in the recovery room. Dr. Le brought me some papers that explained that a couple polyps were removed, and that they took 5 biopsies – 3 from the endoscopy, and 2 from the colonoscopy. She also noted I have gastritis, and that I did a good job on my prep! So, this is great news, unless the biopsies come back with something. I’ve got another week to wait for those results. But really, it’s a lot better than I was expecting.
My throat is still a little sore, but nothing bad. So thankful this whole thing is done!