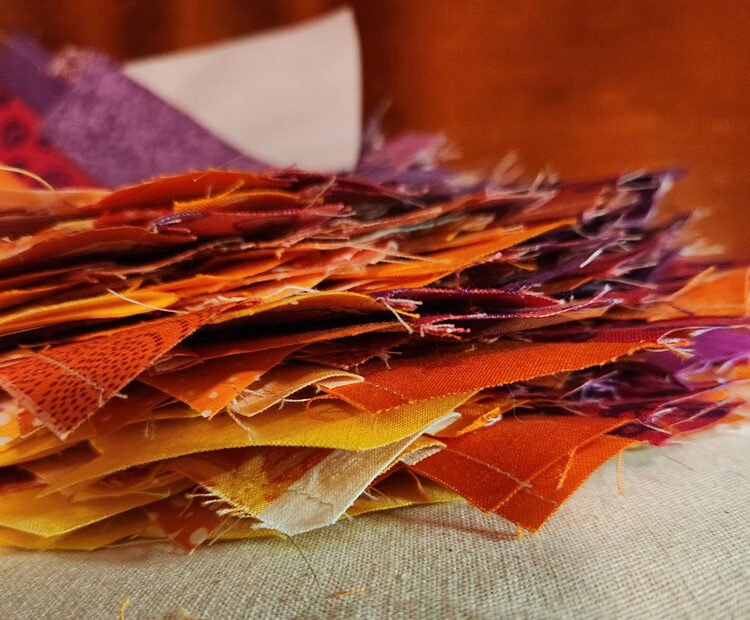
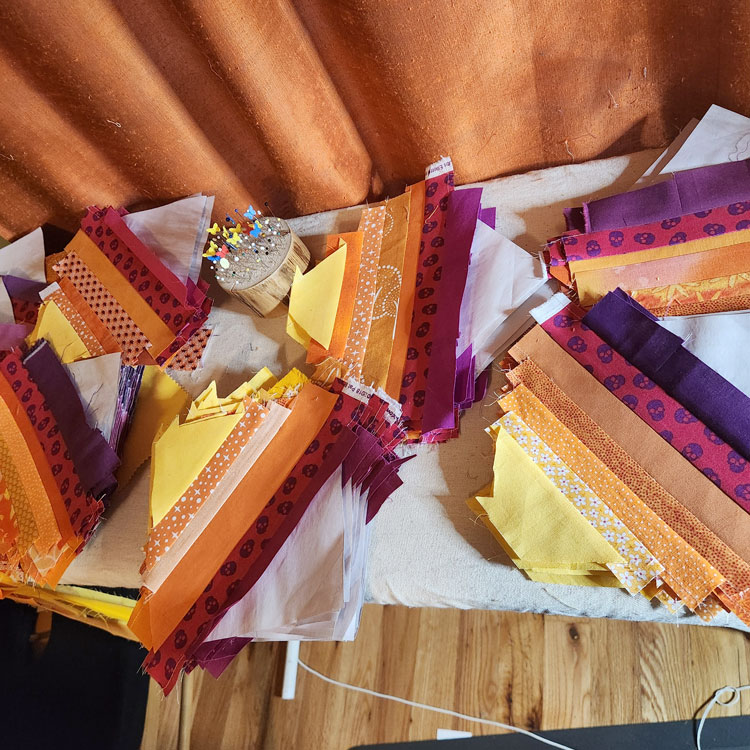
I’m super excited to have started another quilt recently! So, I thought I’d share my new string quilt progress with y’all. This one is a scrap quilt. I received some of the fabrics from the free table events organized by the Portland Modern Quilt Guild, and some were given to me by friends. Additionally, I used scraps from my own past quilt projects. It makes me feel so good to be able to re-use fabrics!
What is a String Quilt?
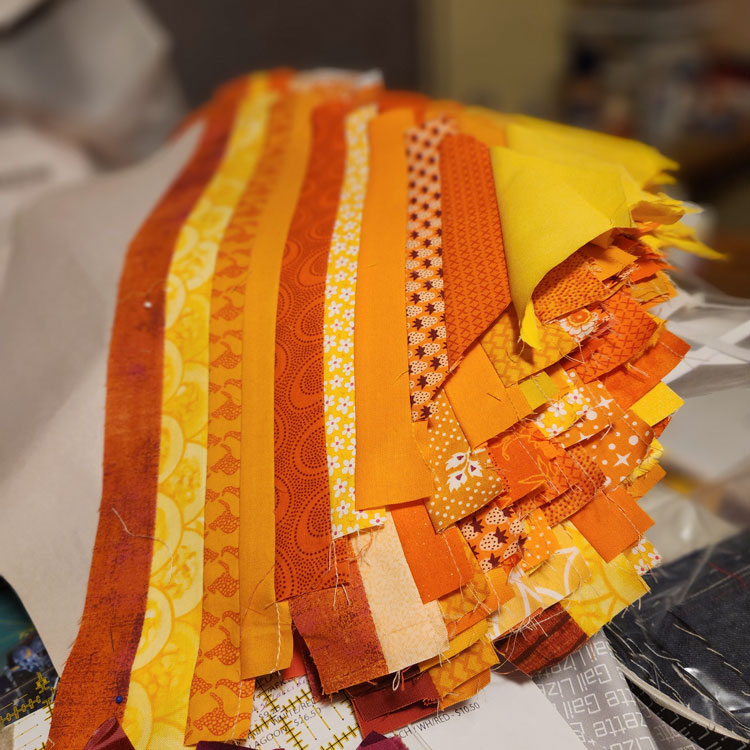
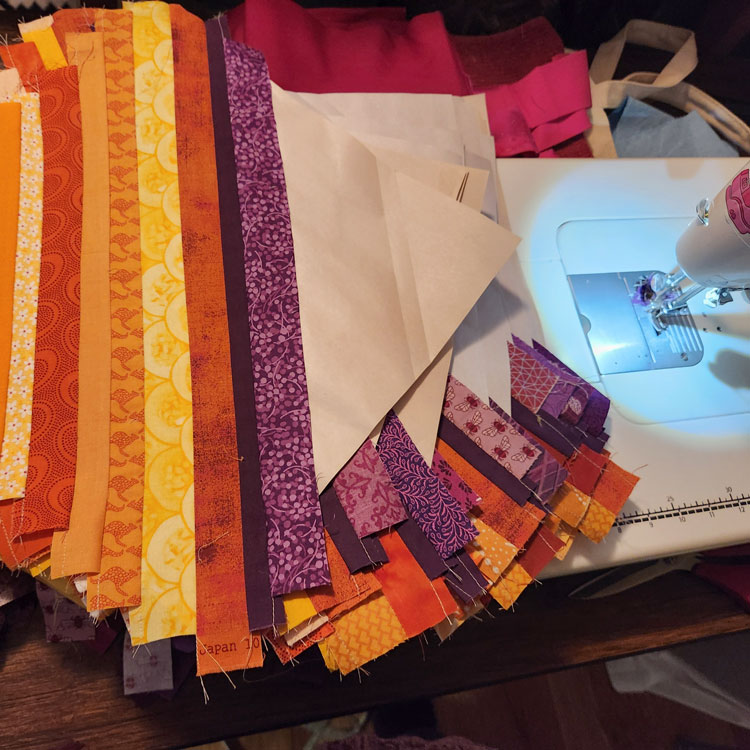
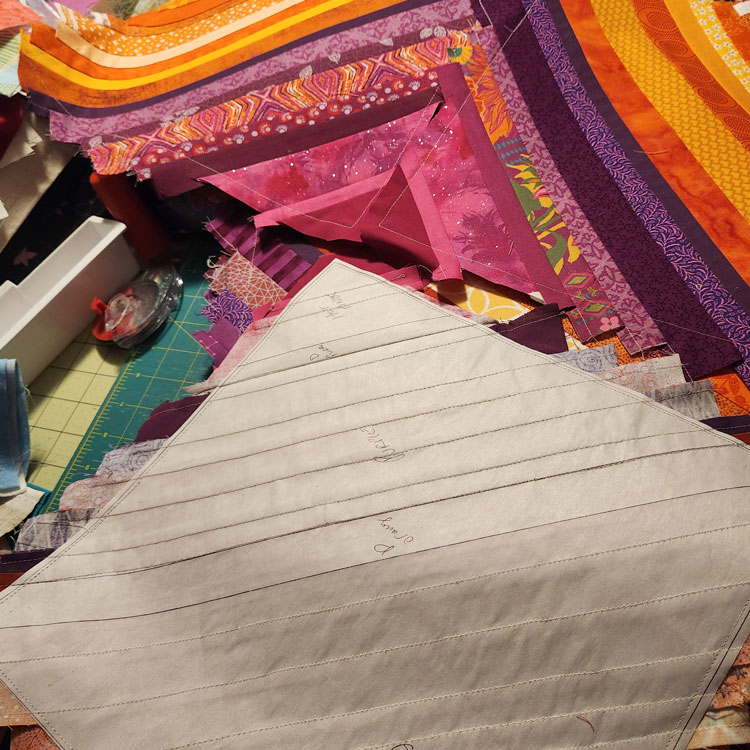
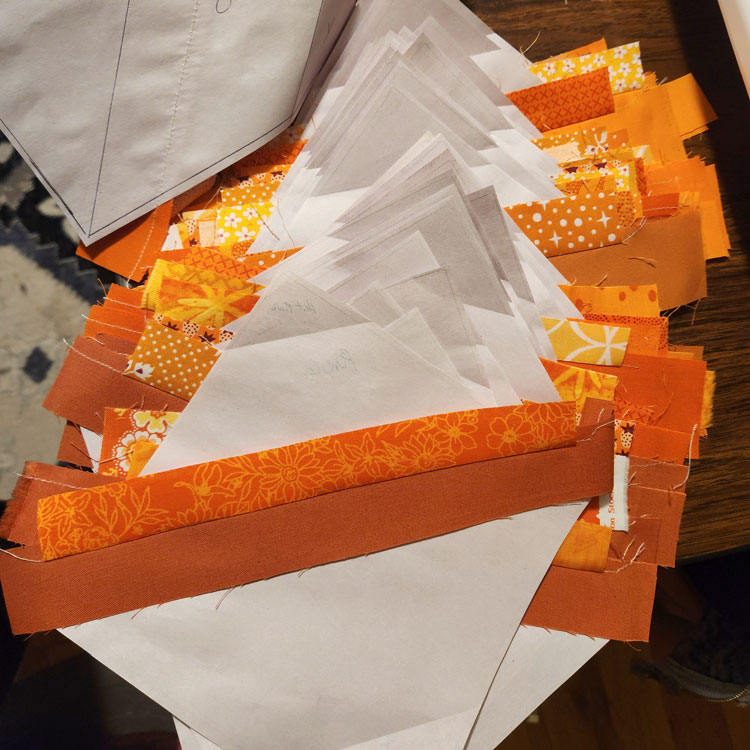
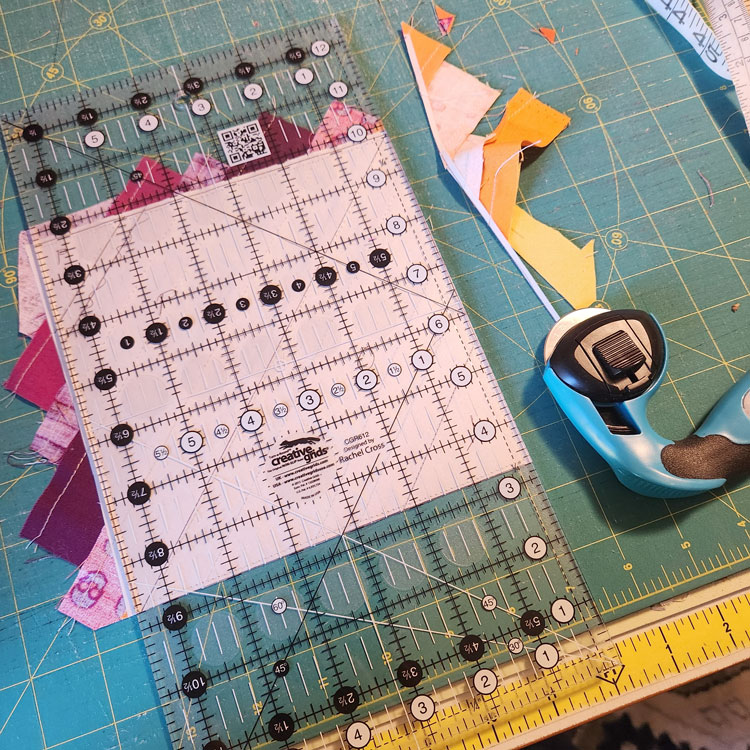
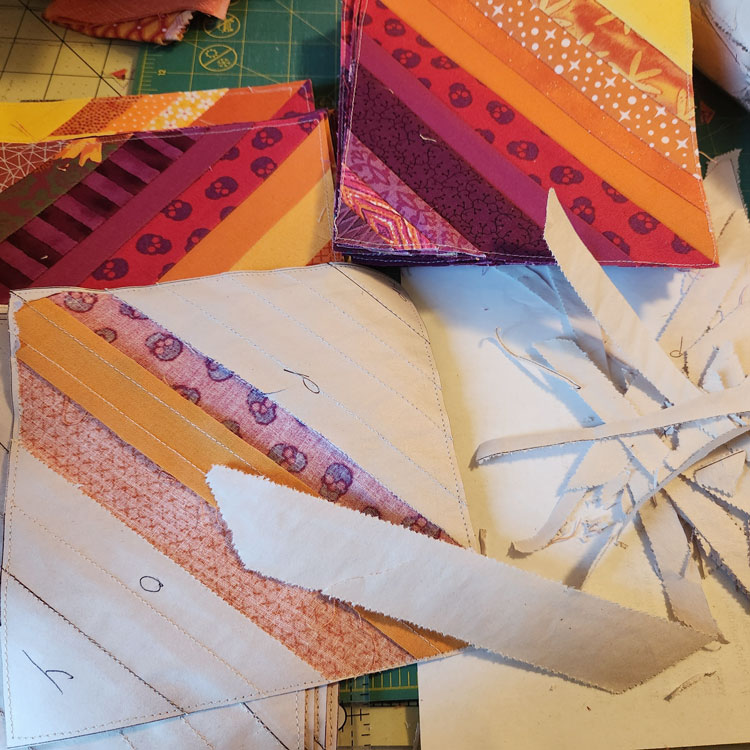
So far, this is one of my favorite quilting techniques, and it’s the first I ever learned. It’s really easy to do, and uses up lots of scraps. I’m creating 6″ and 12″ blocks for a layout I designed. I made each block by sewing strips of fabric together, on the diagonal, directly to the foundation paper. I used newsprint as my foundation base to sew the strips onto. For the most part, this allows me to keep my blocks nice and square, and to stitch specific strips in specific places.
The Layout Dilemma
Eventually I finished all the blocks needed to be able to make a 60″ x 84″ quilt. Since they are half purple and half orange, I can totally change the layout by spinning each block 90º. Basically, these layouts are both amazing to me so I’m having a hard time making a decision. Which do you like better?
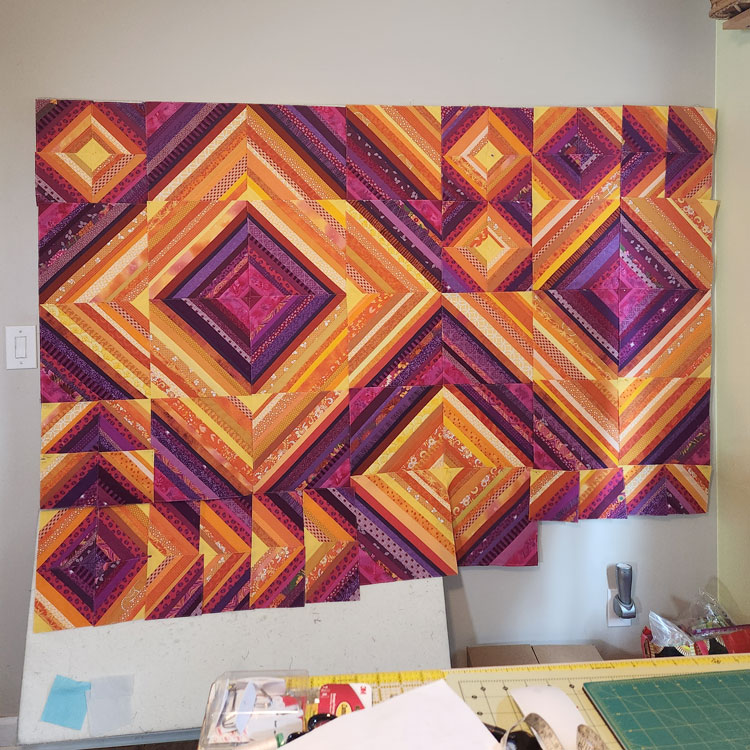
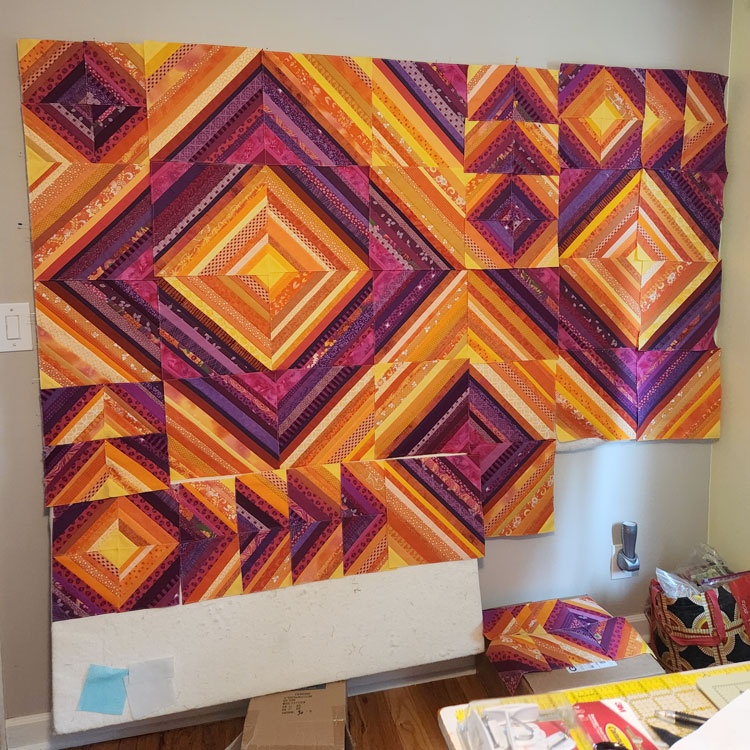
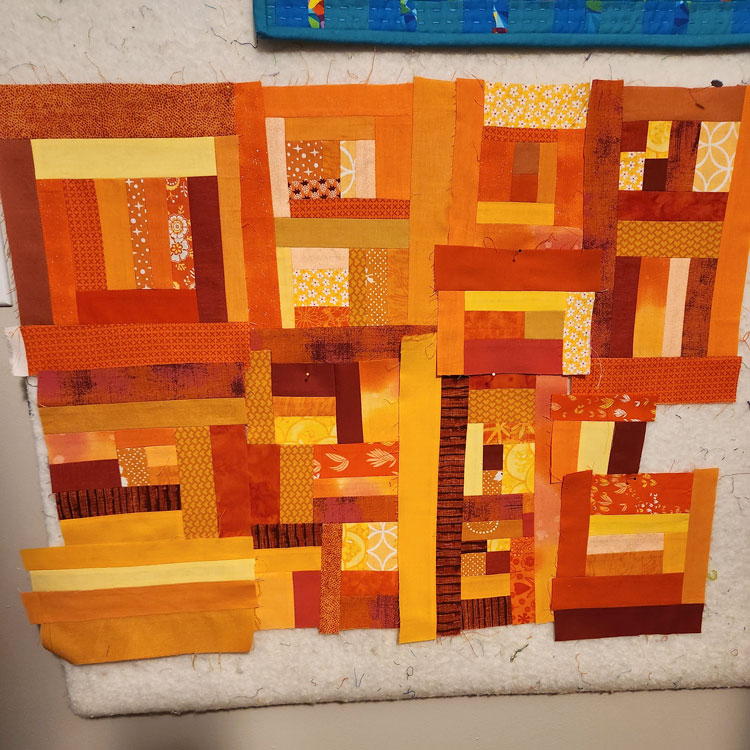
I really am having a difficult time making this decision. It’s really nice to be able to see them side by side in photos! In the meantime, I’m going to start putting the small scraps from this quilt together. I really need more time to decide – it’s a hard dilemma! Already I have approximately a 30″ x 20″ rectangle starting to emerge:
Life Stuff
Besides getting thoroughly sucked into this new quilt project, I’ve also been trying get my healthcare in order. Although, it is proving to be super frustrating. I’m ready to give up on the detective side of things – and just be okay with needing (and paying for) iron infusions when I start getting dizzy. I’m going to continue to alter my diet to better and better nutrient-dense foods and work on my mental state of mind. I just want to be able to do more with less exhaustion, feel stronger, and have less anxiety and cognitive disconnects. I’m grateful for the ability I still possess, but I know I’m capable of so much more when I’m healthy.
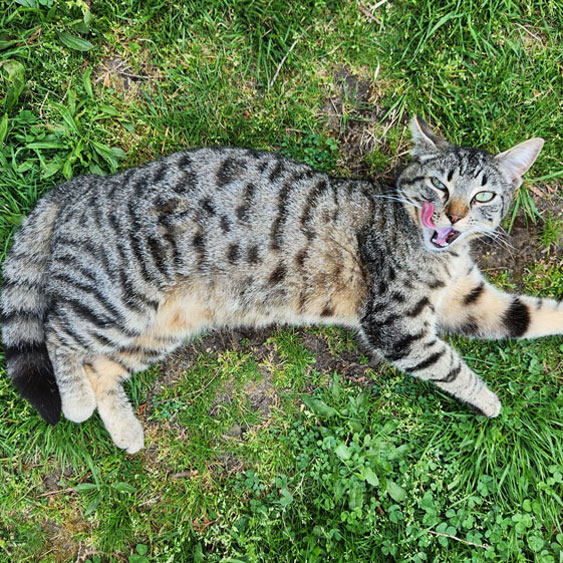
Our kitty clowder is kicking butt! Gregg has been handling them much more lately – almost all of them will roll over and give him their bellies for rubbing! All nine have been sticking around and lately there is a new guy we call Smokey that comes and gets them all riled up from time to time. Here are all our ferals except for Rodo & MamaAngel – they are both a bit more elusive to the camera. Do you have a favorite? You can follow @pdxCatLover on Tiktok for lots of videos featuring these feral kitties!
I am utterly fascinated with you and your process.
I have always admired quilters, but have somehow not been exposed to these methods that you use and the artistry.
Quilting would not ever be my thing, in fact sewing is also not my thing, but I have sewn a little in the past.
I have used different mediums but my favorite is pottery.
I look forward to learning more about quilting from you ?
Alexis
Bhakti Creations by Alexis
Thanks for all the kind words – I tend to question everything I do – this warmed my heart. I’d love to try pottery someday, but I’m still exploring the quilt world. So much to do and so little time!
I love your color choices! It’s going to be beautiful! I’ve learned three different ways to join the blocks and was wondering what your method is?
Thank you! I was going for super bright and I think I nailed it 🙂
I sew the strips/strings onto newsprint templates that are cut to the block size with seam allowance figured in. When sewing the strips, I make sure to fully cover and extend beyond the template a bit. It’s also important to fully press each strip as you’re sewing to ensure the block lays flat. When each block is finished, I press it and mark the trim line (block size + seam allowance). I stitch all around the outer edge of the whole block just inside that mark. This helps hold the seams together near the edges of the block. Then I pull the paper from the back, press again, and trim to finished size. From there I can just sew each block together as usual. Hope this makes sense!